3D Artist
A collection of 3D models and projects created over the years as part of my learning, experimentation, and personal projects.
Proyect 01 · Character
Angzlo

Story
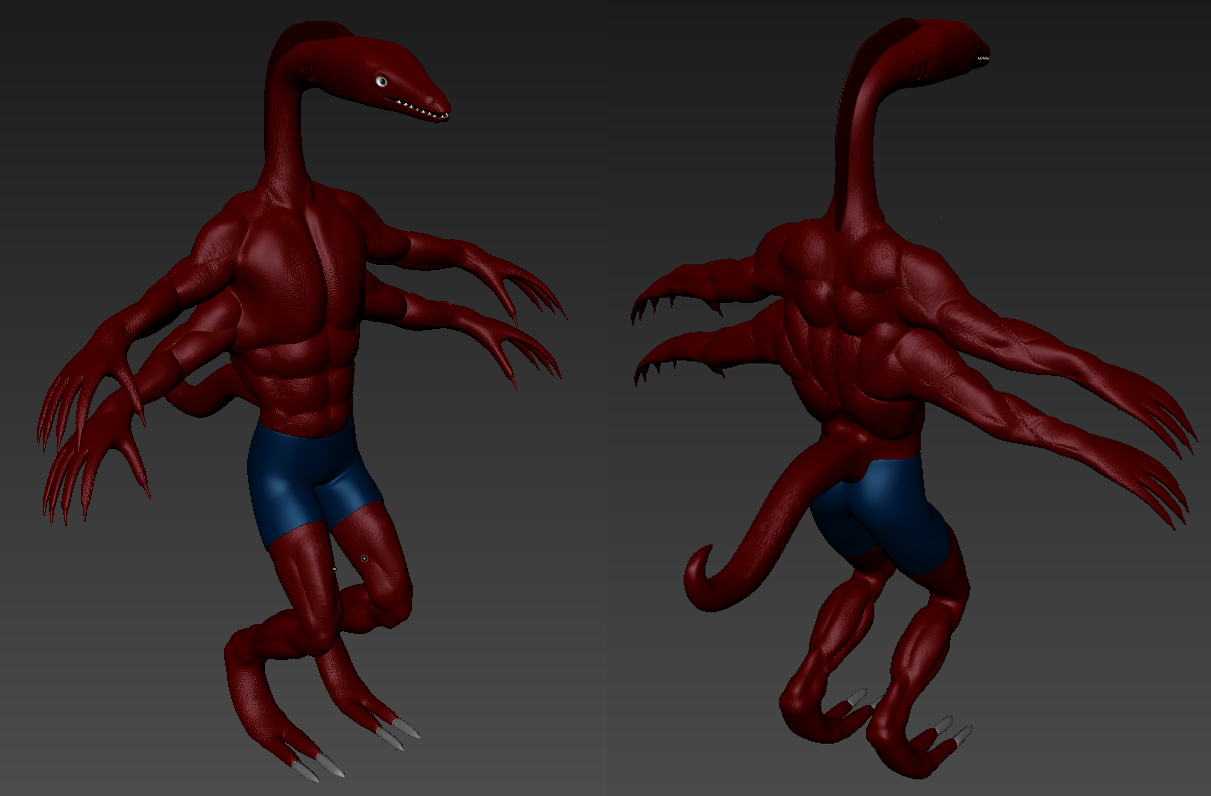
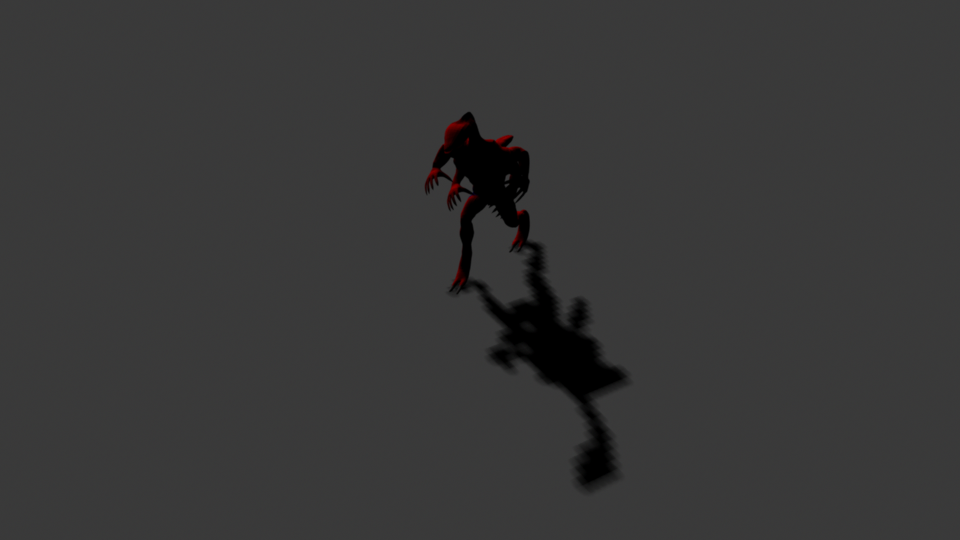
As part of my studies at ESNE, I was tasked with creating an original character. I decided to bring to life a creature I had imagined while at the beach: a muscular, four-armed being with a long tail and an eel-like head, giving it an unusually elongated neck.
Objectives
When it came time to work on the character’s muscular anatomy, I used Goro from Mortal Kombat as a reference due to his distinctive physique and four-armed design.
Process
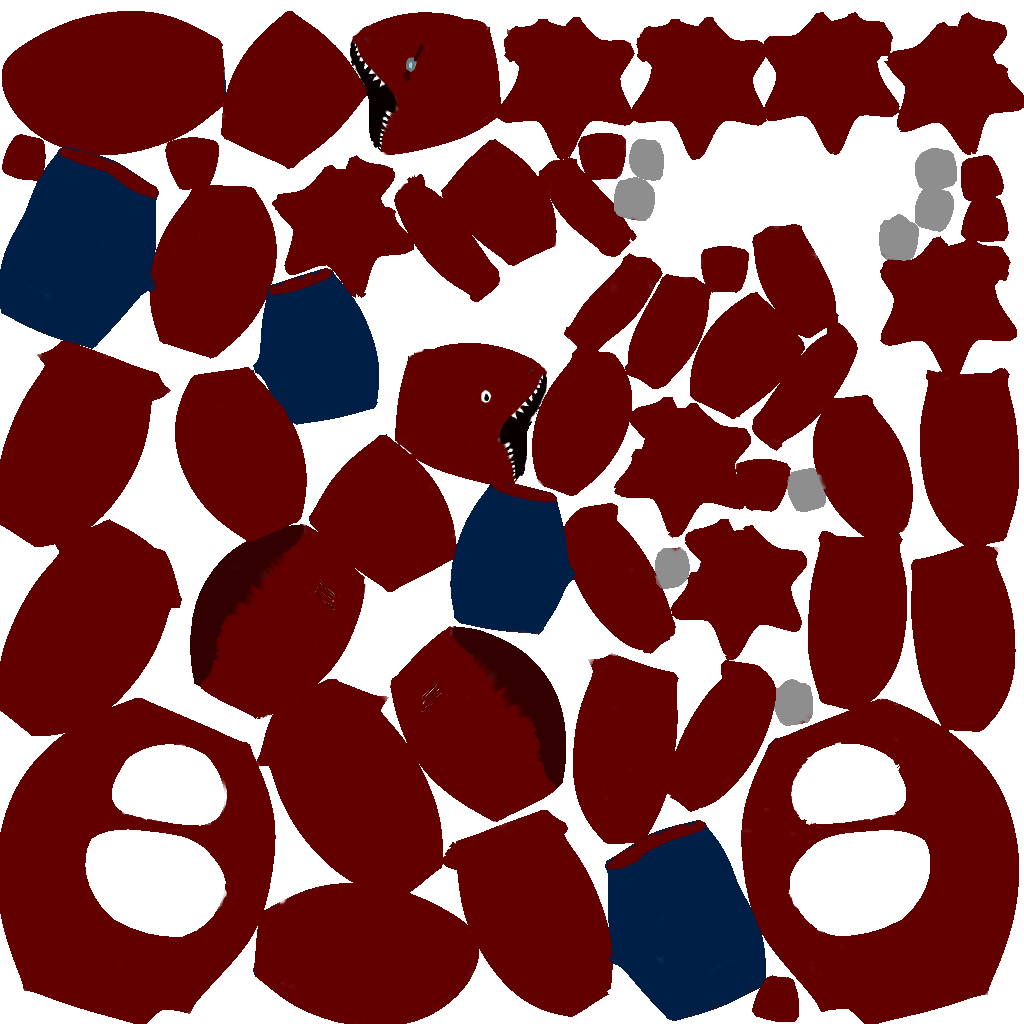
The body and muscle modeling were created in 3ds Max, while the skin details were sculpted in Mudbox and the UV mapping was prepared in Photoshop. I also briefly used Marmoset Toolbag to create the turntable video showcasing the finished character.
Result
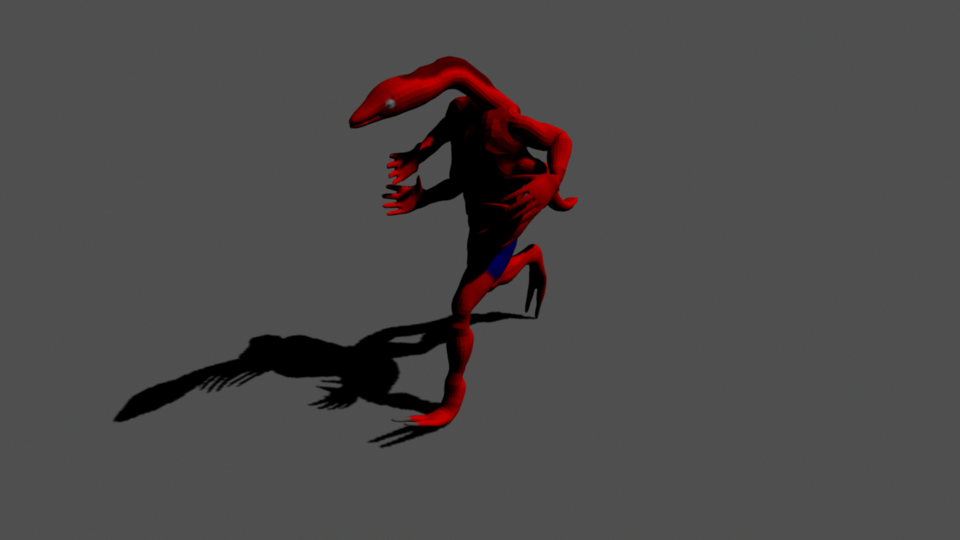
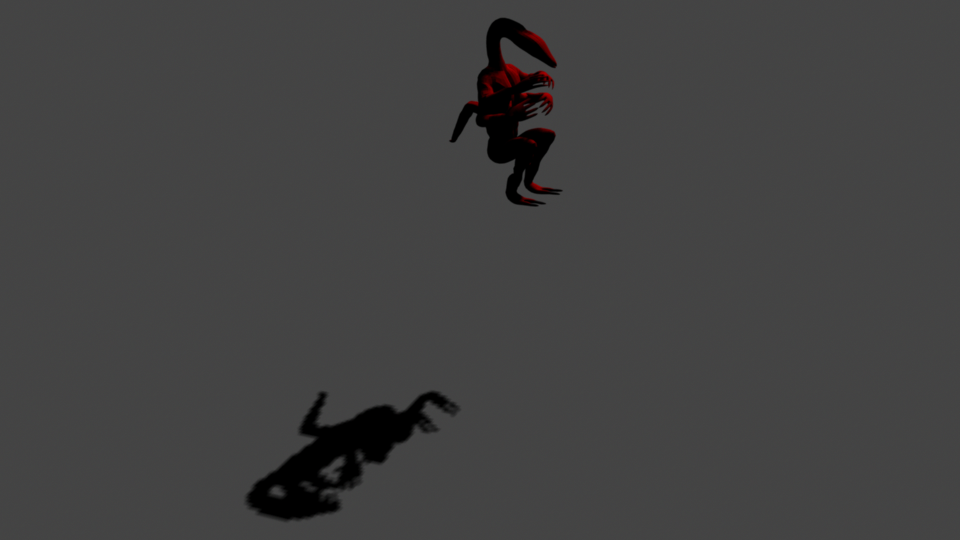
I enjoyed the character design so much that I continued using it in other projects throughout my studies. At ESDIP, I created several sketches of the character, while at MasterD, I used it for an animation project, exploring different poses and incorporating lighting effects.
Proyect 02 · Monster
Mutant


History
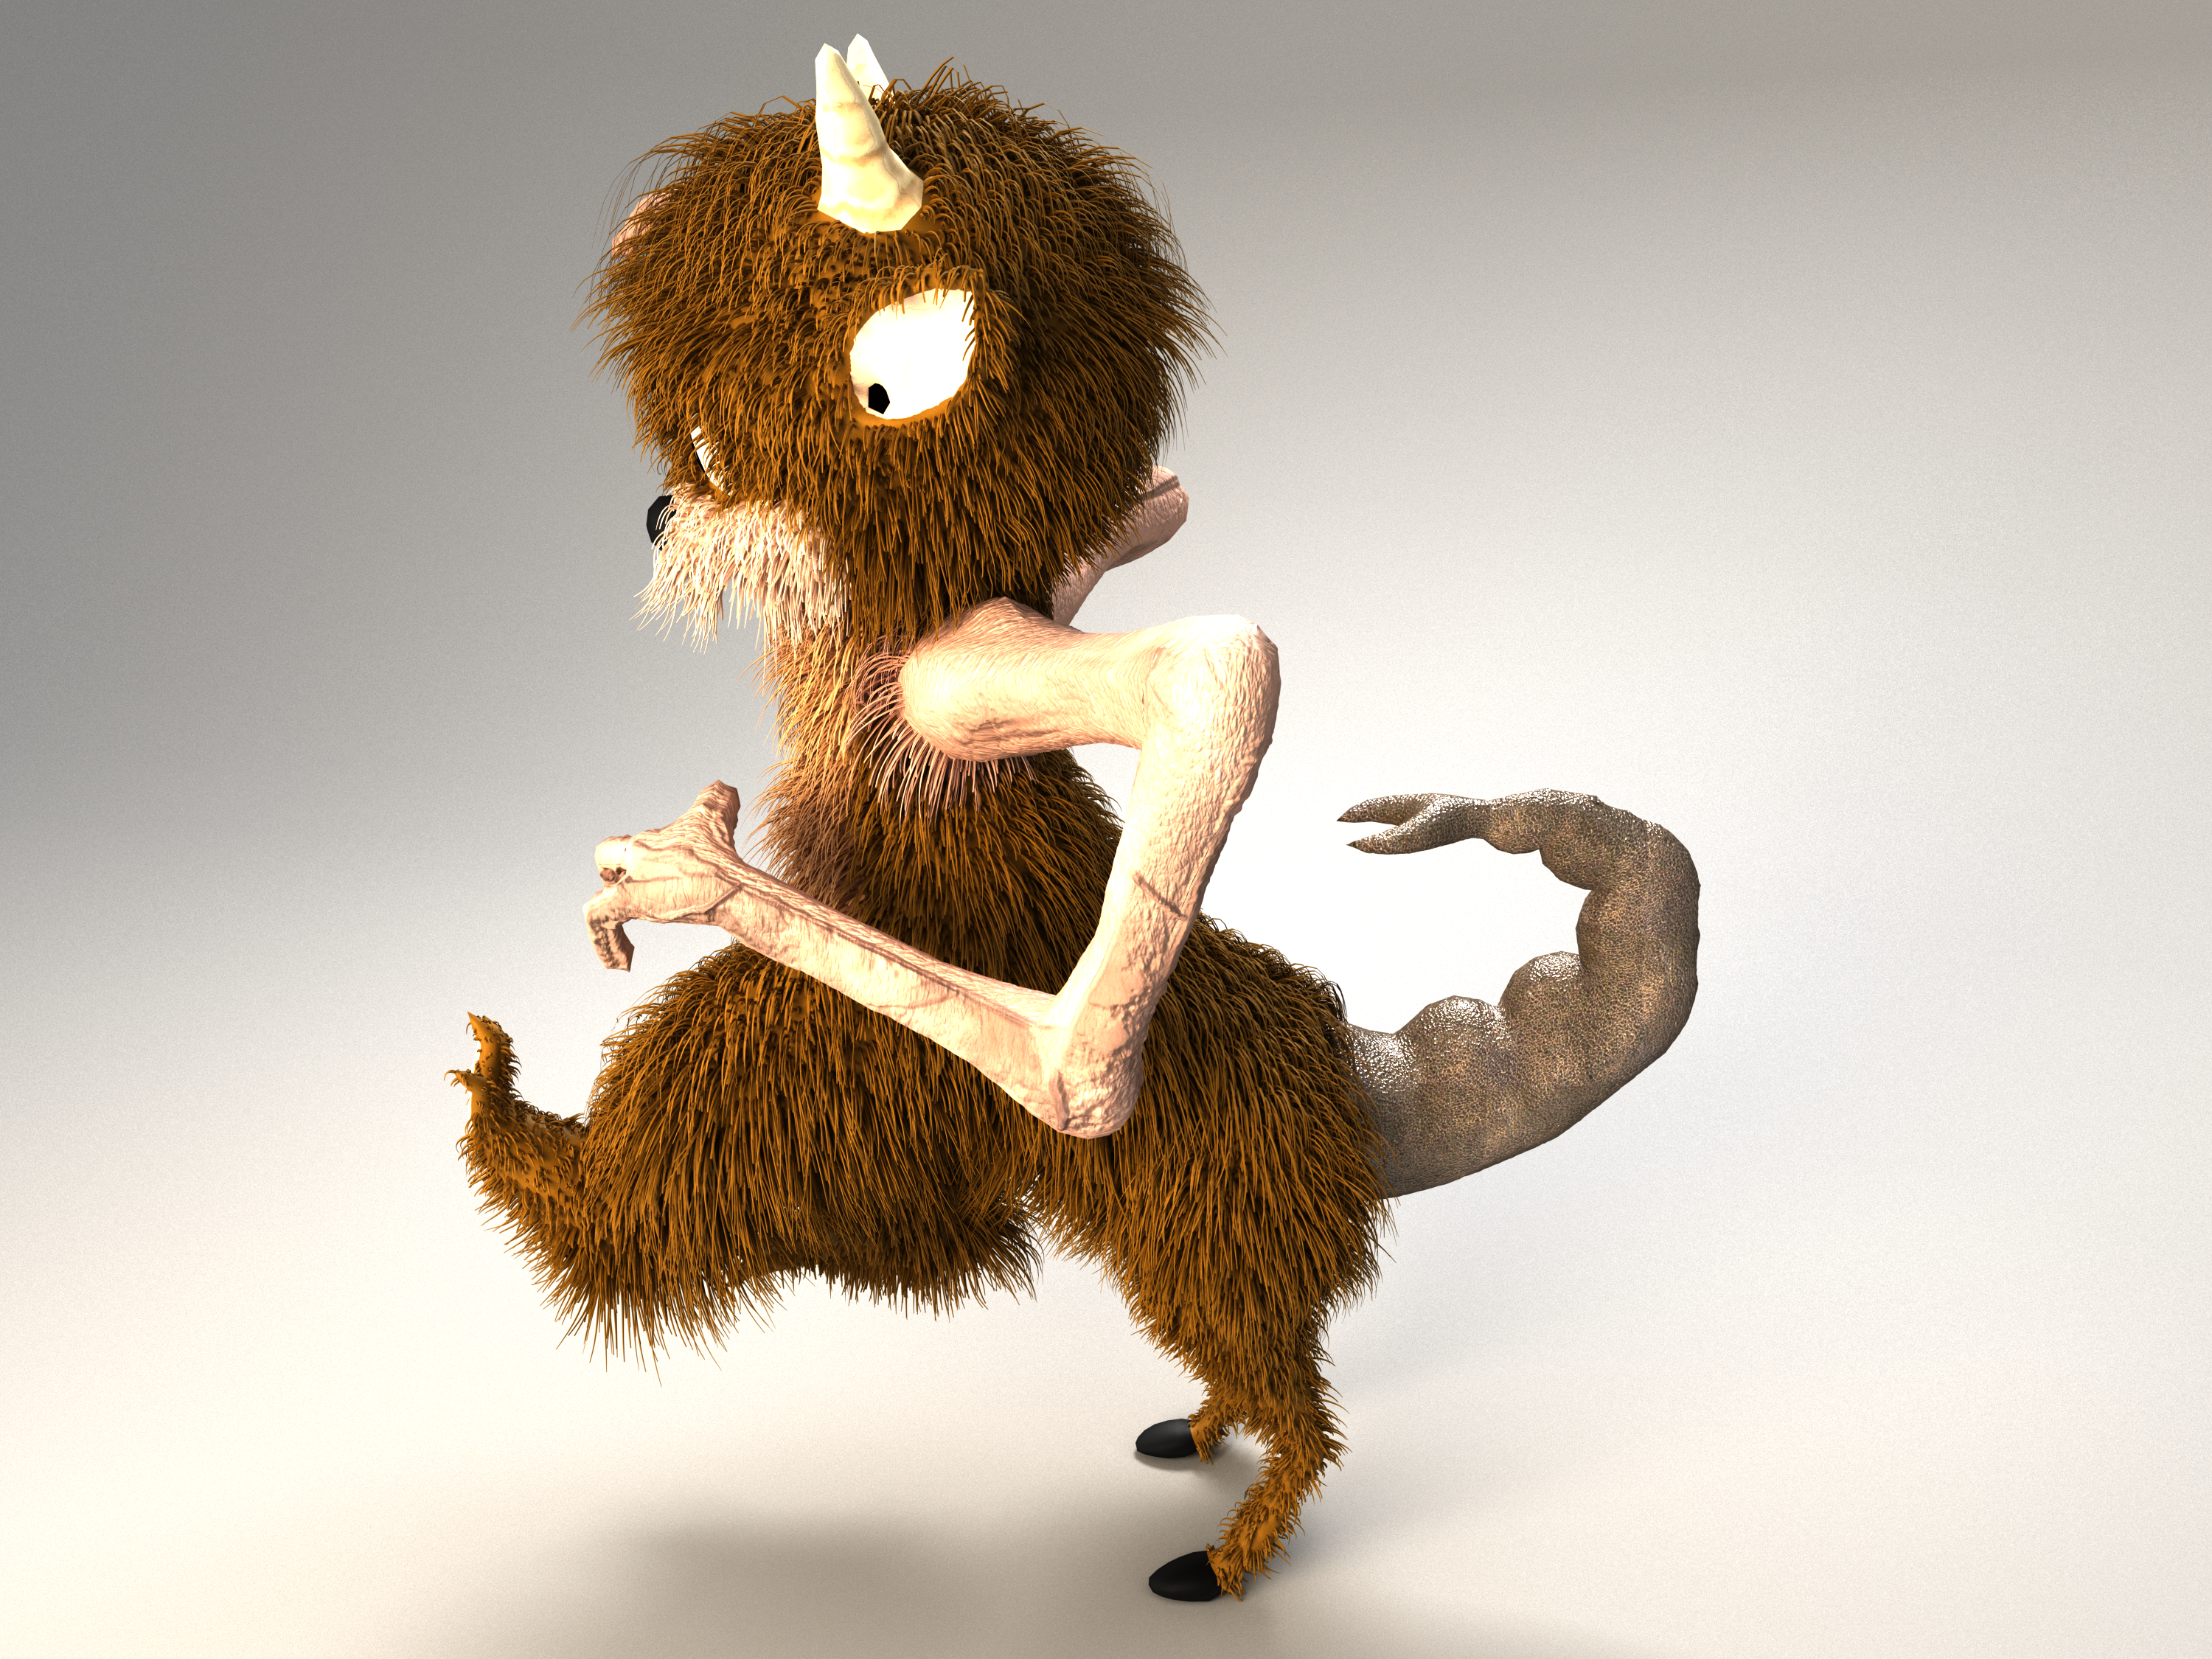
At Lightbox Academy, we were tasked with creating a fully organic character. I began combining features from different creatures, experimenting with various shapes and characteristics until I developed a unique mutant hybrid.
Objetives
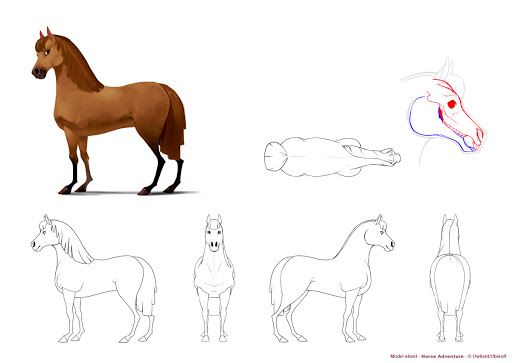
Since the character is a hybrid, I based its design on references from several different creatures: a bear for the humanoid upper body, a horse for the hindquarters, and a scorpion for the tail.
Process
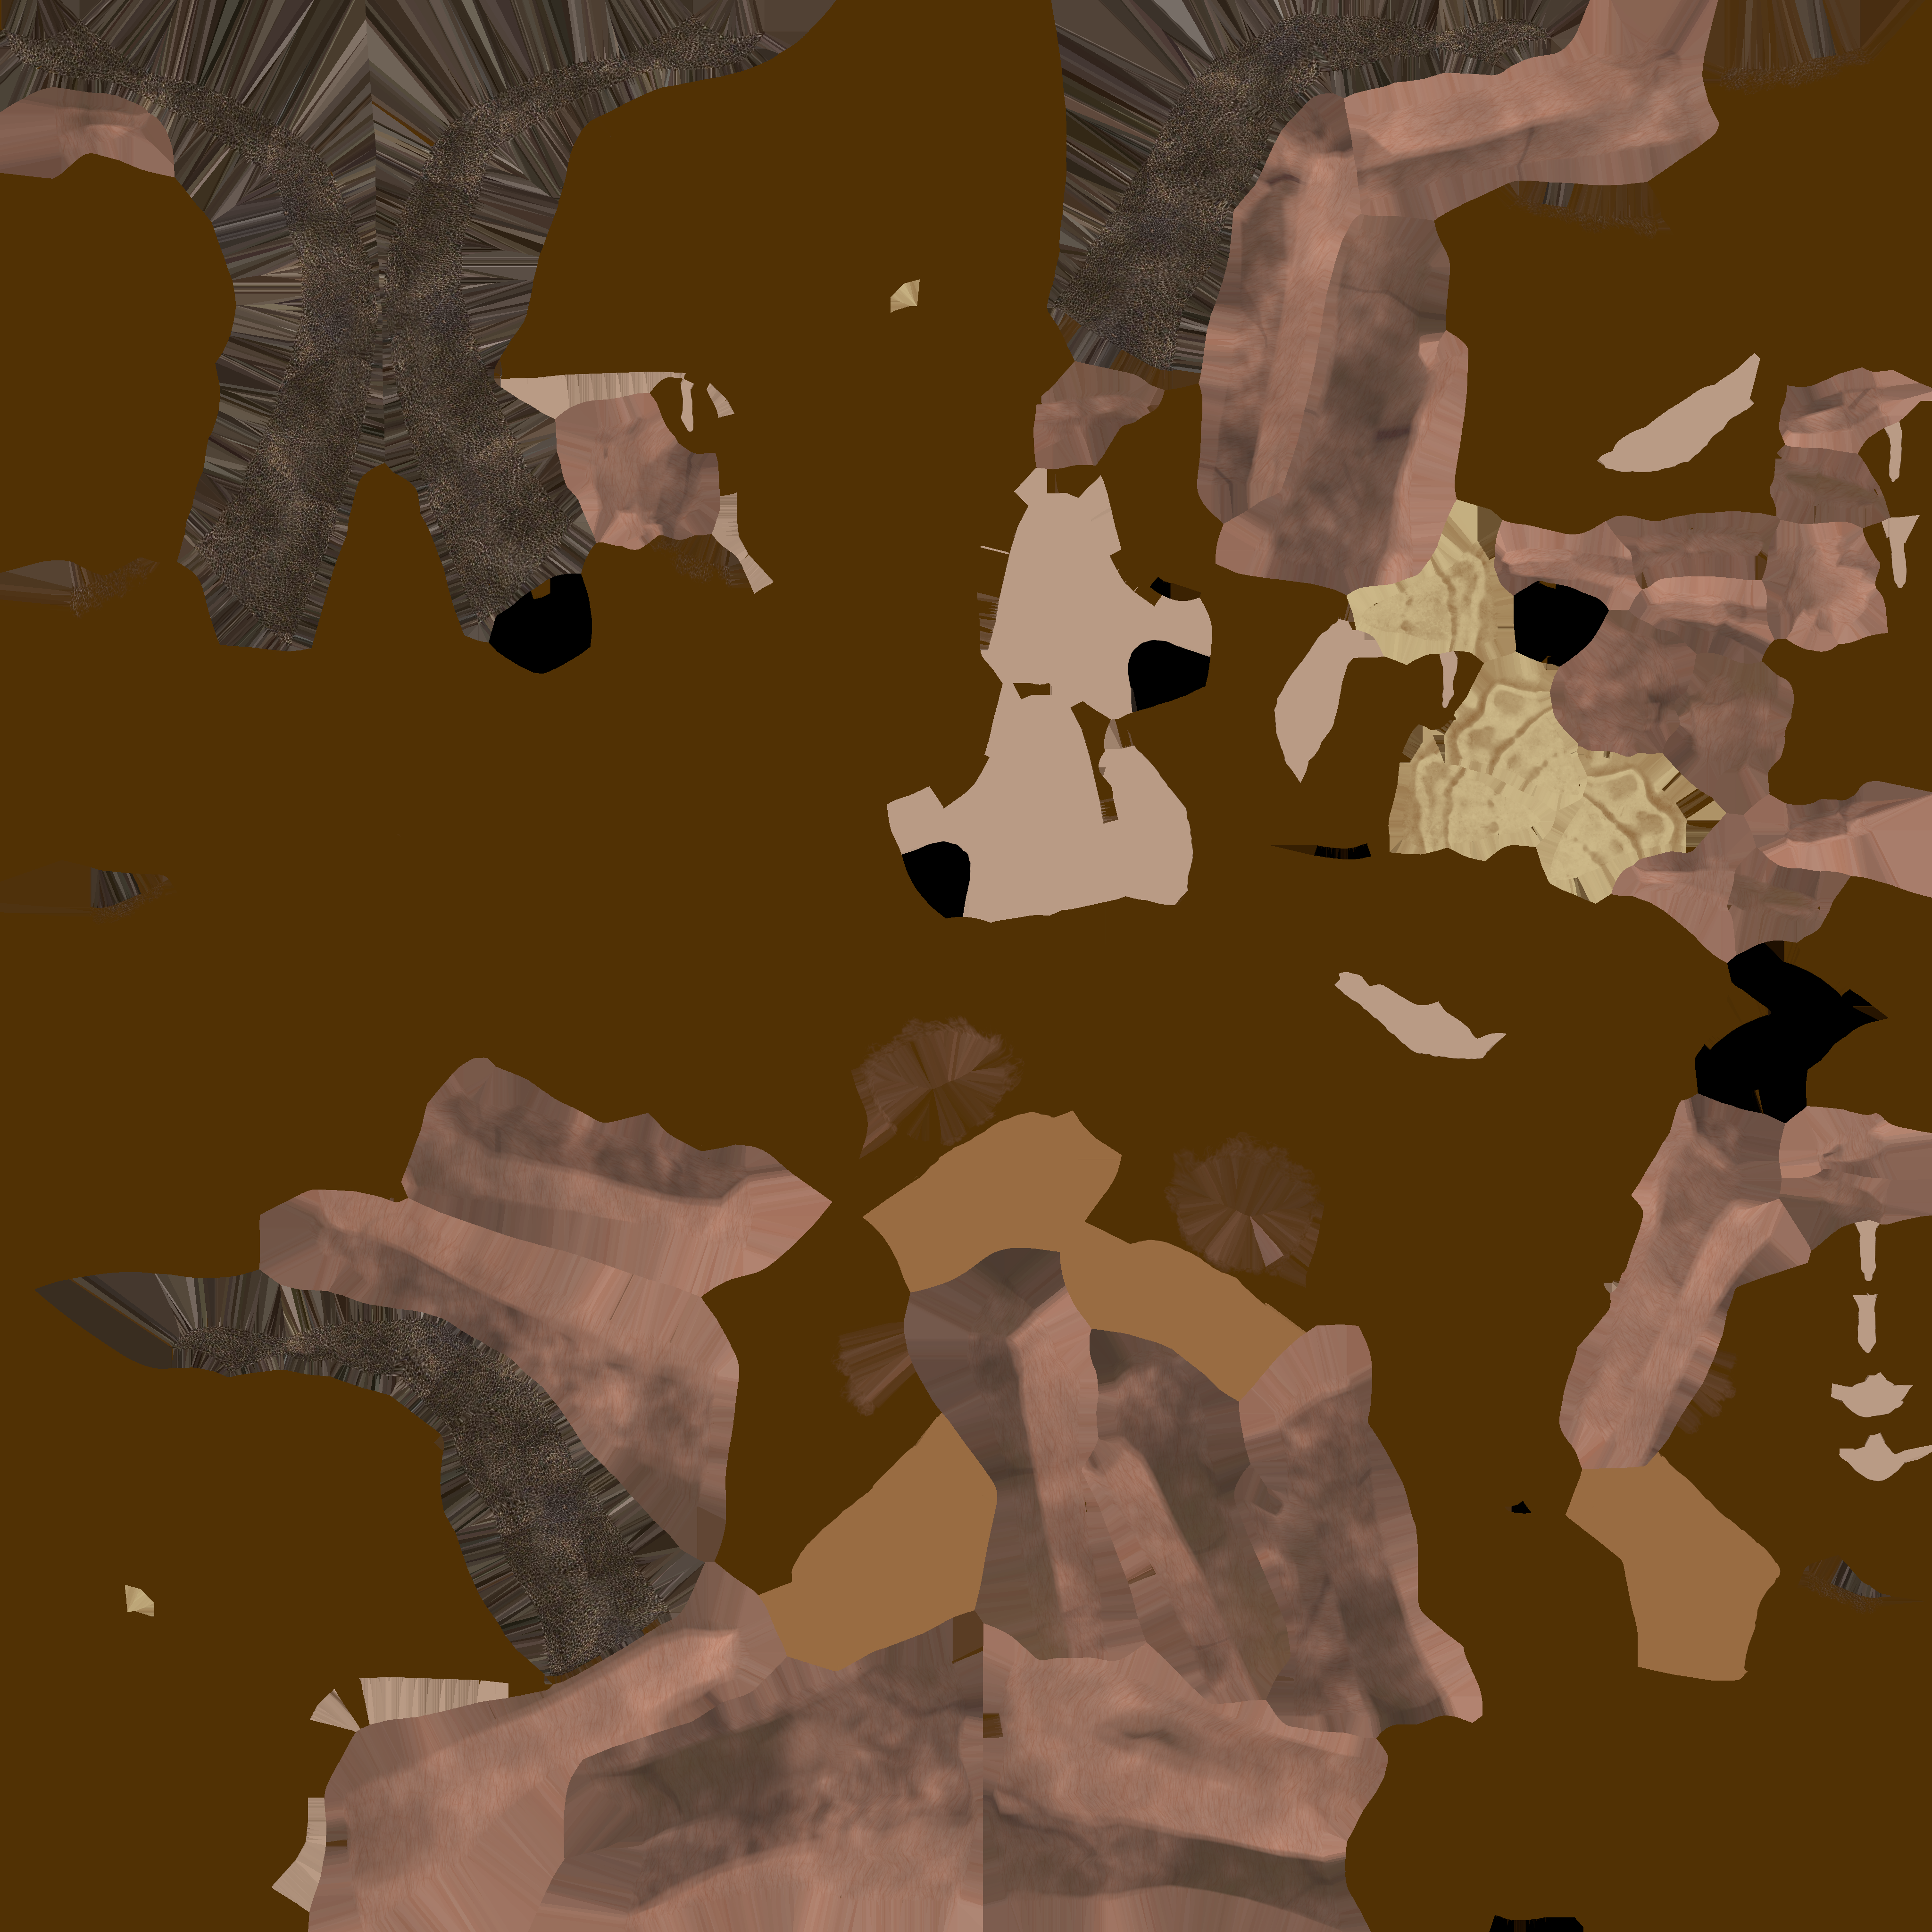
The entire modeling process was carried out in ZBrush. I then used 3ds Max for the finishing touches, including the UV mapping and hair effects. Finally, I textured and painted the model in Substance Painter, applying the appropriate materials and surface details.
Result
A creature presented in a carefully designed pose and lighting setup to enhance its visual impact and bring out the details of the final render.
Proyect 03 · Weapon
Special Katar Dagger



History
At Lightbox Academy, we were asked to create an object, and I decided to create a bladed weapon.
Objetives
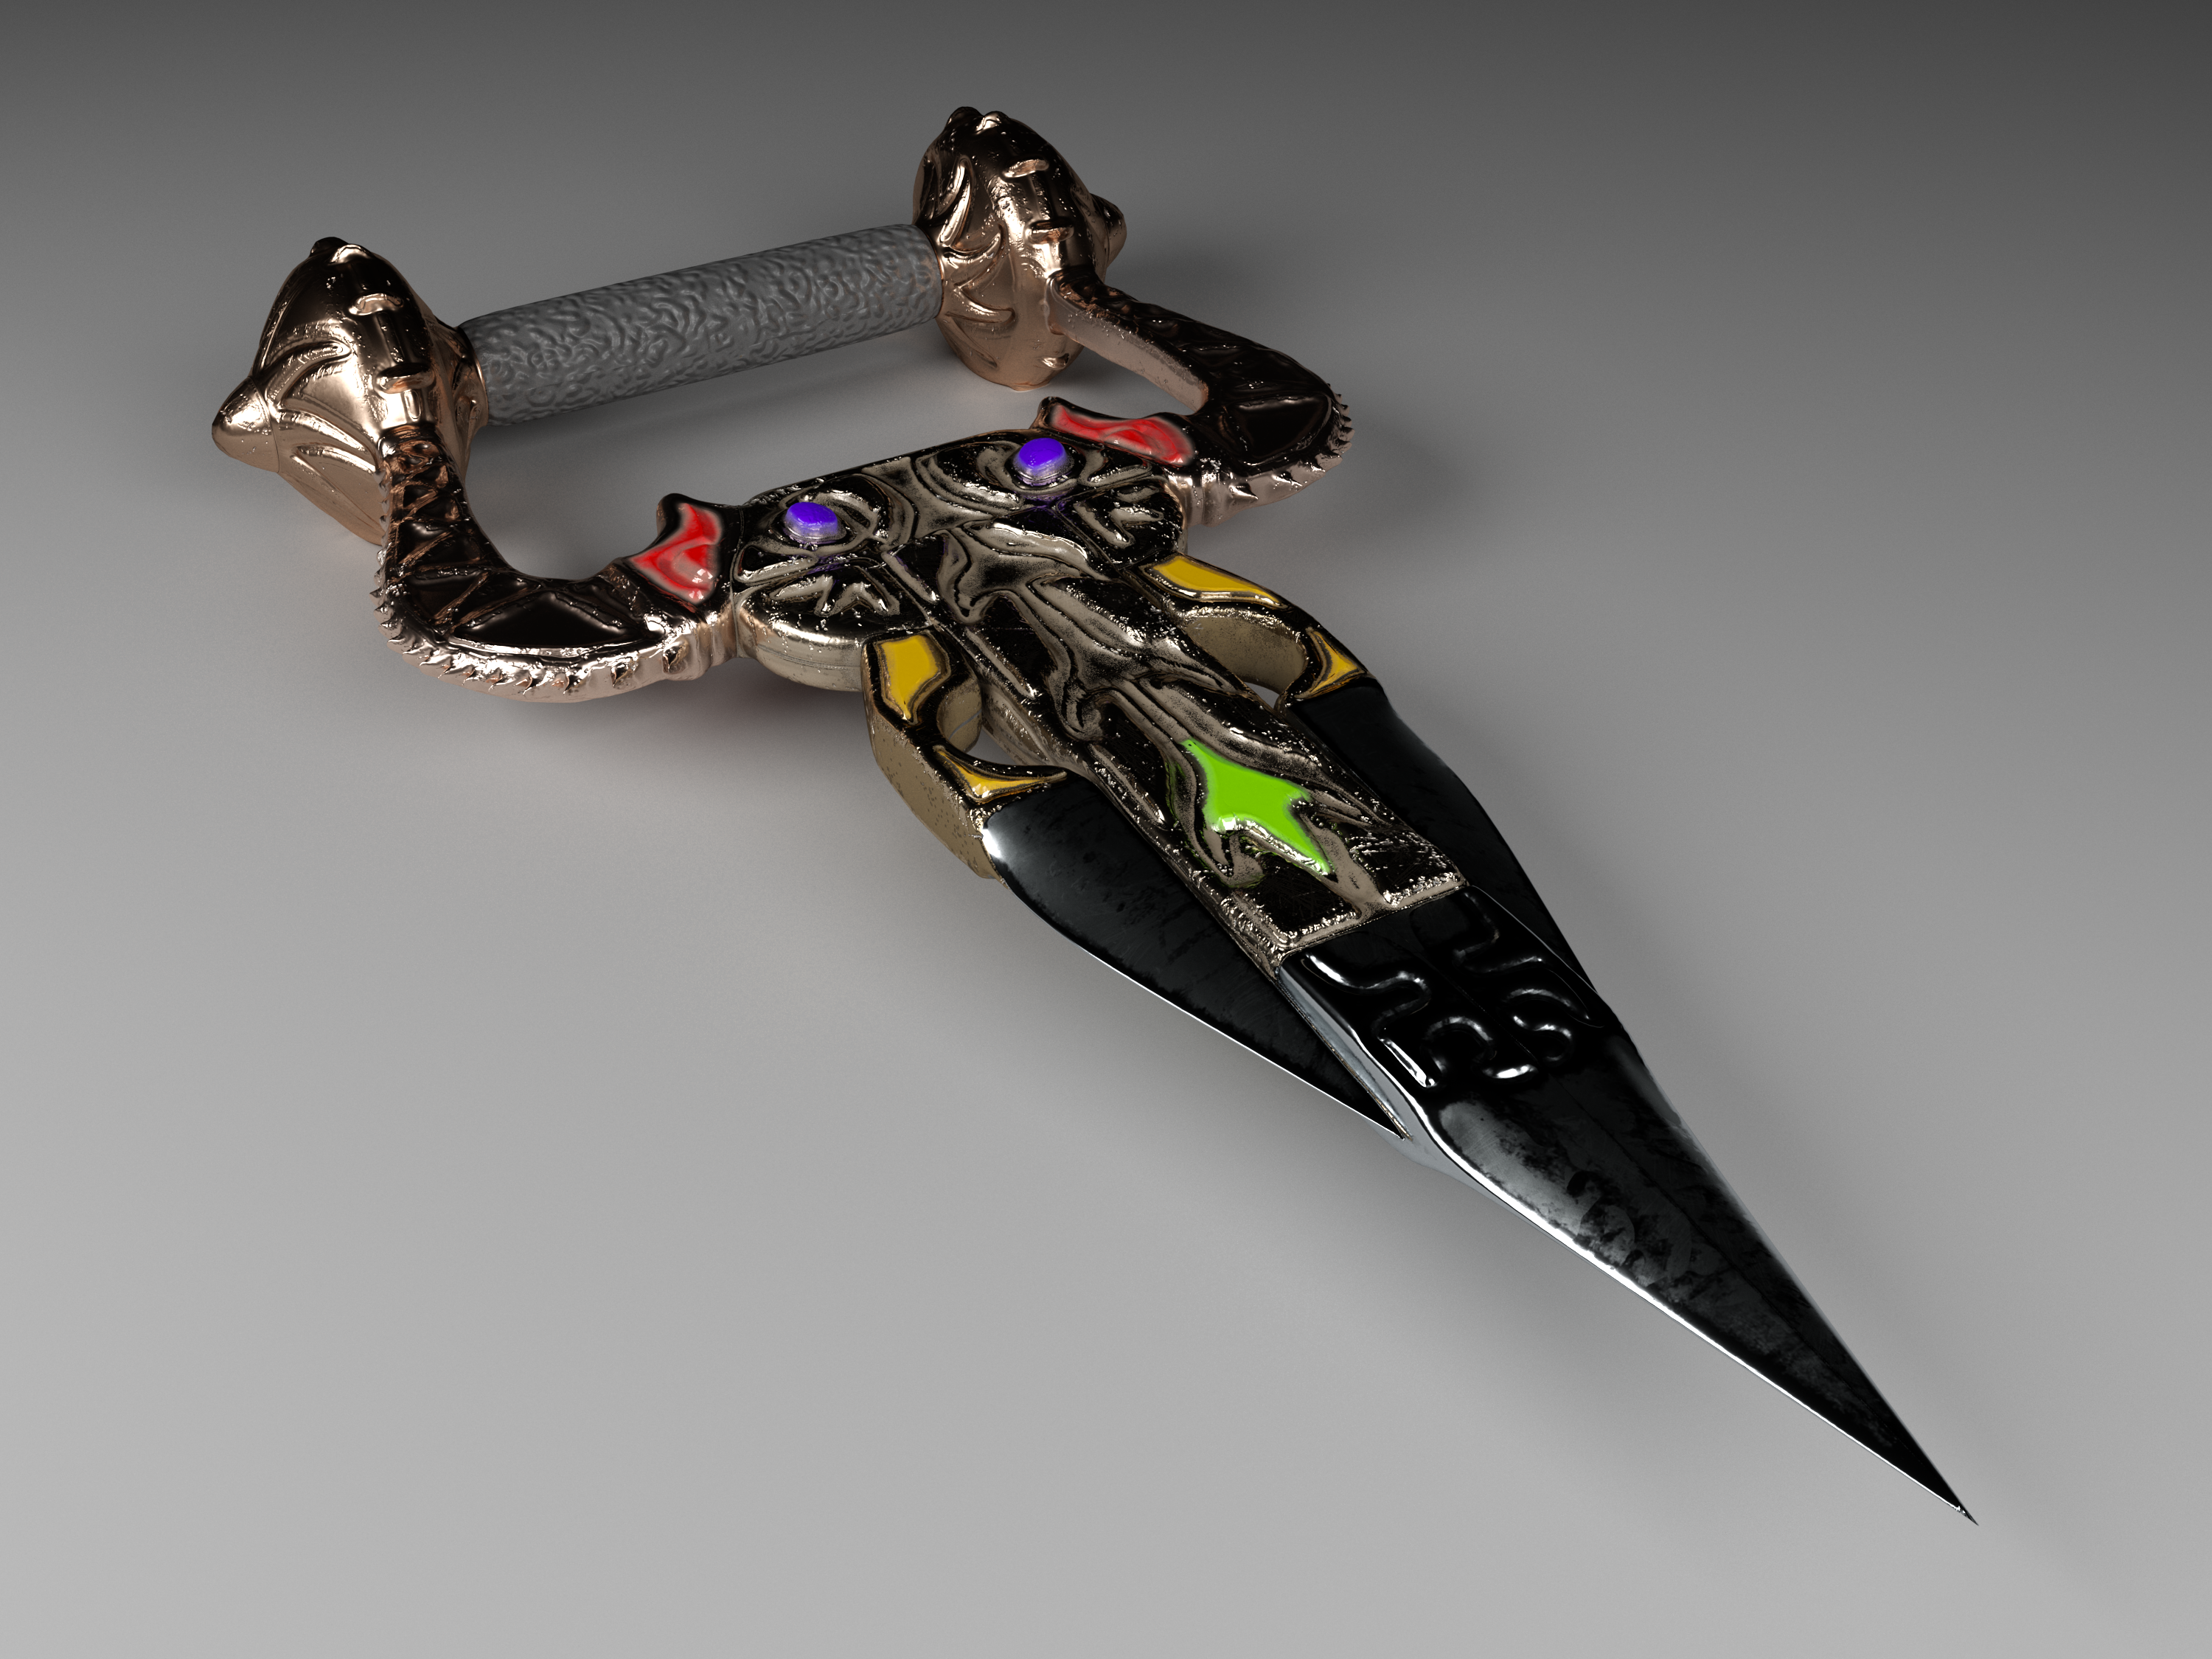
I chose to design a weapon that I would personally enjoy owning and using, so I added several distinctive details, including embedded gems and a mechanism that allows the weapon to open and reveal a hidden gun port for firing.
Process
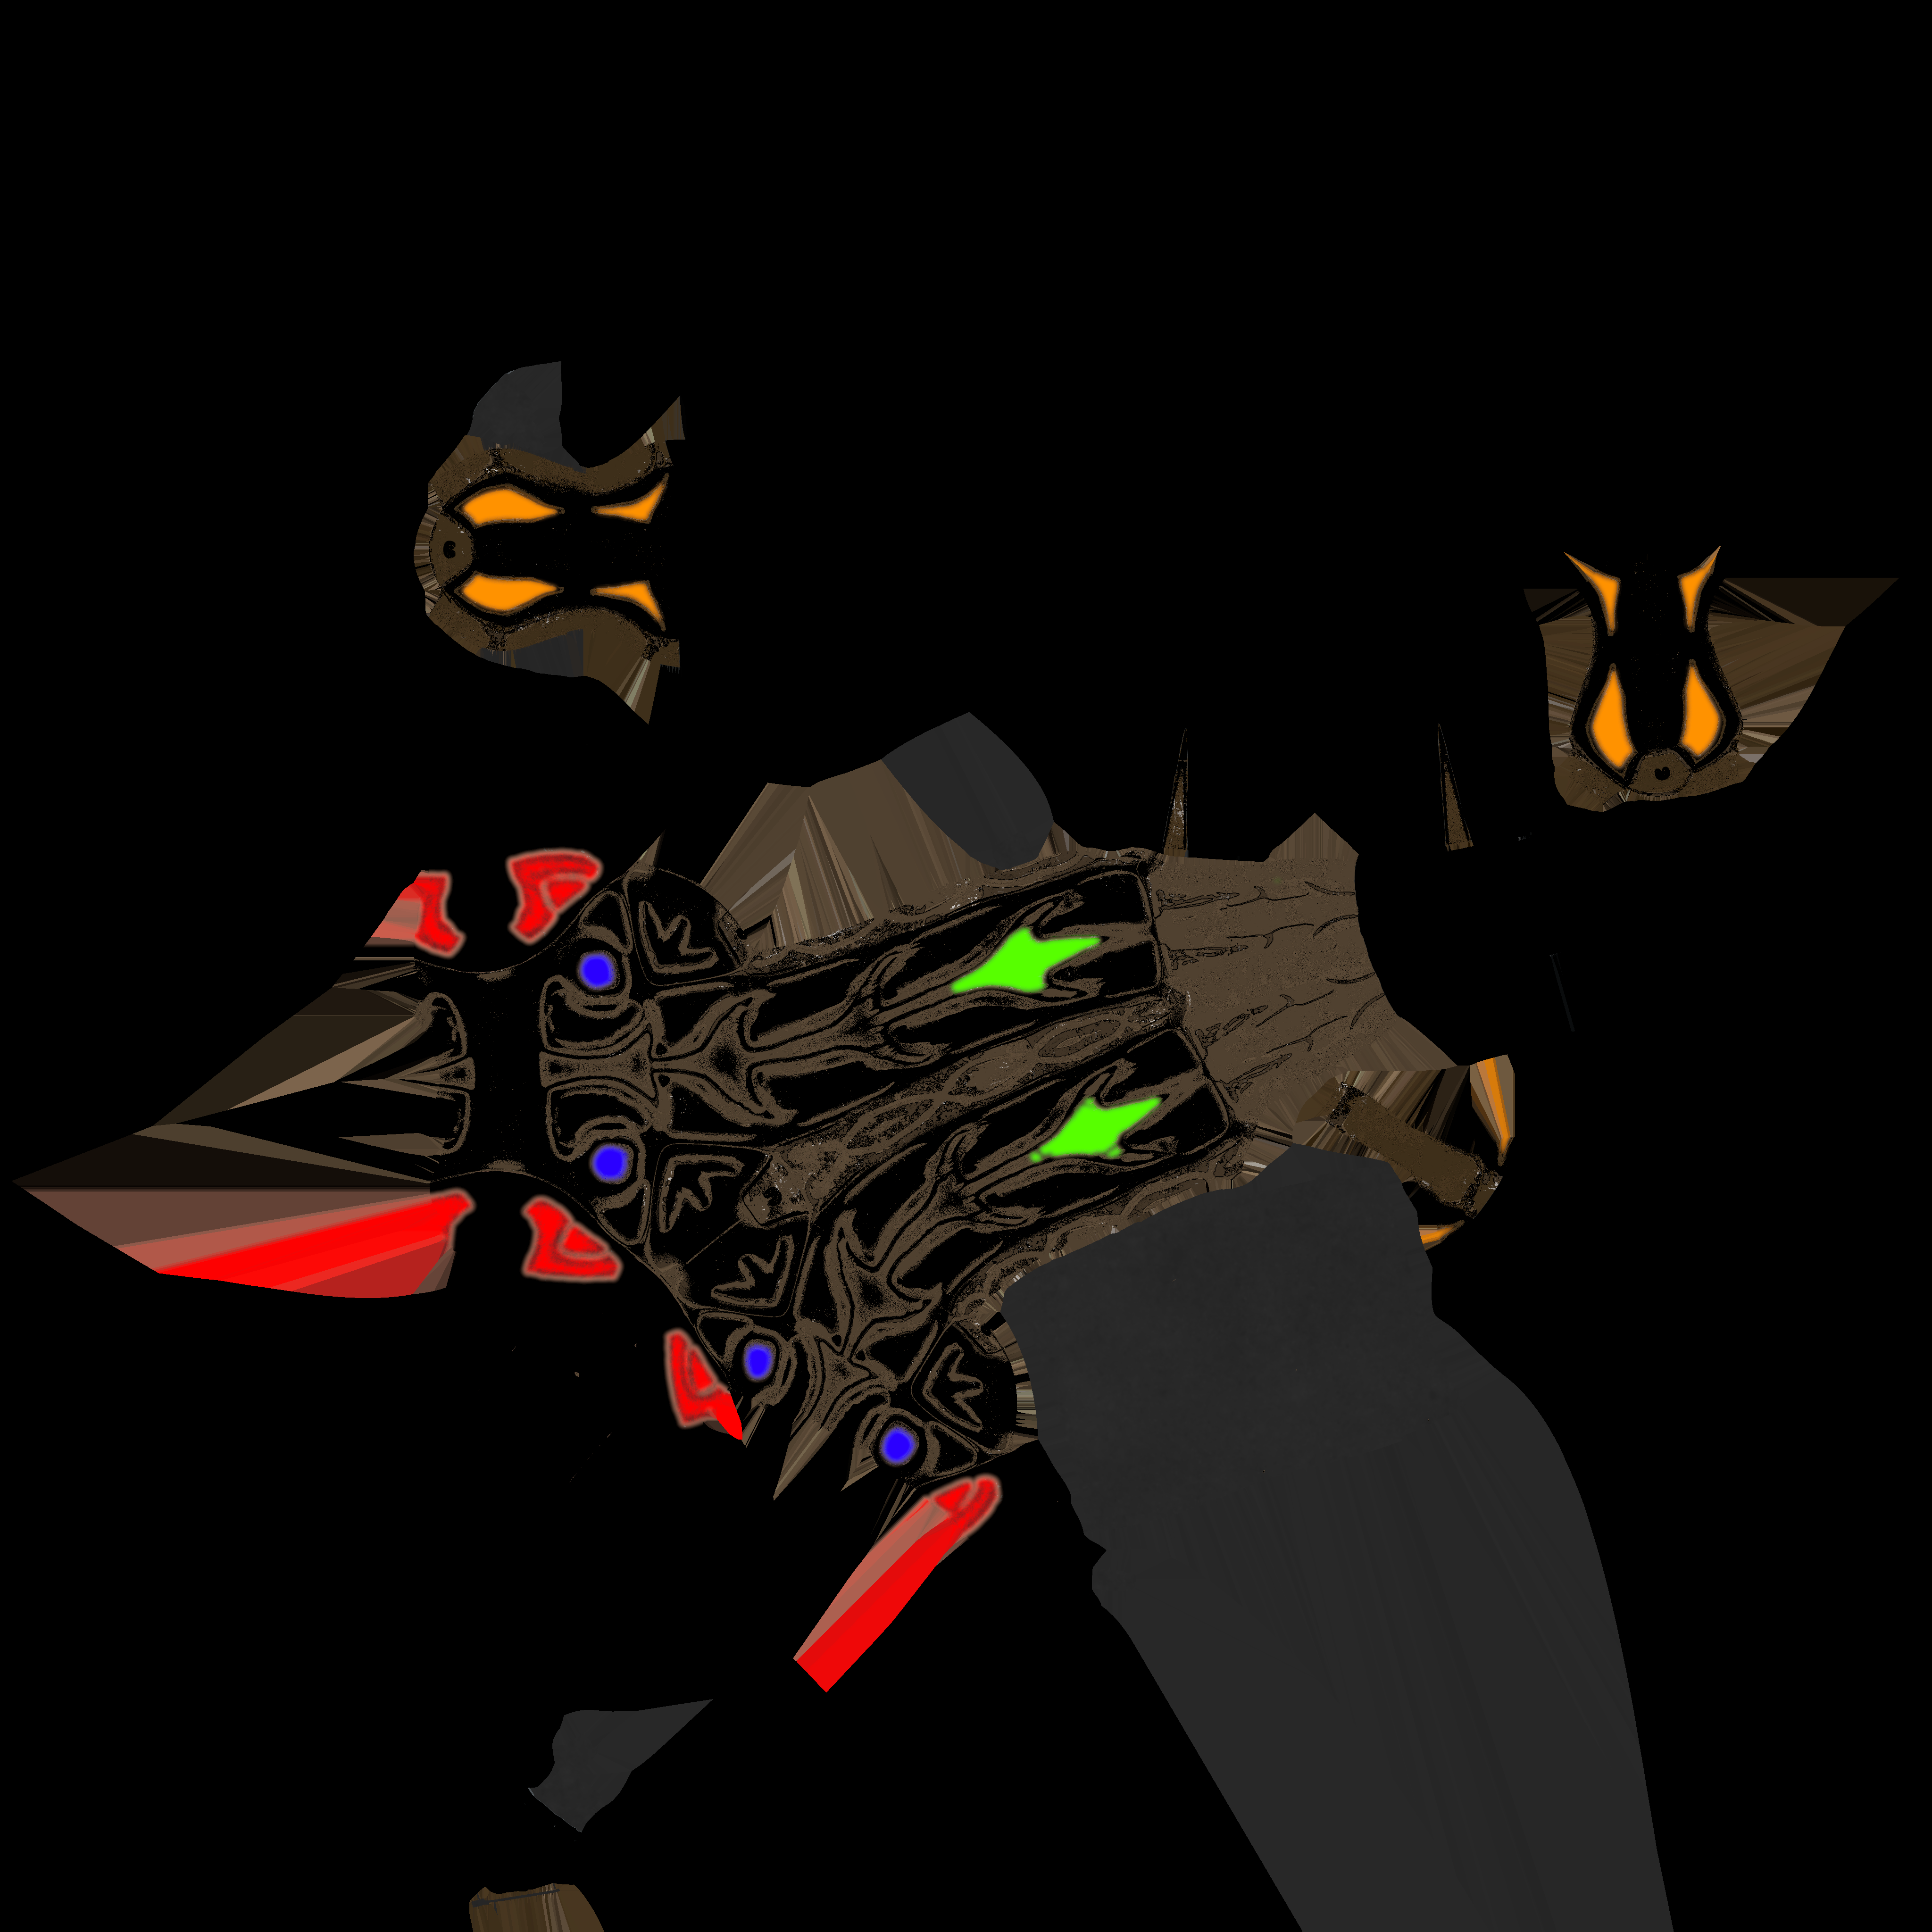
The weapon was modeled in 3ds Max, with additional details sculpted in ZBrush. The UV mapping was also completed in 3ds Max, while Substance Painter was used for painting and texturing to achieve a realistic metallic finish.
Result
A bladed firearm viewed from various angles, enhanced with lighting effects to highlight its design and details.
Proyect 04 · Character
Raptor Man

History
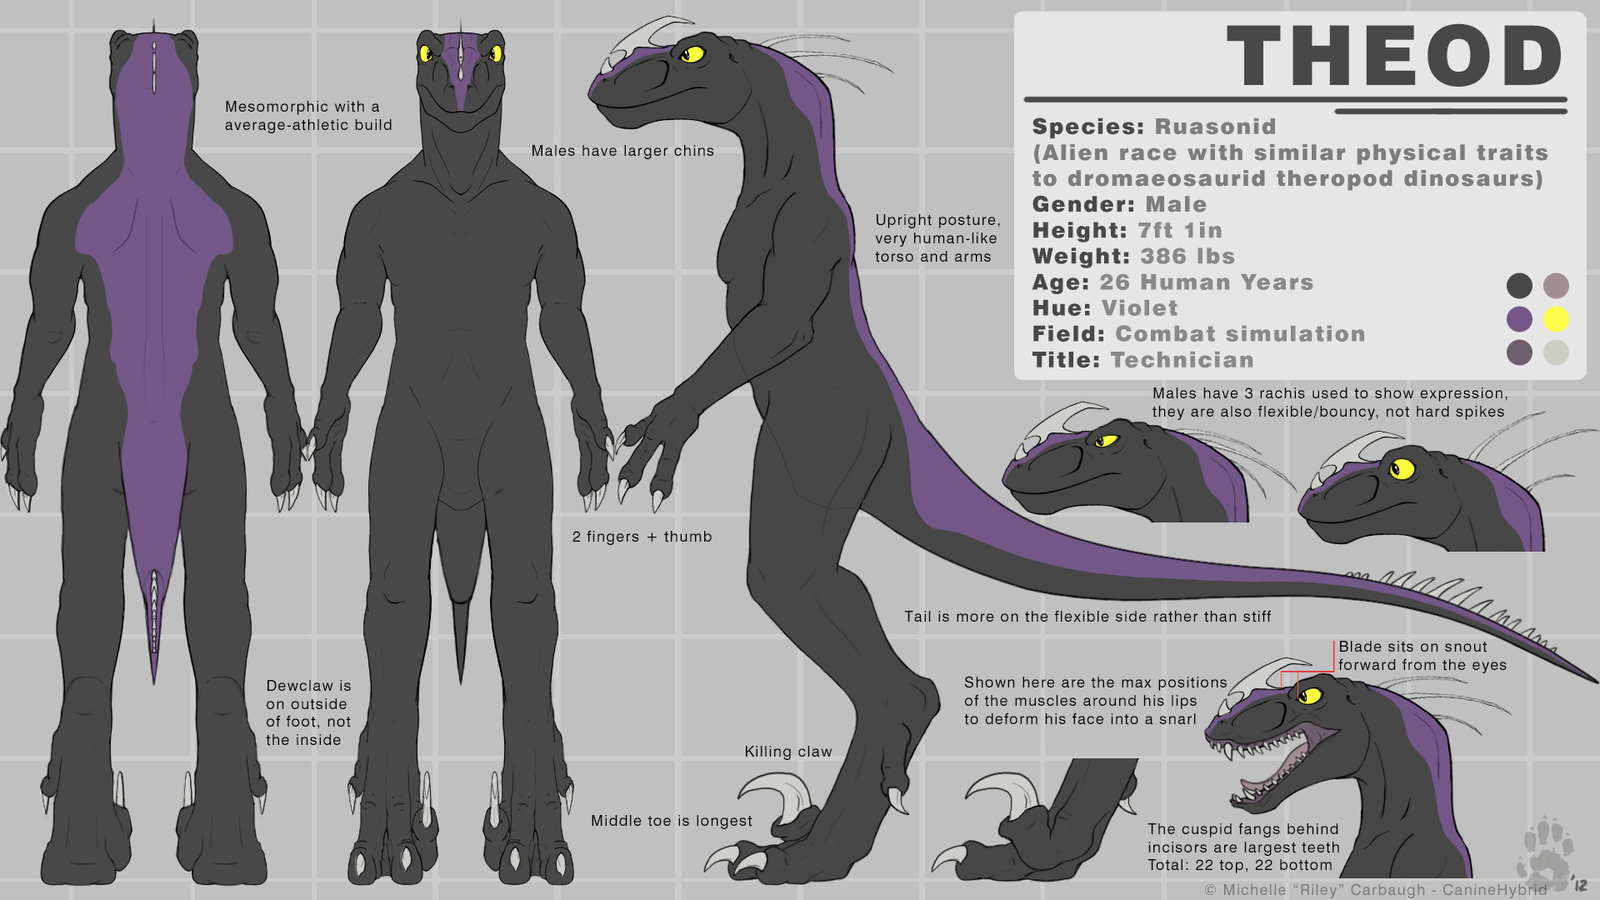
It all started at MasterD, where I was tasked with creating a 3D-modeled character. I decided to design a humanoid dinosaur based on a velociraptor, taking the Indoraptor from Jurassic World as my main reference.
Objetives
Using the reference image as a starting point, I worked from the base model and incorporated the Indoraptor’s distinctive features and characteristics.
Process
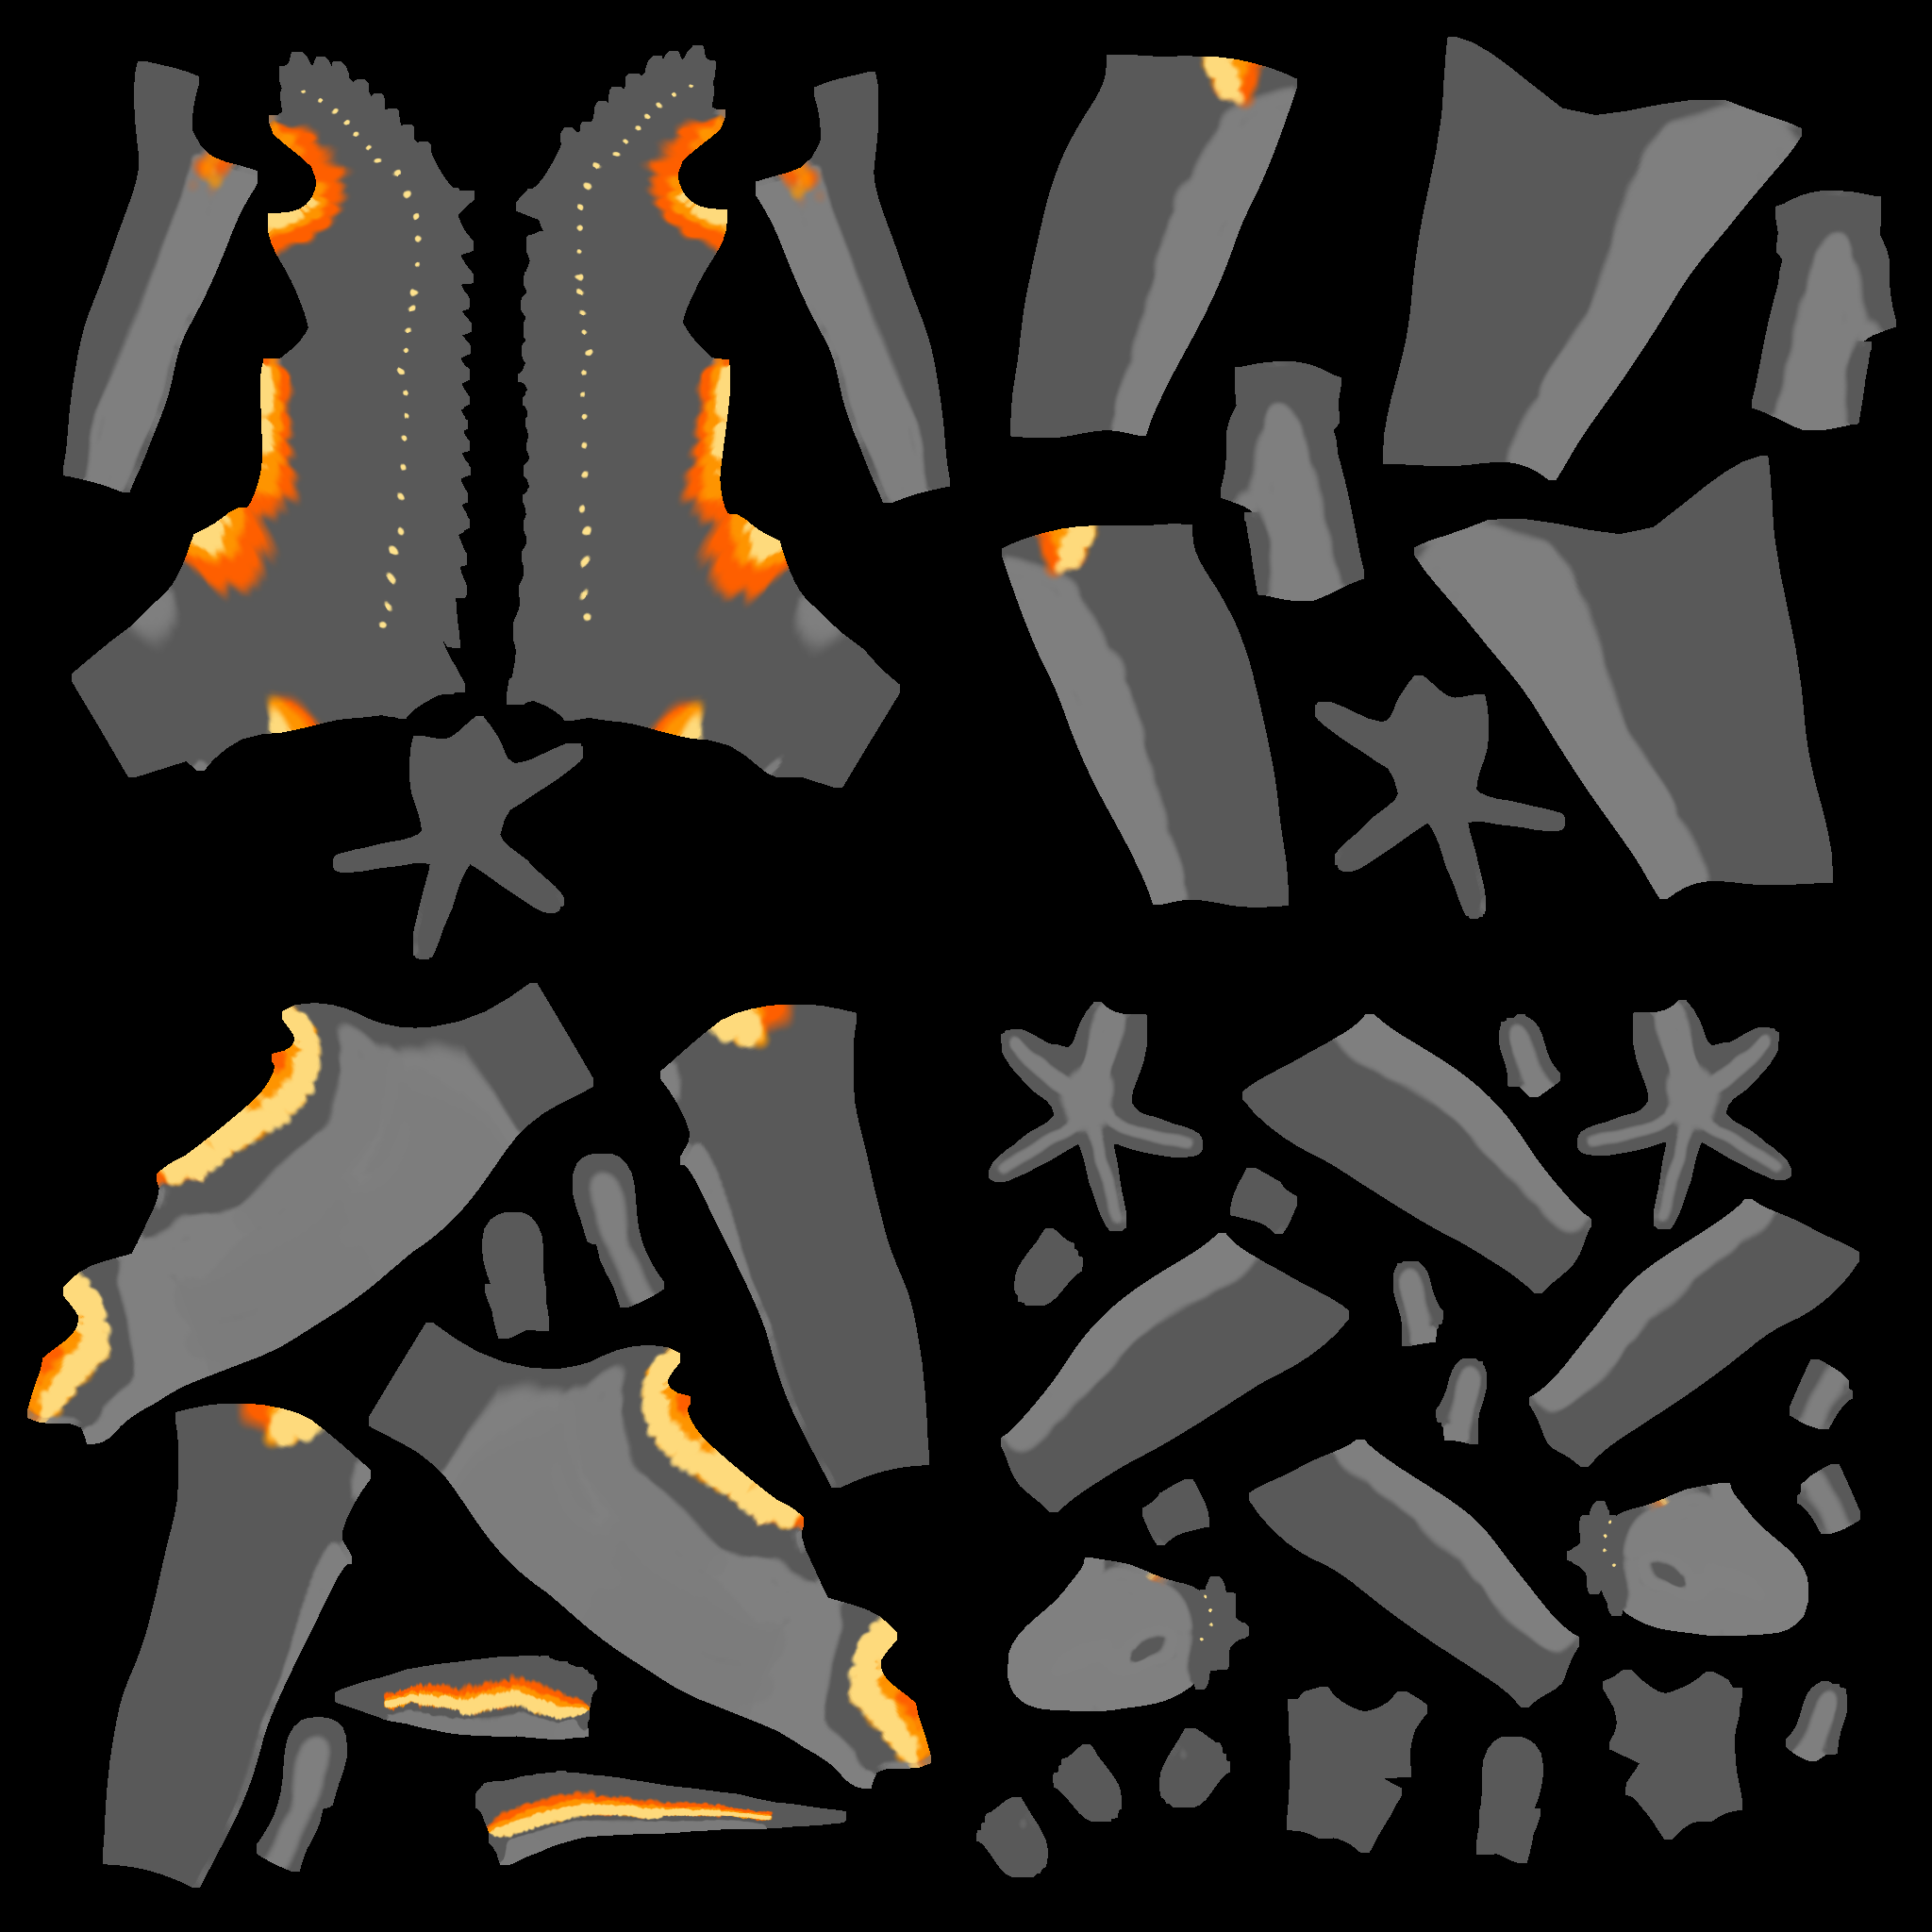
The character was modeled and UV-mapped in Maya, while the textures were painted in Photoshop. I then rigged the character and created a walking animation. Finally, Marmoset Toolbag was used to create the turntable video showcasing the finished model.
Result
After completing the character, I moved on to the next part of the exercise, which involved creating a setting for the character and then editing the final image in Photoshop.
Proyect 05 · Character
Cripdot
Story
After designing this character in Photoshop, I decided to take the concept a step further by turning it into a 3D model as a personal project.
Objectives
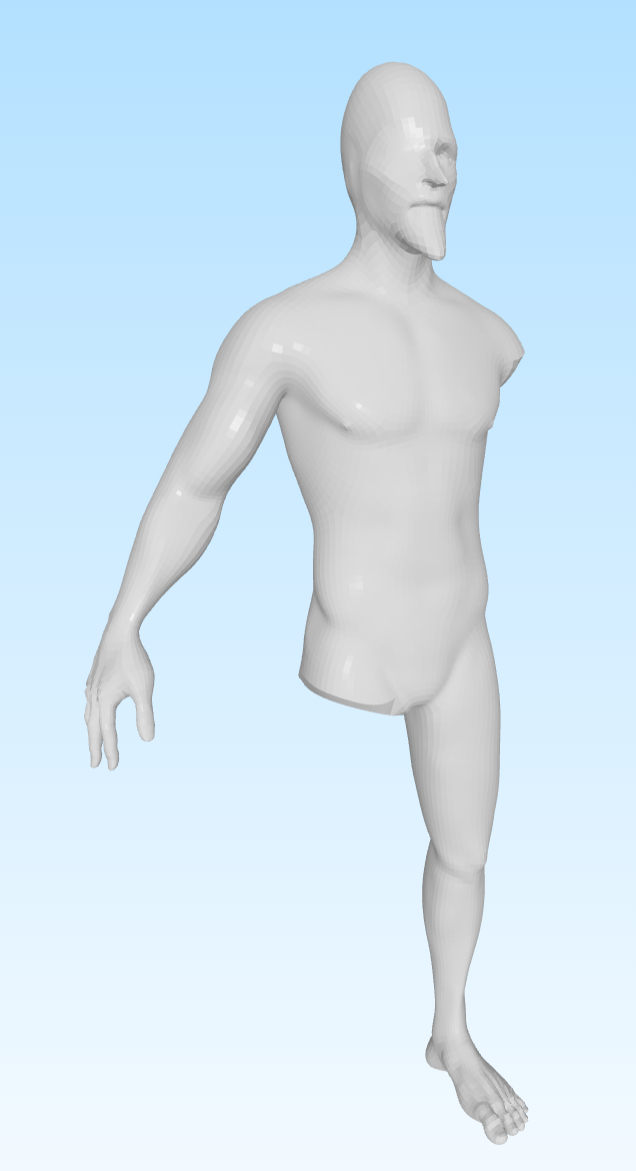
Originally, I created the entire model in 3ds Max, but after learning how to use ZBrush, I decided to revisit the project and use it to further refine and improve the model.
Process
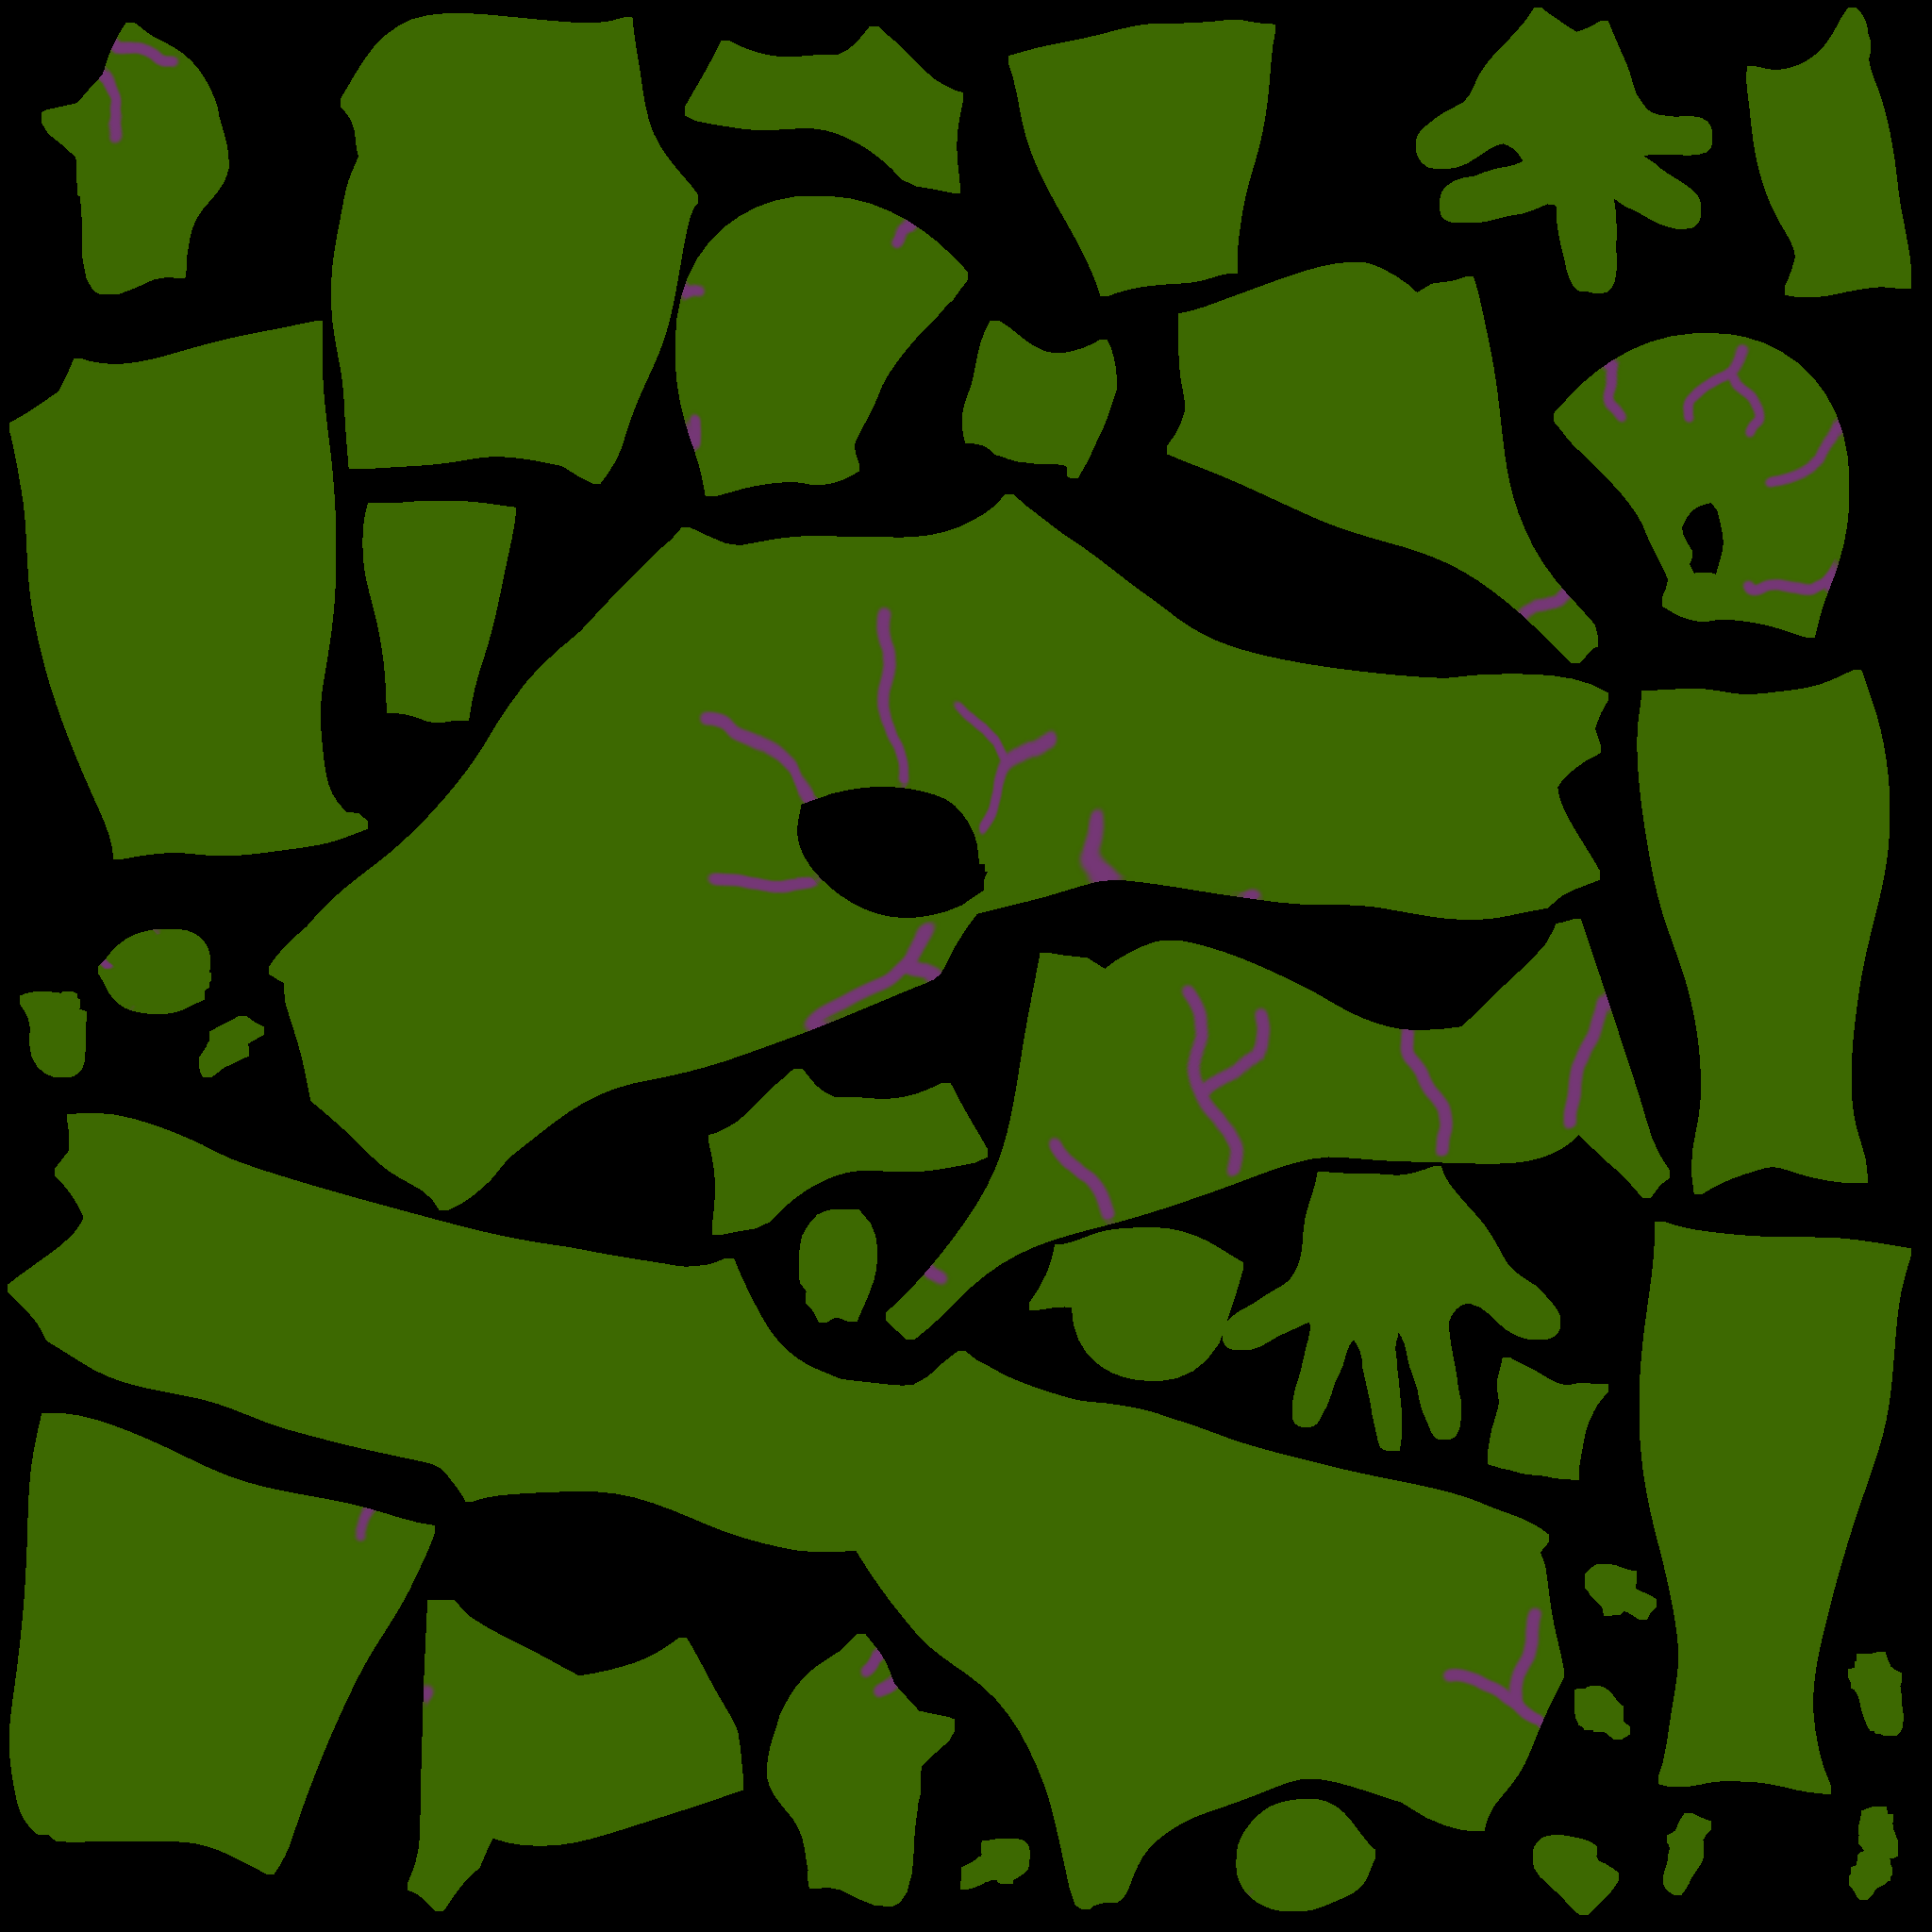
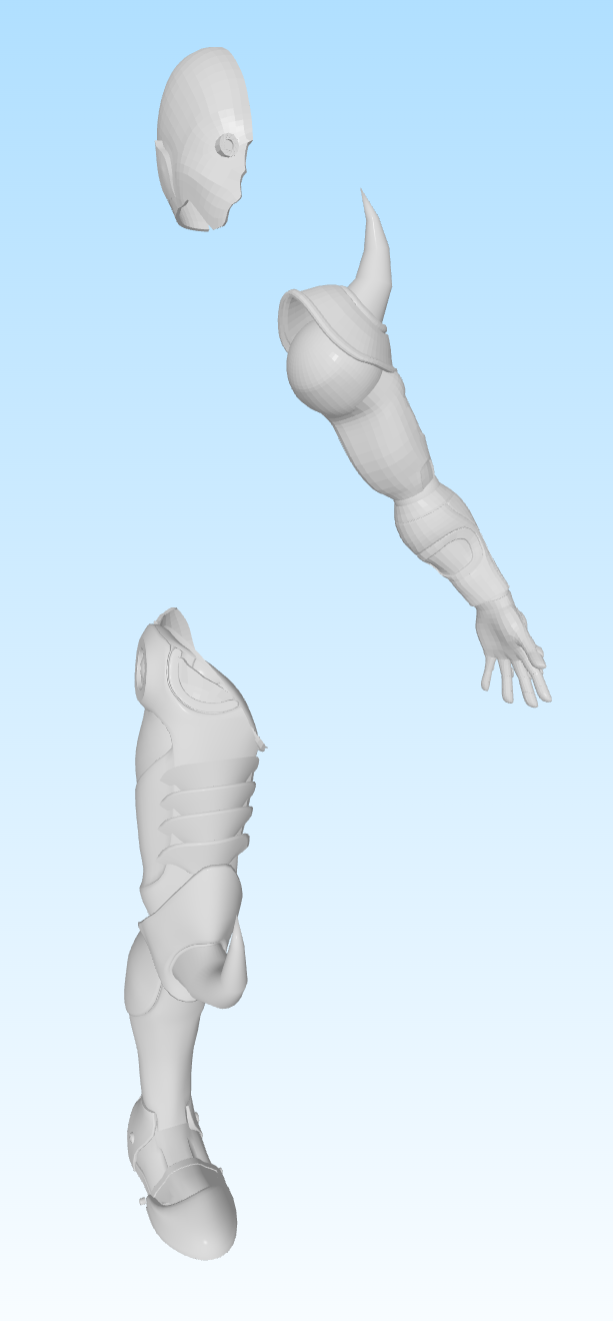
I started by creating and refining the organic parts in ZBrush, while the robotic elements were modeled in 3ds Max. The UV mapping for the organic parts was also completed in 3ds Max, with the textures painted in Photoshop. Finally, I used Marmoset Toolbag to create the turntable video showcasing the finished character.
Result
A more refined and realistic version of a character I first imagined during my early years of exploring the creative audiovisual world.
Proyect 06 · Character
Barsob
History
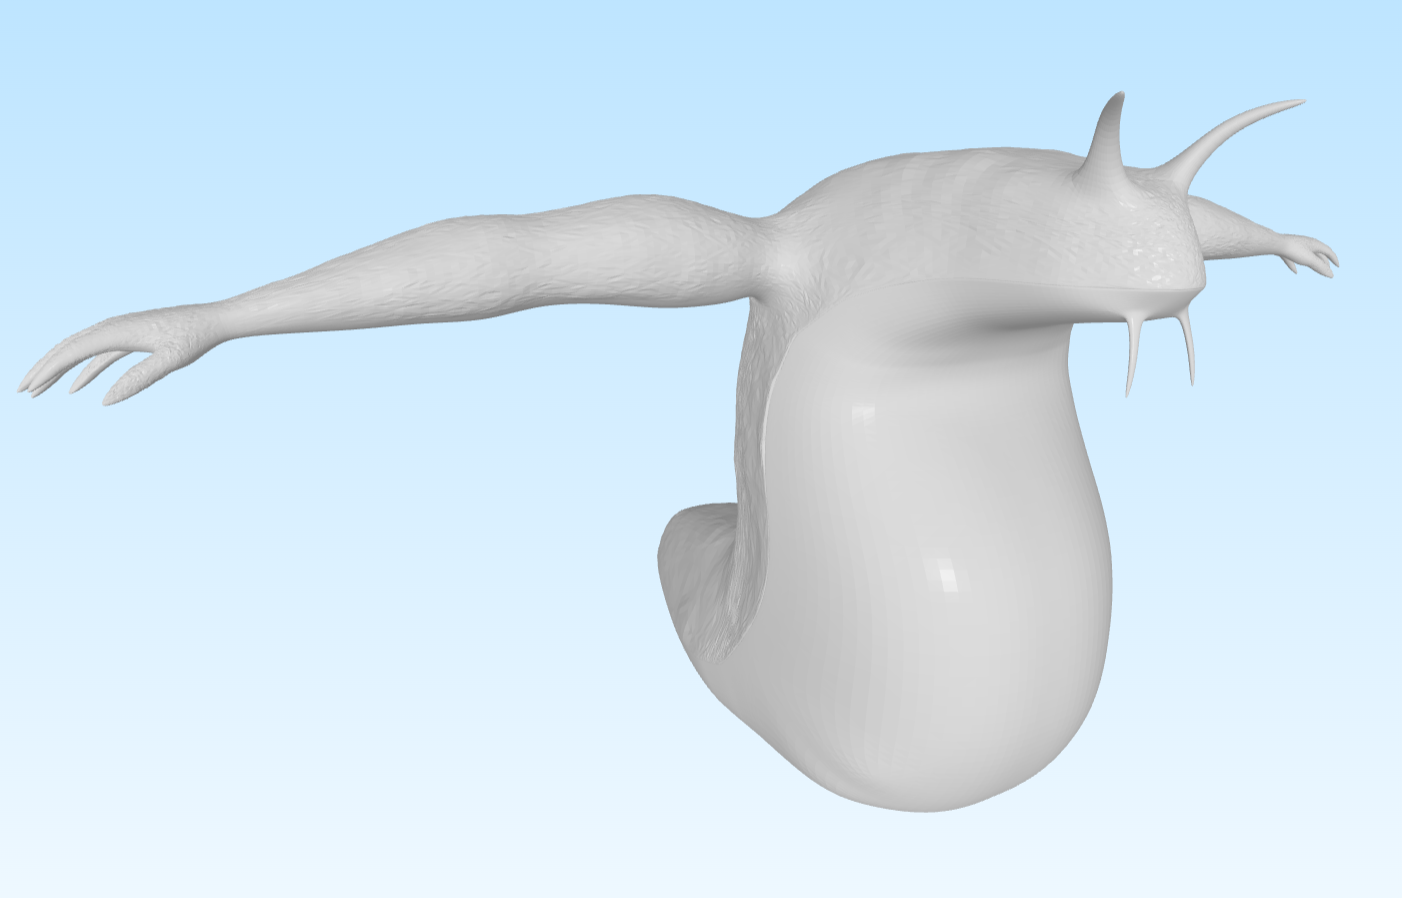
Wanting to experiment further with 3D modeling software, I decided to create another character: a slug with somewhat muscular arms.
Objetives
Since the character is a slug, its overall design was fairly simple. I then focused on designing the arms based on human anatomy to give the character a more distinctive appearance.
Process
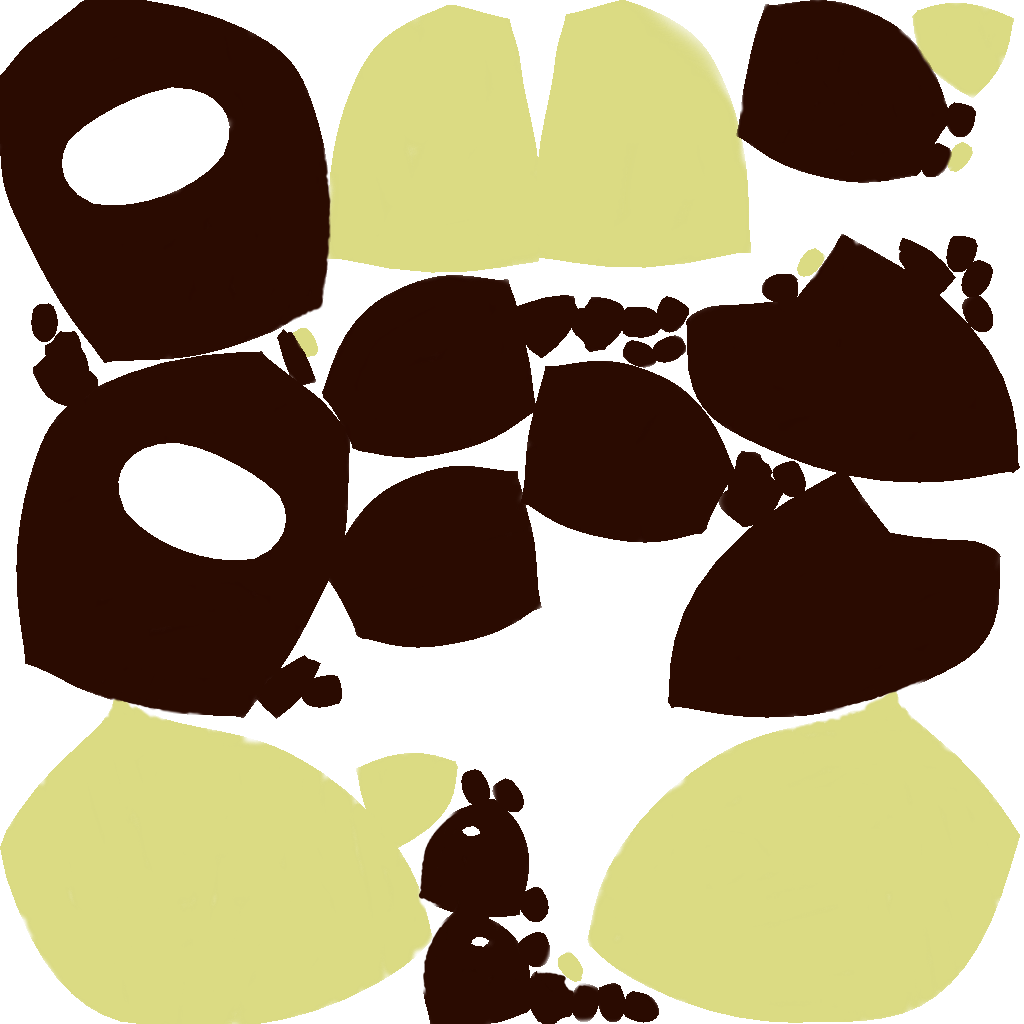
I created the character in Mudbox, where I sculpted the model and added the appropriate surface details to the body. I then imported it into 3ds Max to create the UV map, which I textured in Photoshop. Finally, I brought the finished model into Marmoset Toolbag to create the turntable video.
Result
Although the character design was fairly simple, I enjoyed the experience and the opportunity to continue practicing and refining my modeling and texturing techniques.
Proyect 07 · Character
Souling

Story
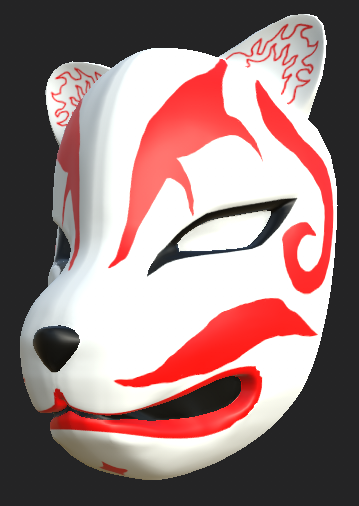
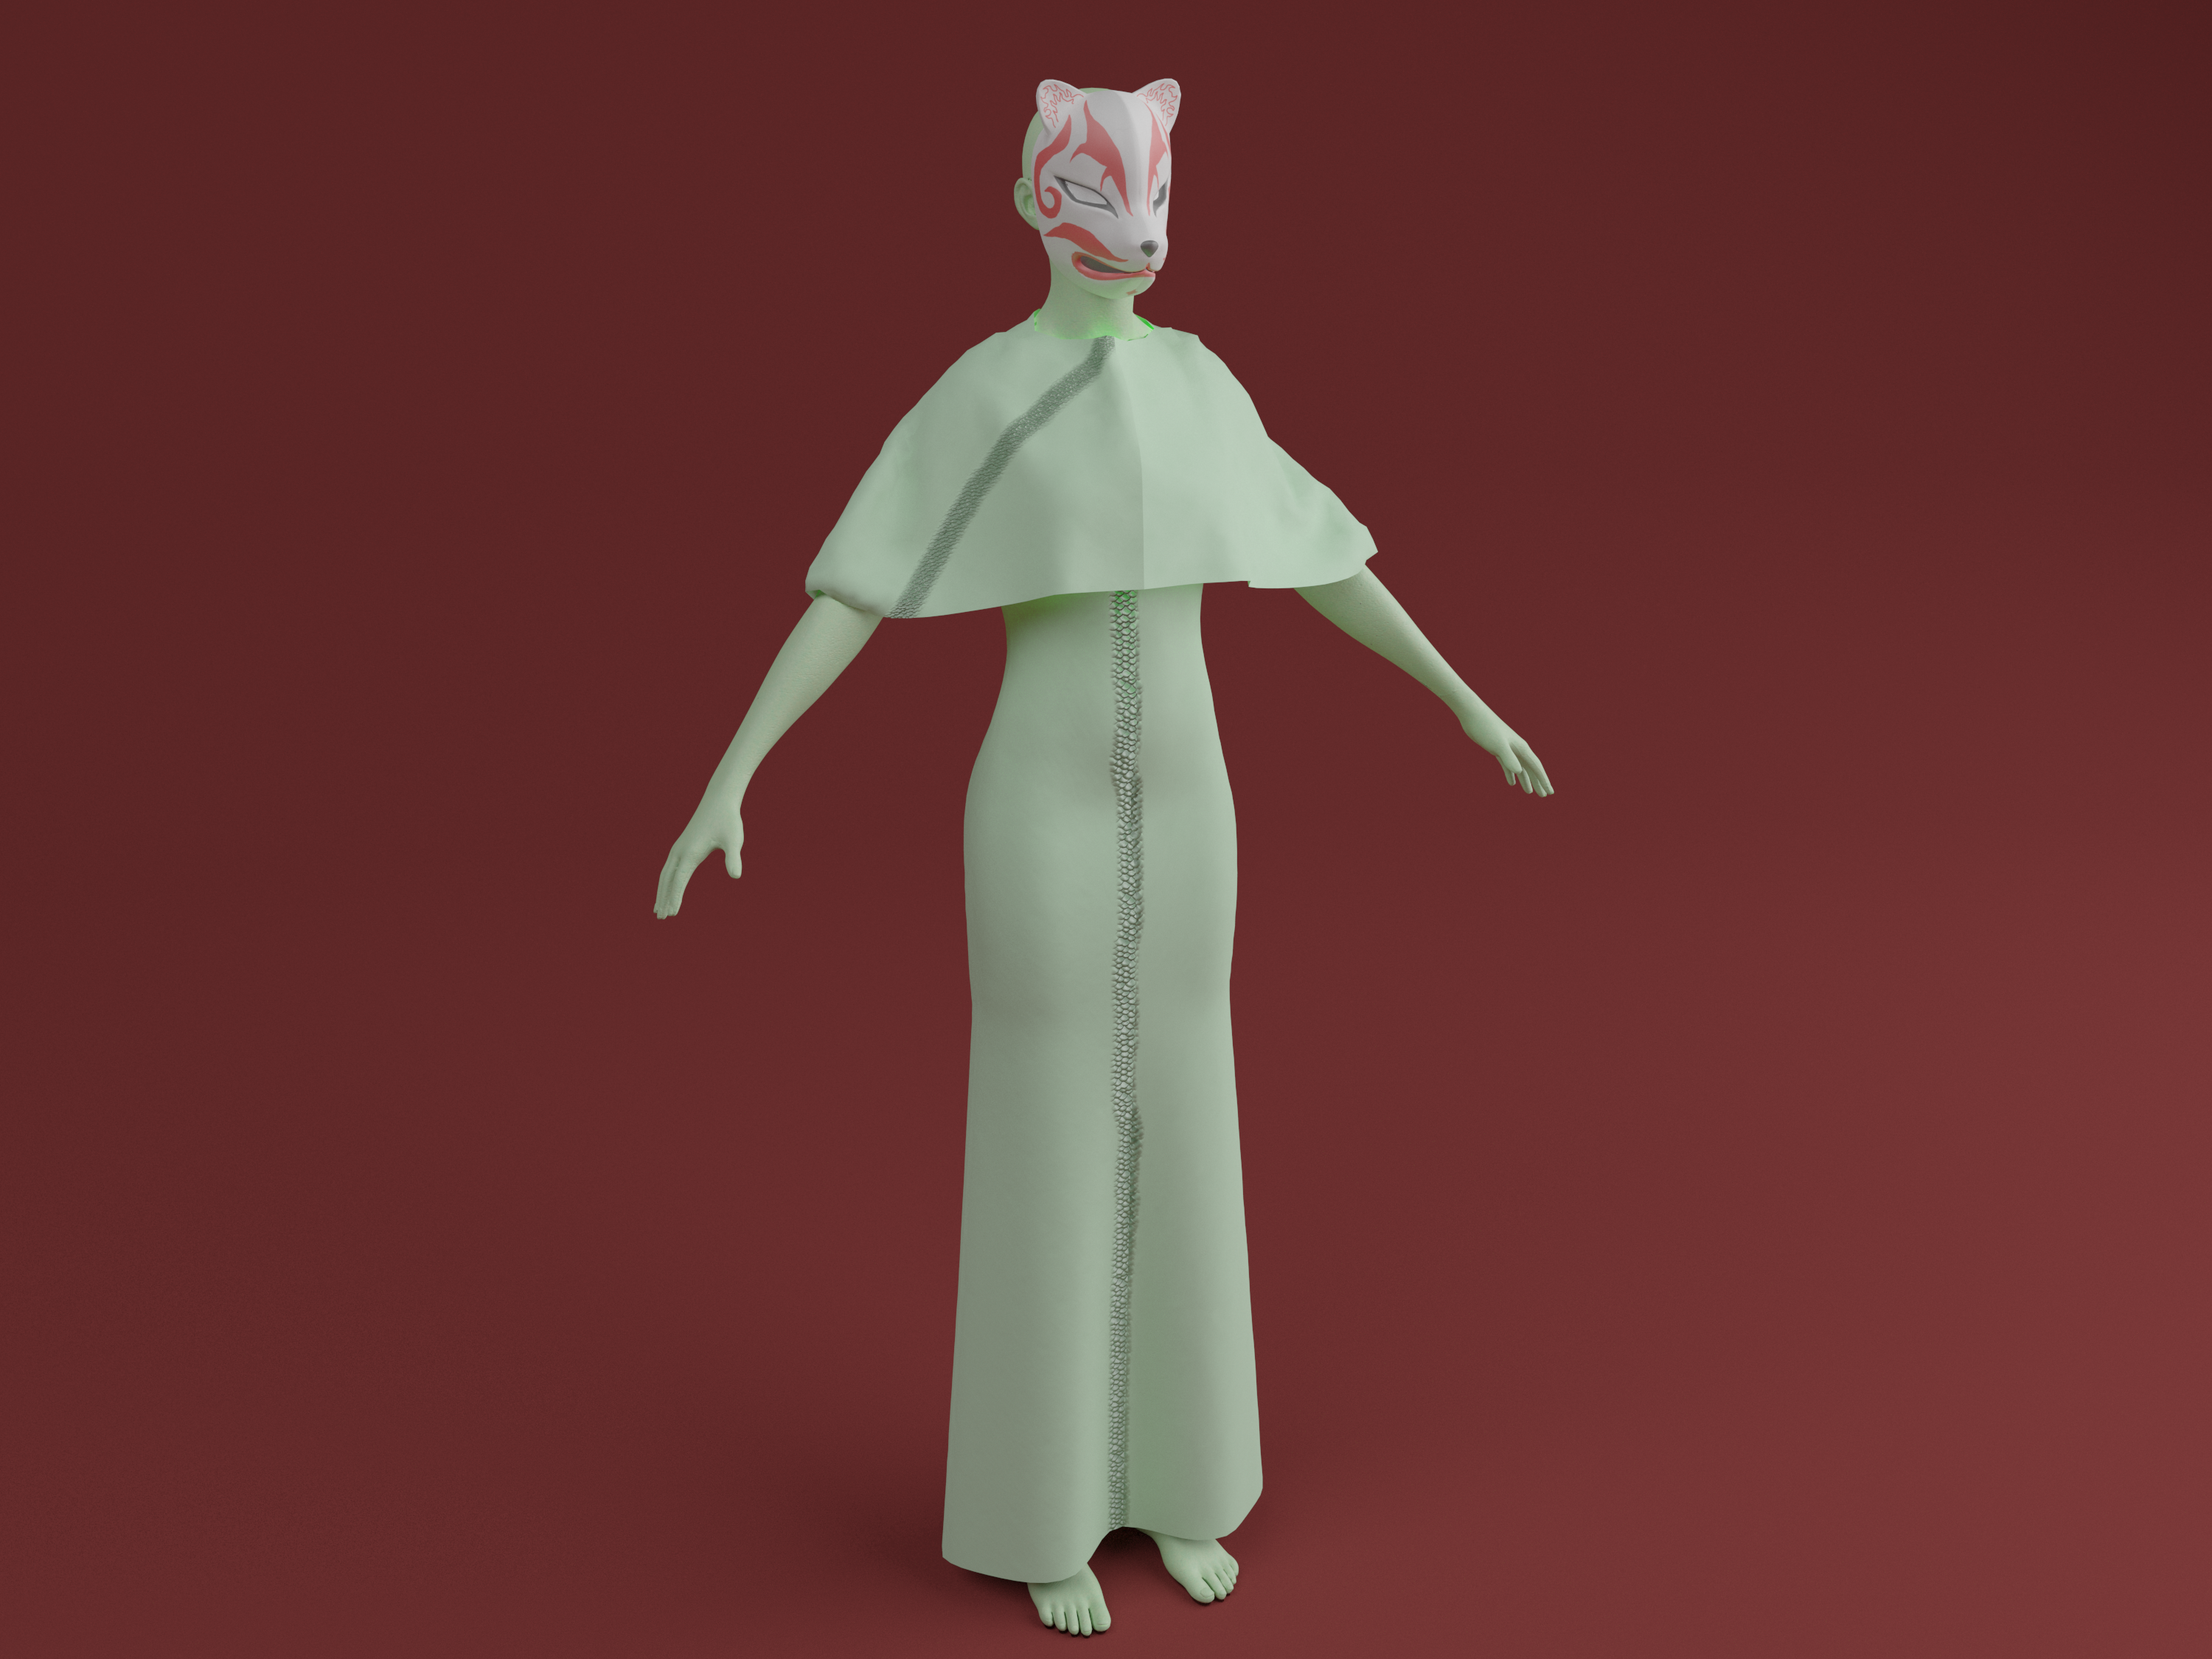
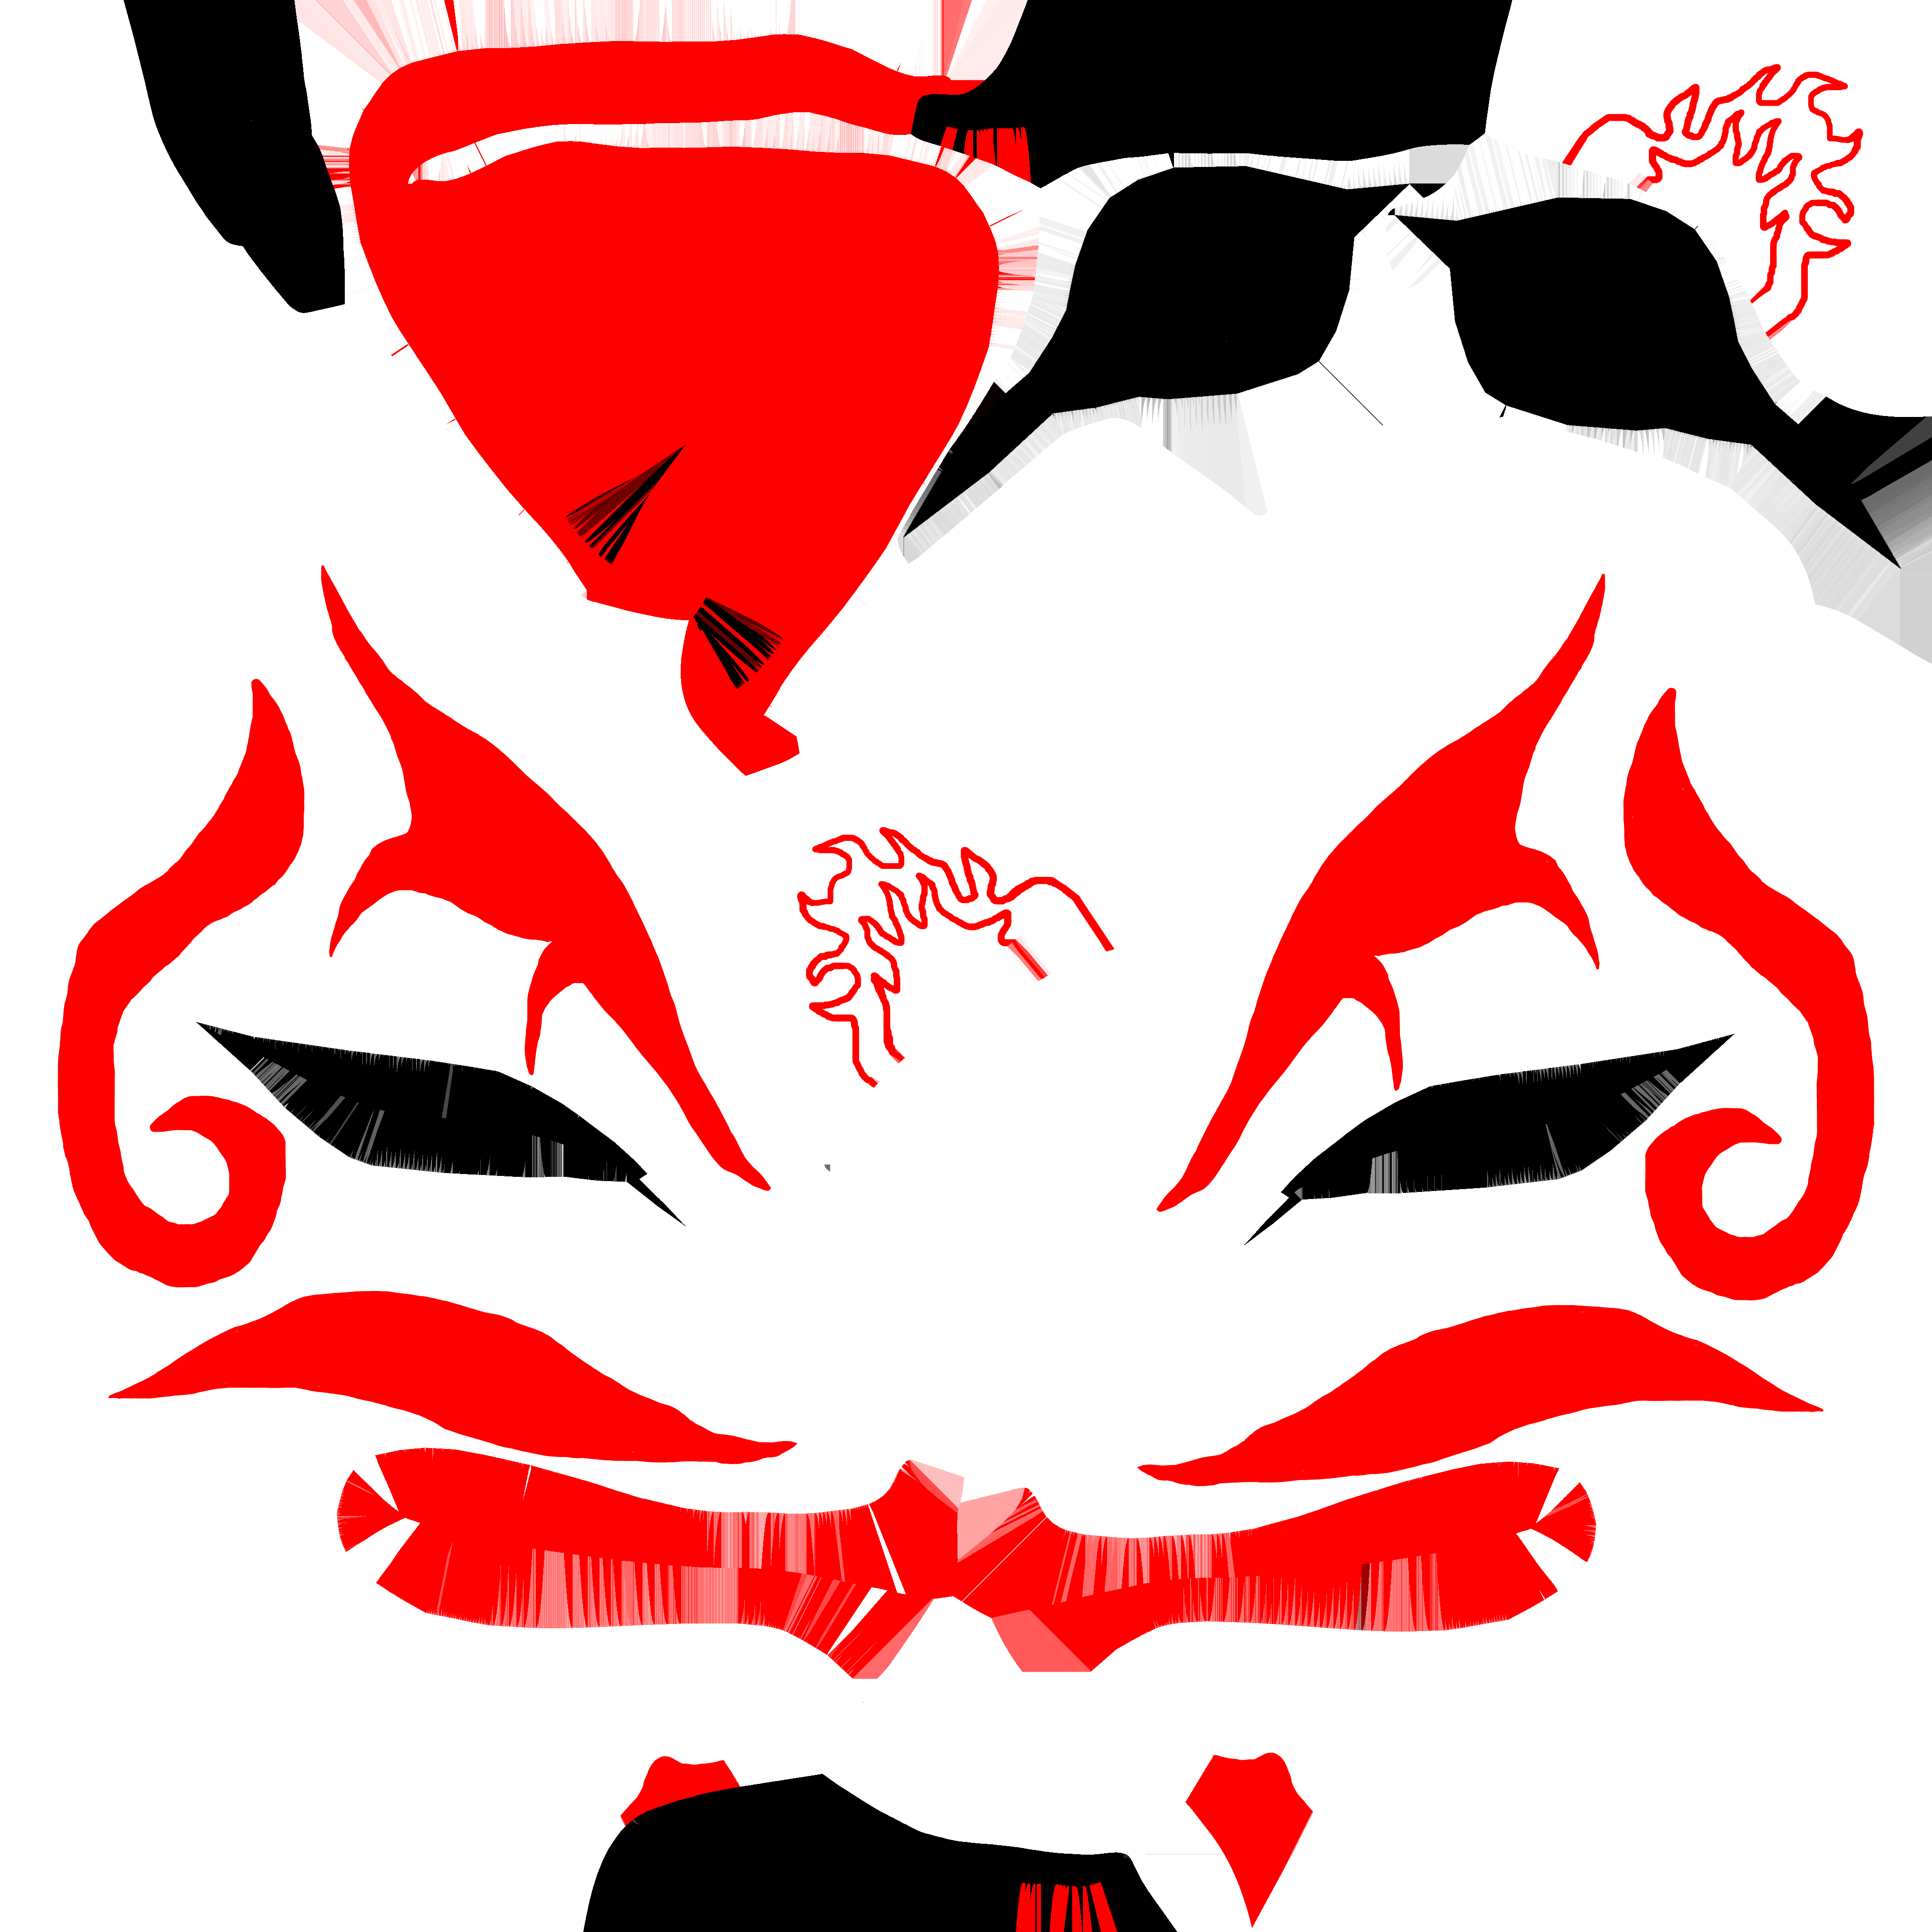
After learning more about different modeling and texturing software, I decided to challenge myself by creating another character: a woman wearing a mask and traditional Japanese attire.
Objectives
I wanted the mask to have an authentic Japanese-inspired appearance, so I researched reference images to guide both its design and the painting process.
Process
I modeled the human body in ZBrush and created the mask in 3ds Max, before applying the appropriate textures in Substance Painter. For the clothing, I used Marvelous Designer to design, sew, and texture the garments, creating a realistic outfit for the character.
Result
Although the character itself was a fairly standard human model, I really enjoyed the experience of creating most of the clothing using Marvelous Designer rather than relying on traditional modeling methods such as 3ds Max.
Proyect 06 · Character
Barsob
History
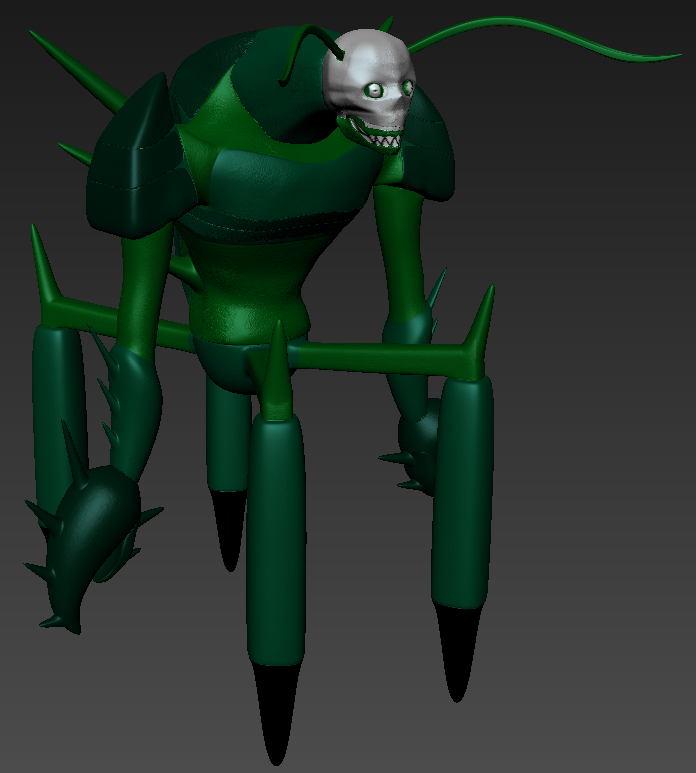
When I first started learning Mudbox, I wanted to experiment by creating a completely original character, so I simply let my imagination run wild.
Objetives
The original design was based on a bug, but I decided to give it a distinctive twist by transforming its head into a skull, or at least making it resemble a skull-like mask.
Process
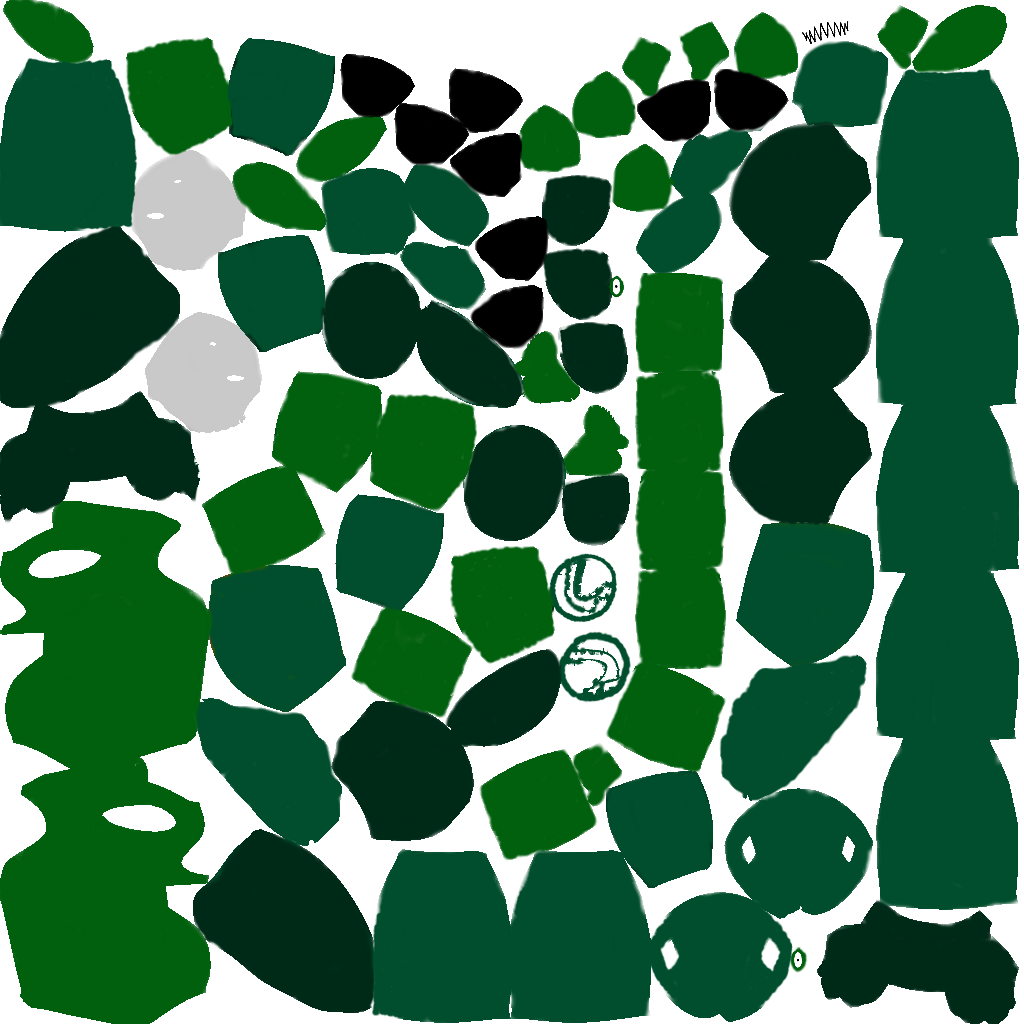
I modeled the character in Mudbox, where I also applied the appropriate textures to parts of the body. I then imported it into 3ds Max to create the UV map, which I painted in Photoshop. Finally, I used Marmoset Toolbag to create the turntable video showcasing the finished character.
Result
A character I’m proud to have created, while also recognizing that there is still room for improvement.
Proyect 07 · Videogame
The Test
Gameplay
The game challenges the player to navigate a series of rooms while eliminating a specific number of enemies in the shortest time possible. The layout of the rooms changes with each level, keeping the gameplay unpredictable. Along the way, the player can find useful items such as ammunition for reloading their weapon, health items to restore lost health, and bombs.
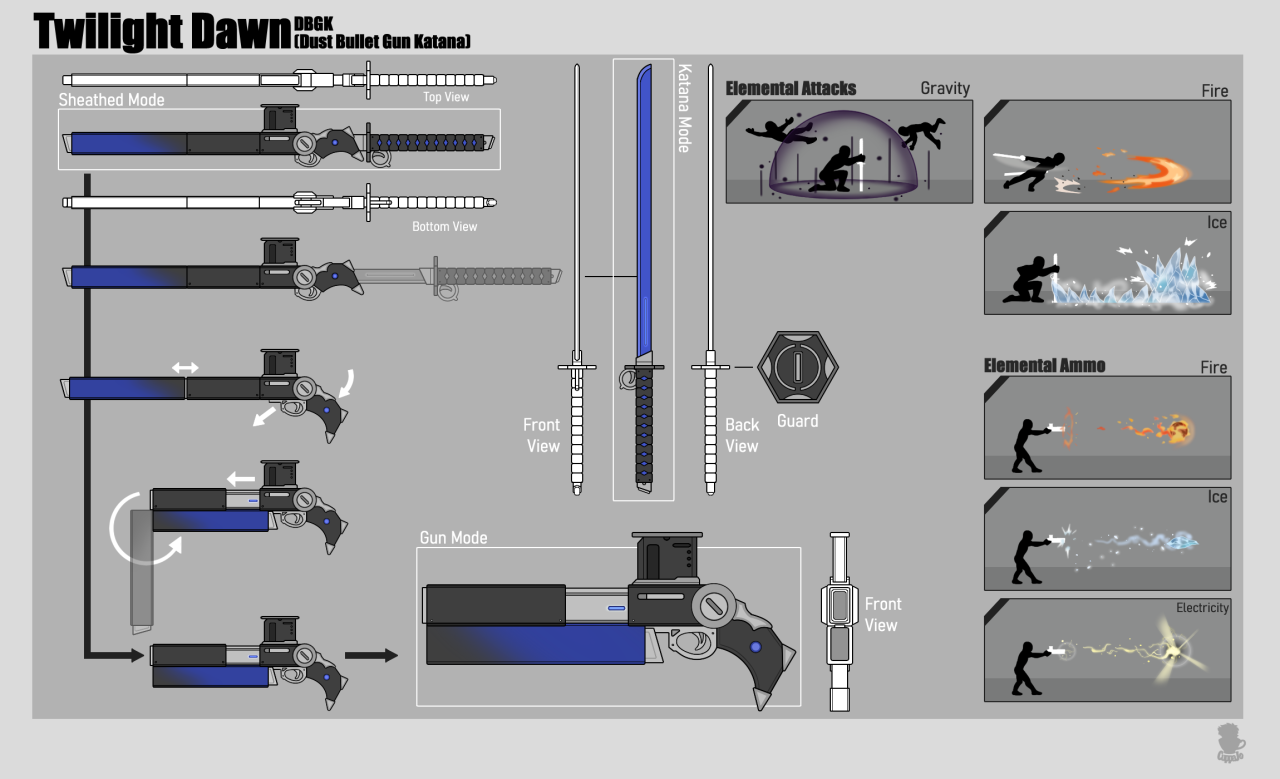
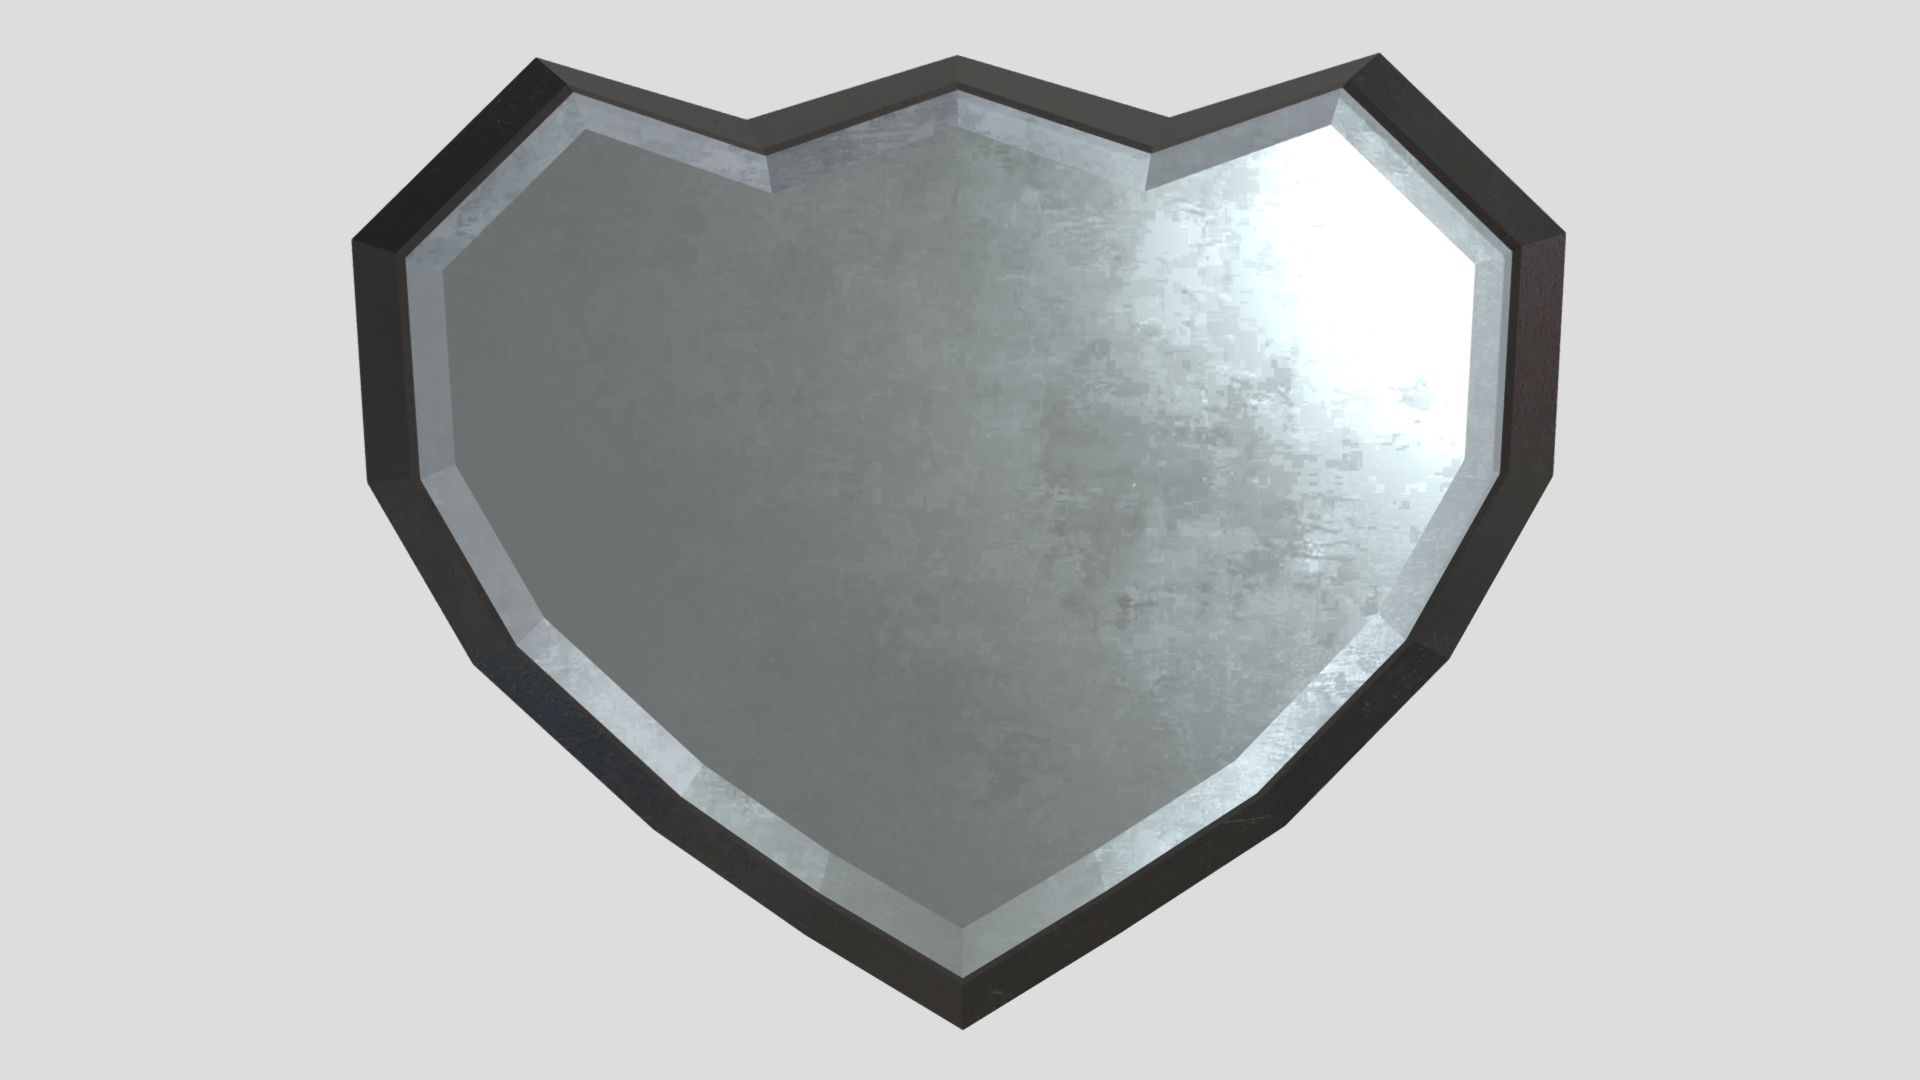
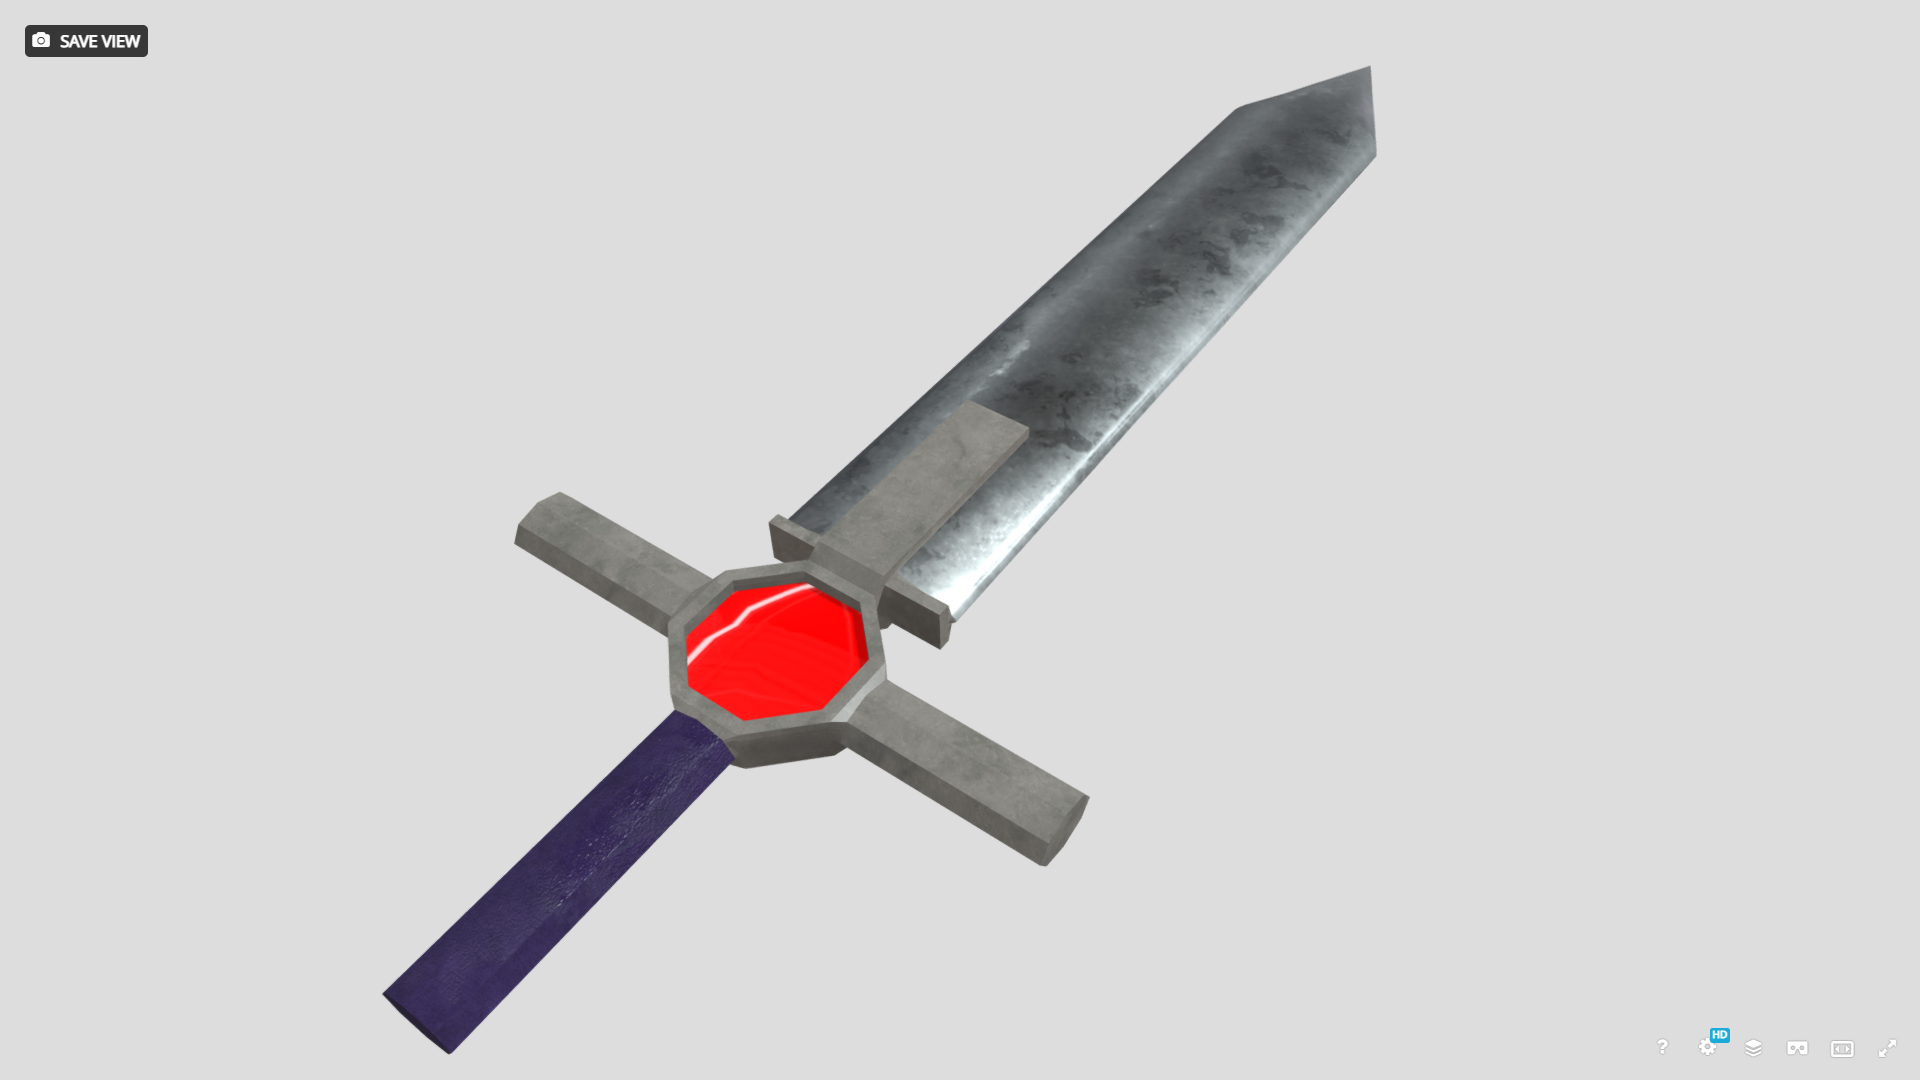
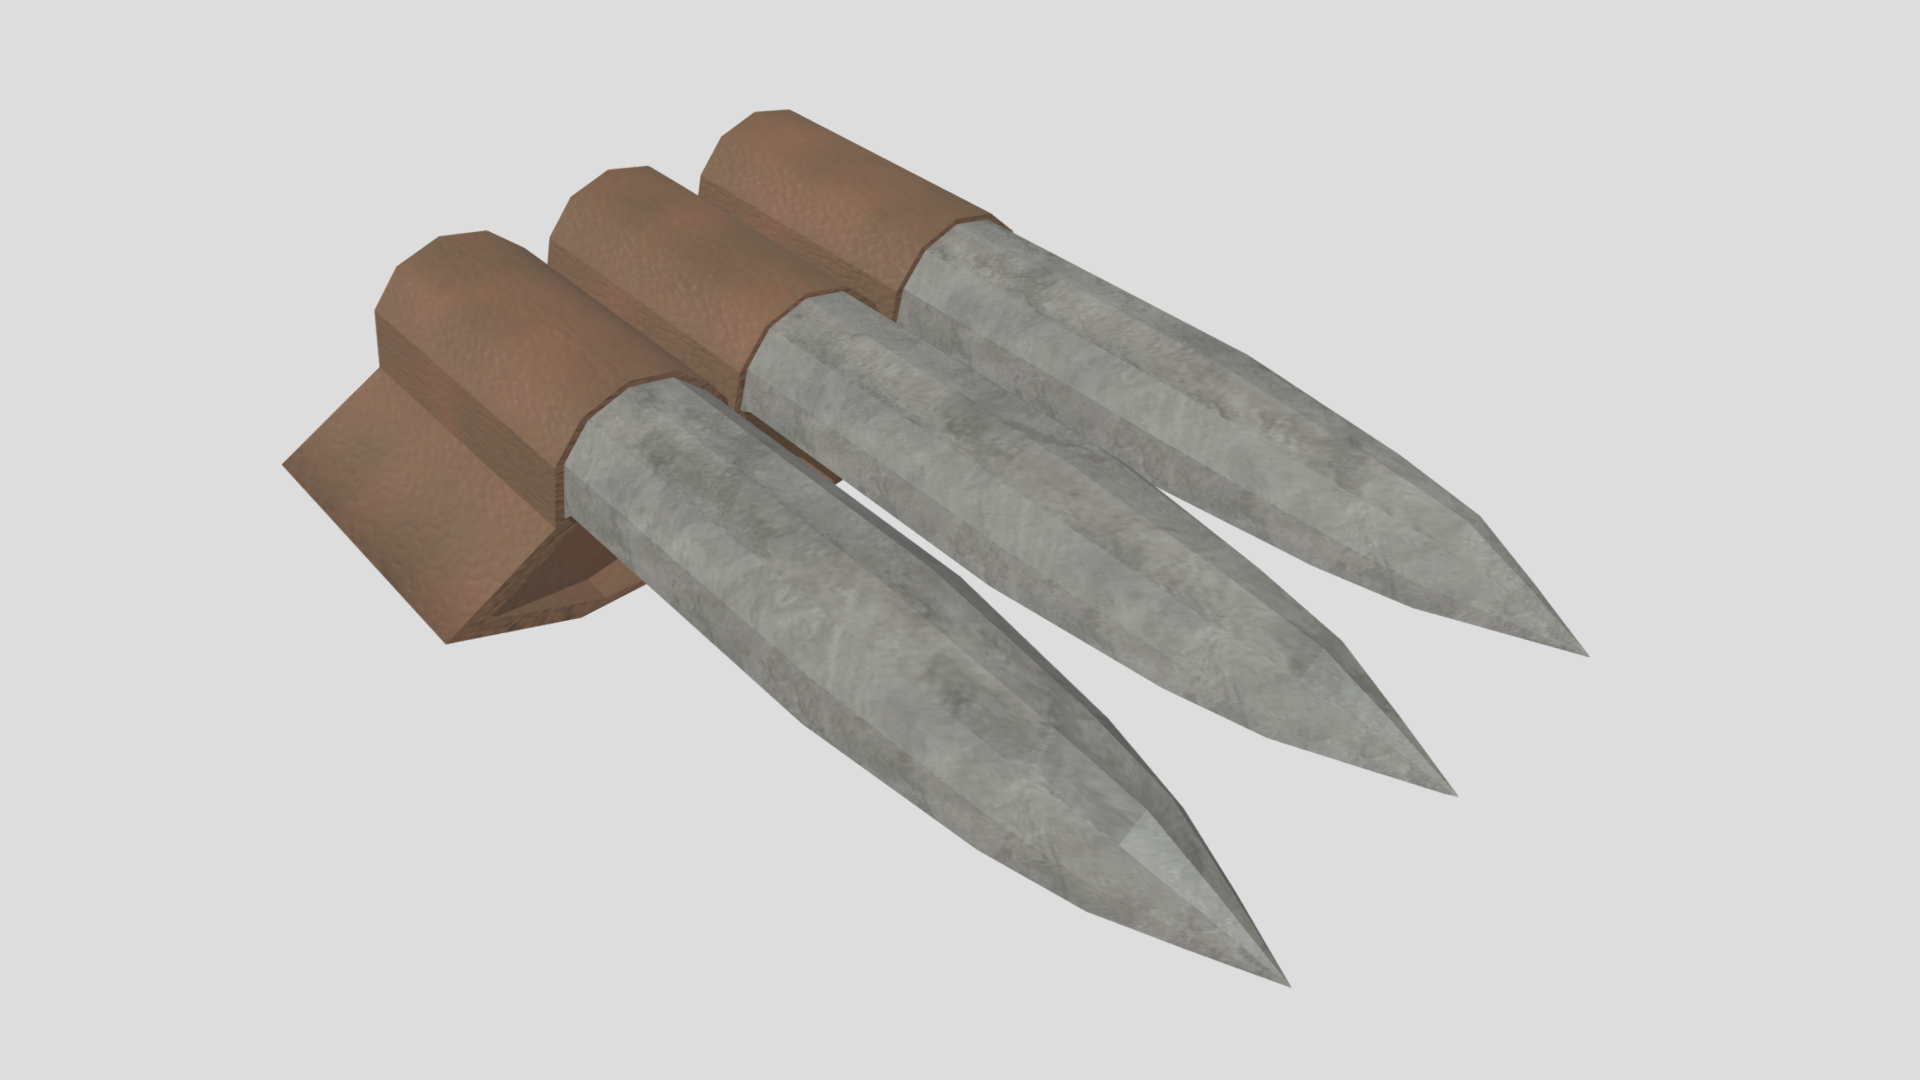
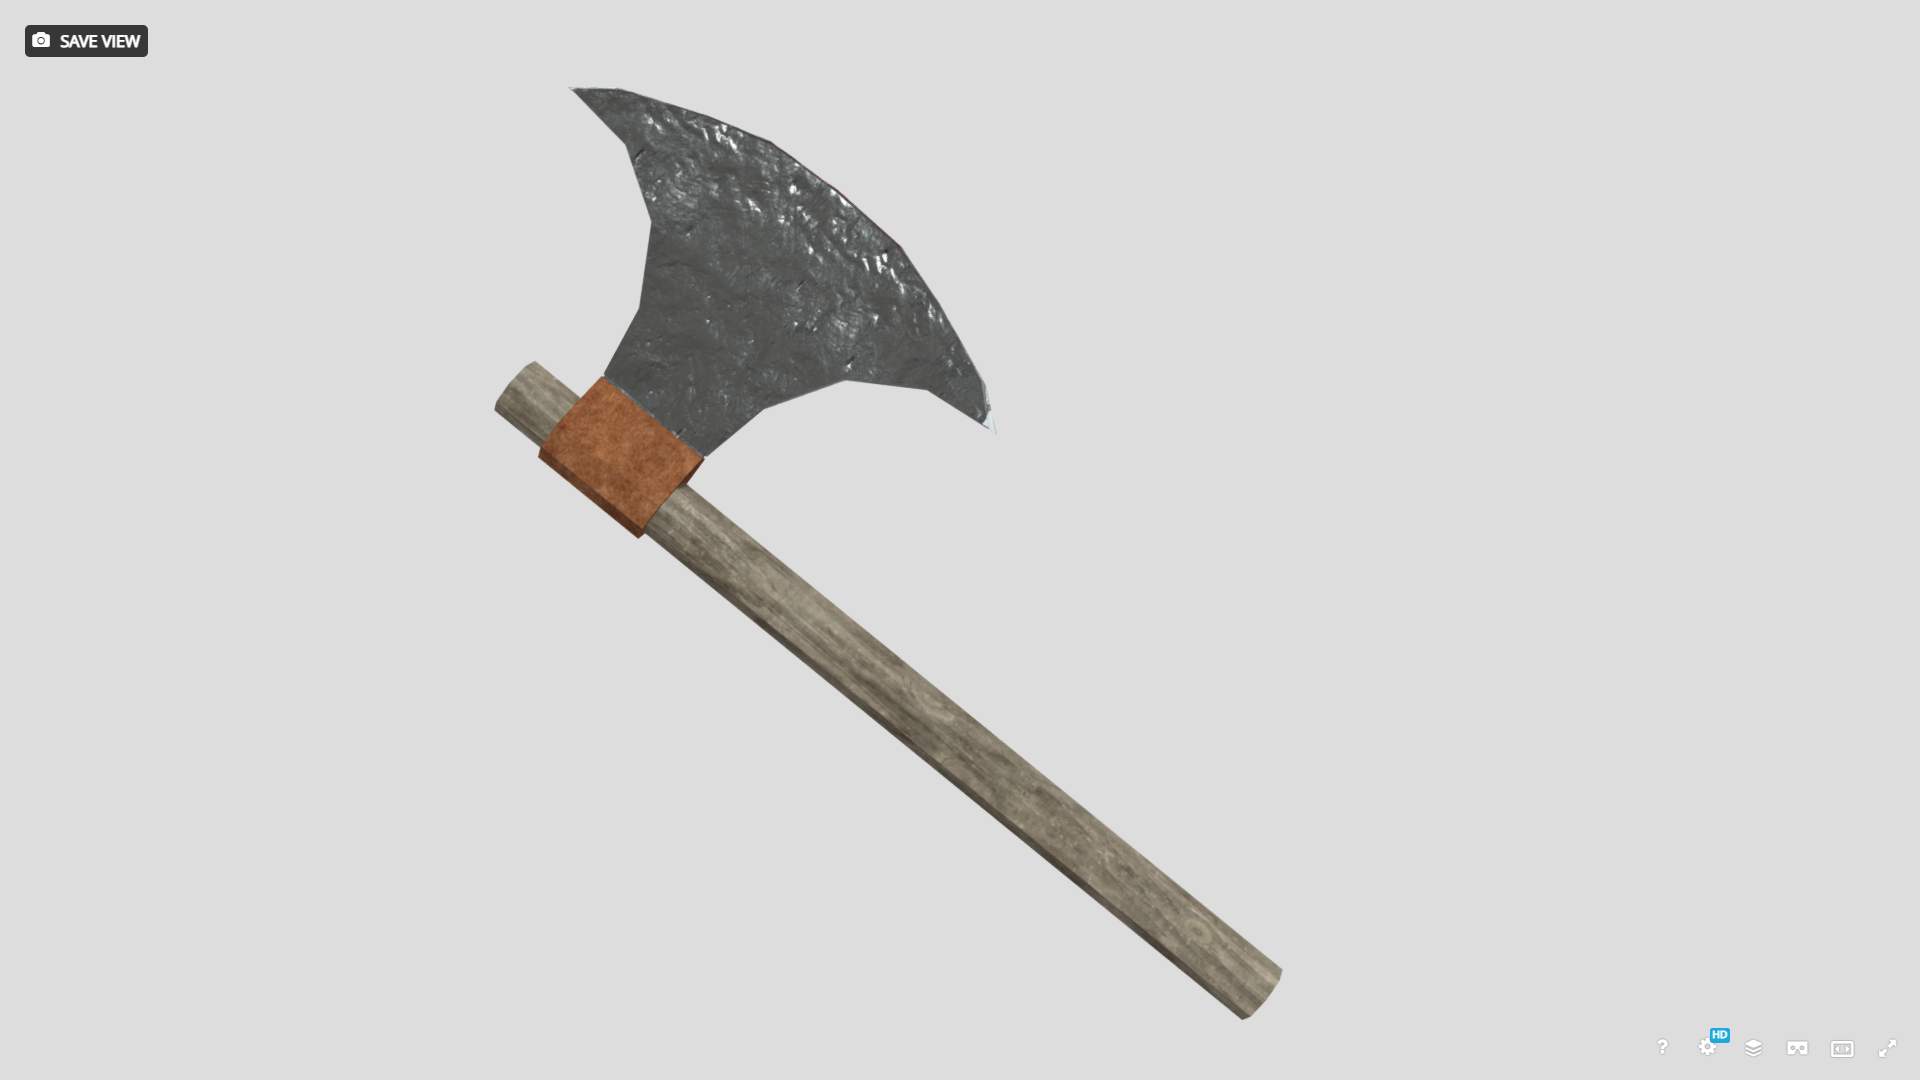
The player can fight enemies using three different options: sword mode, pistol mode, or bombs. However, choosing the right weapon is essential, as certain enemies are immune to specific types of attacks.
Objectives
My goal was to create a game that wasn’t too complicated, something where each level feels different while still looking familiar at first glance, with the difficulty gradually increasing as you progress, much like the simple but addictive games you often find on mobile devices.
Process
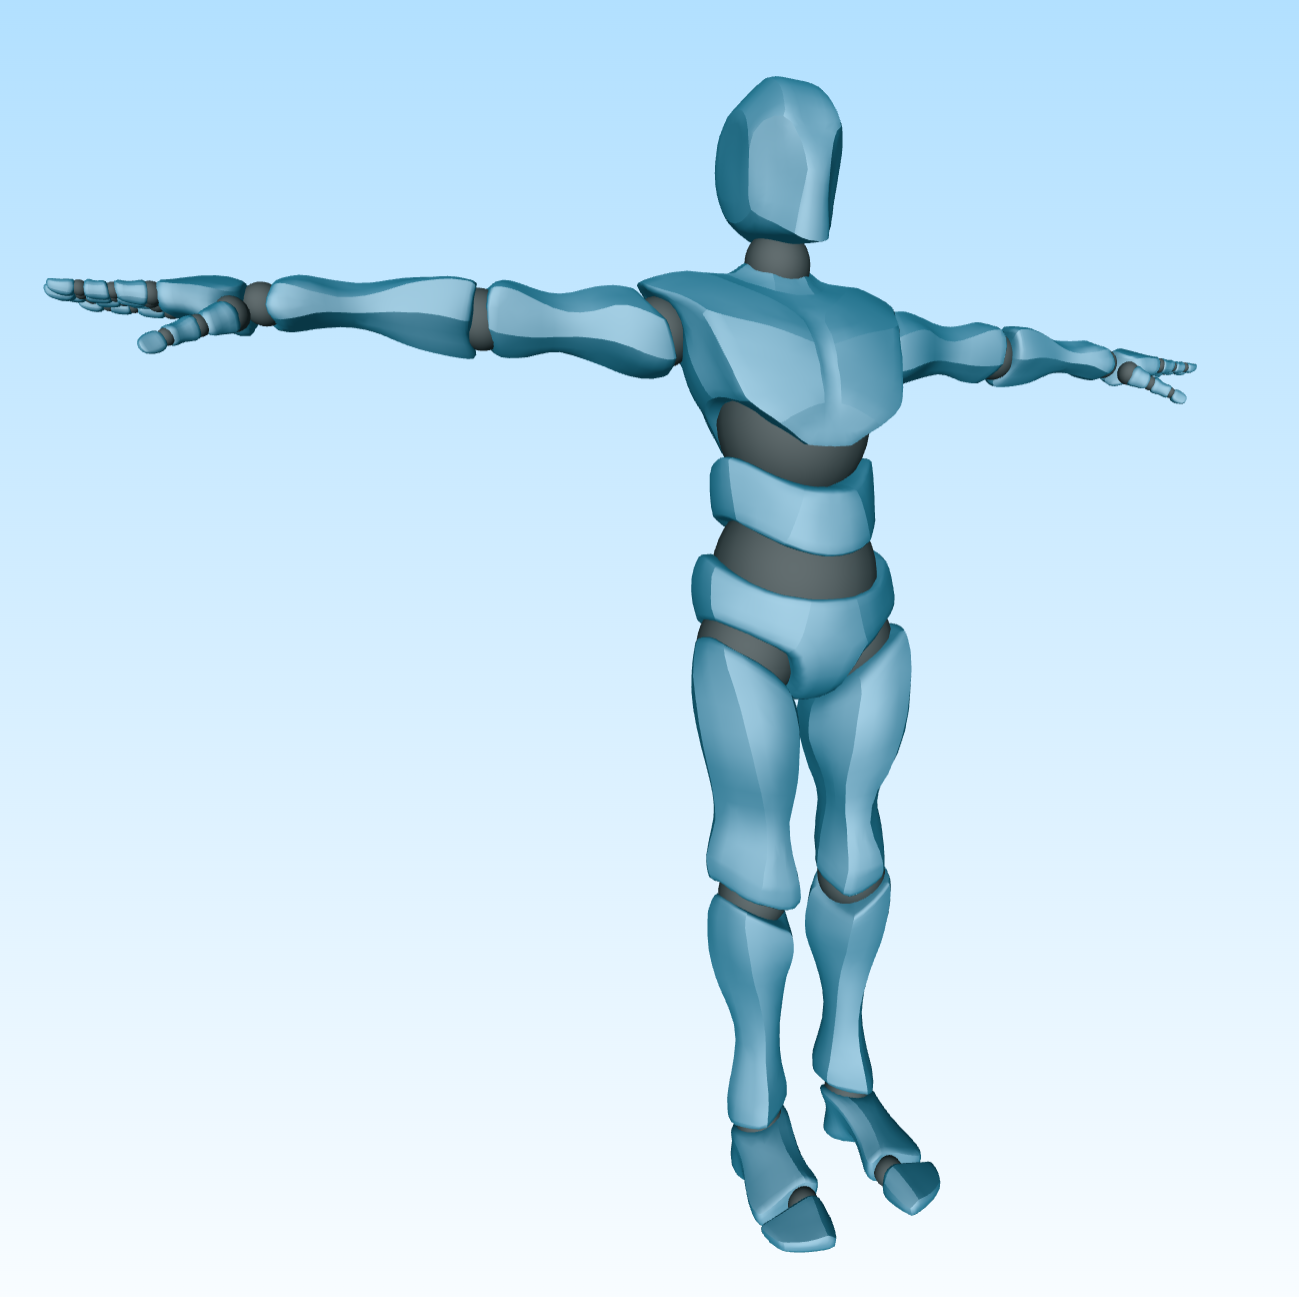
As you can see, the entire process of creating and programming the game was carried out in Unreal Engine, although not every asset was created from scratch. Since creating and rigging characters for animation would have taken too much time, I downloaded a character model with pre-made movement and combat animations from the Internet and used it for both the player and the enemies. Everything else, however, was created by me.
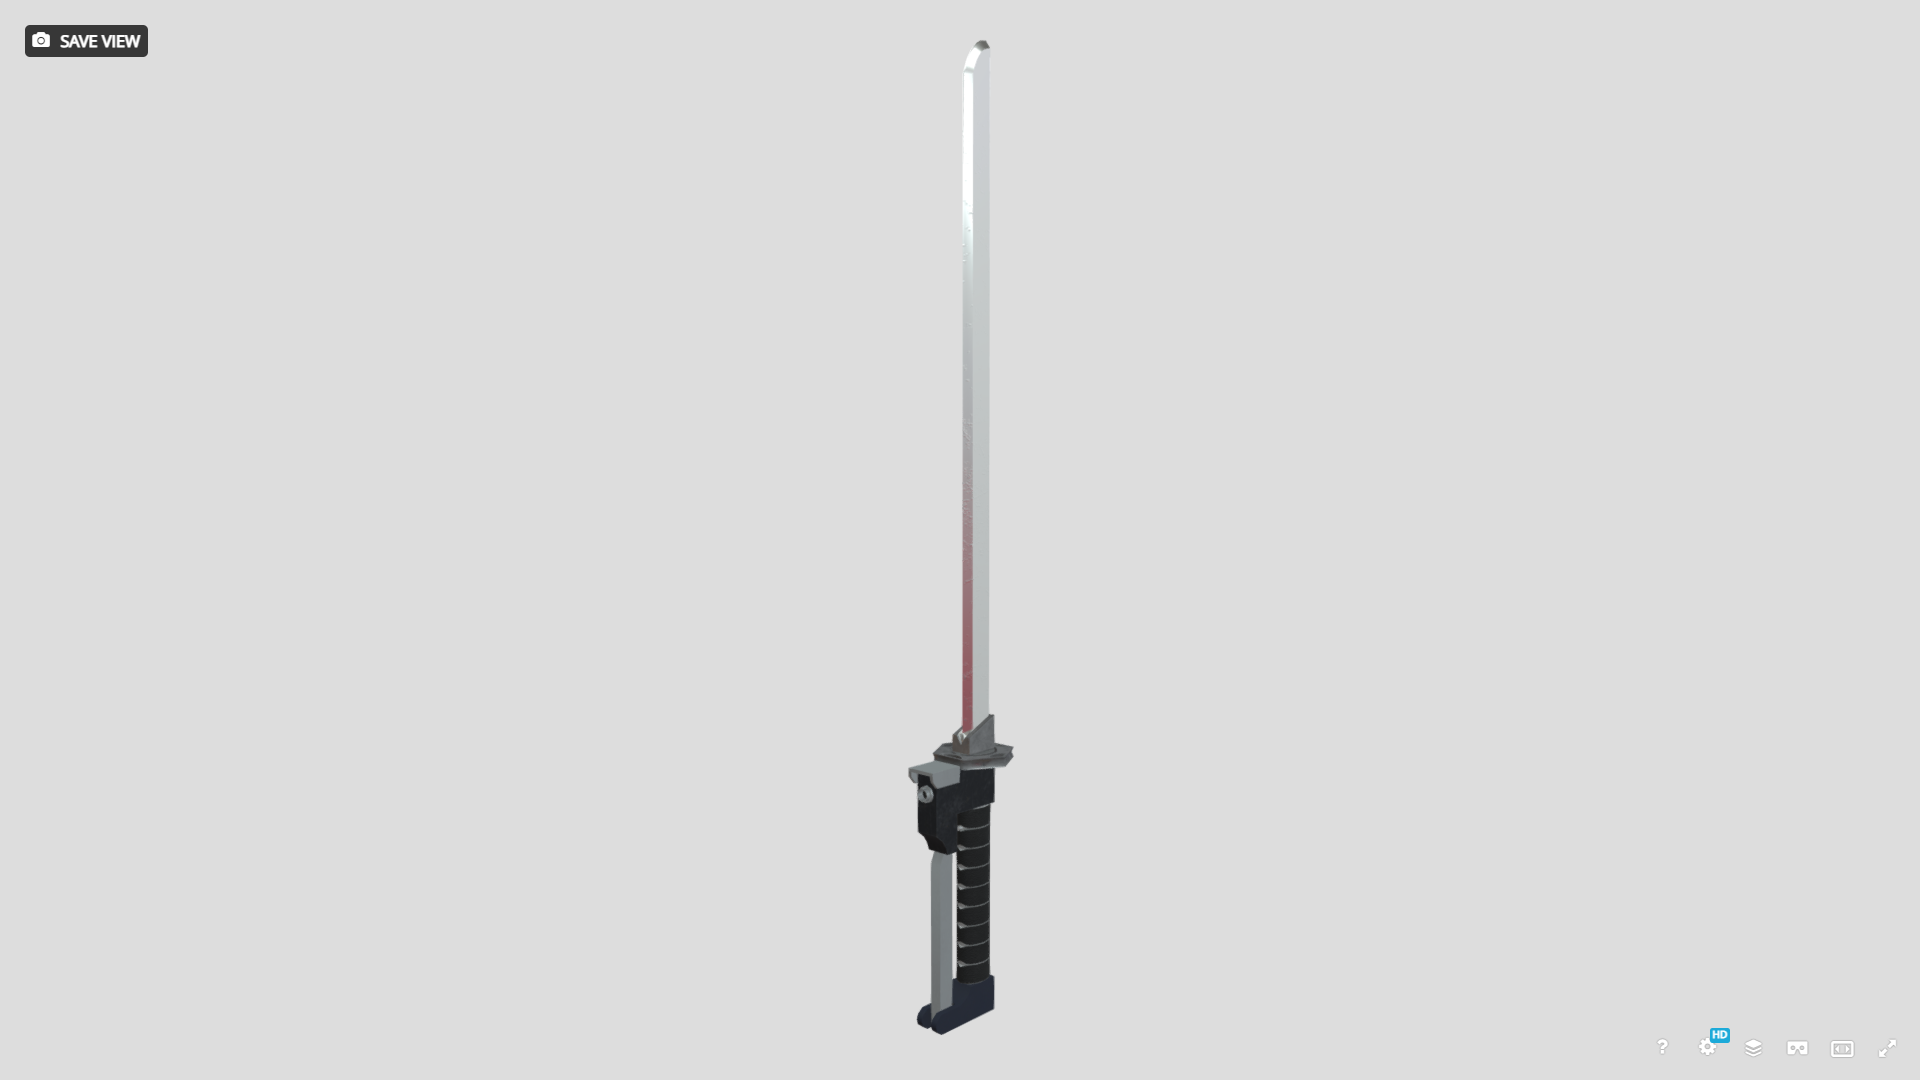
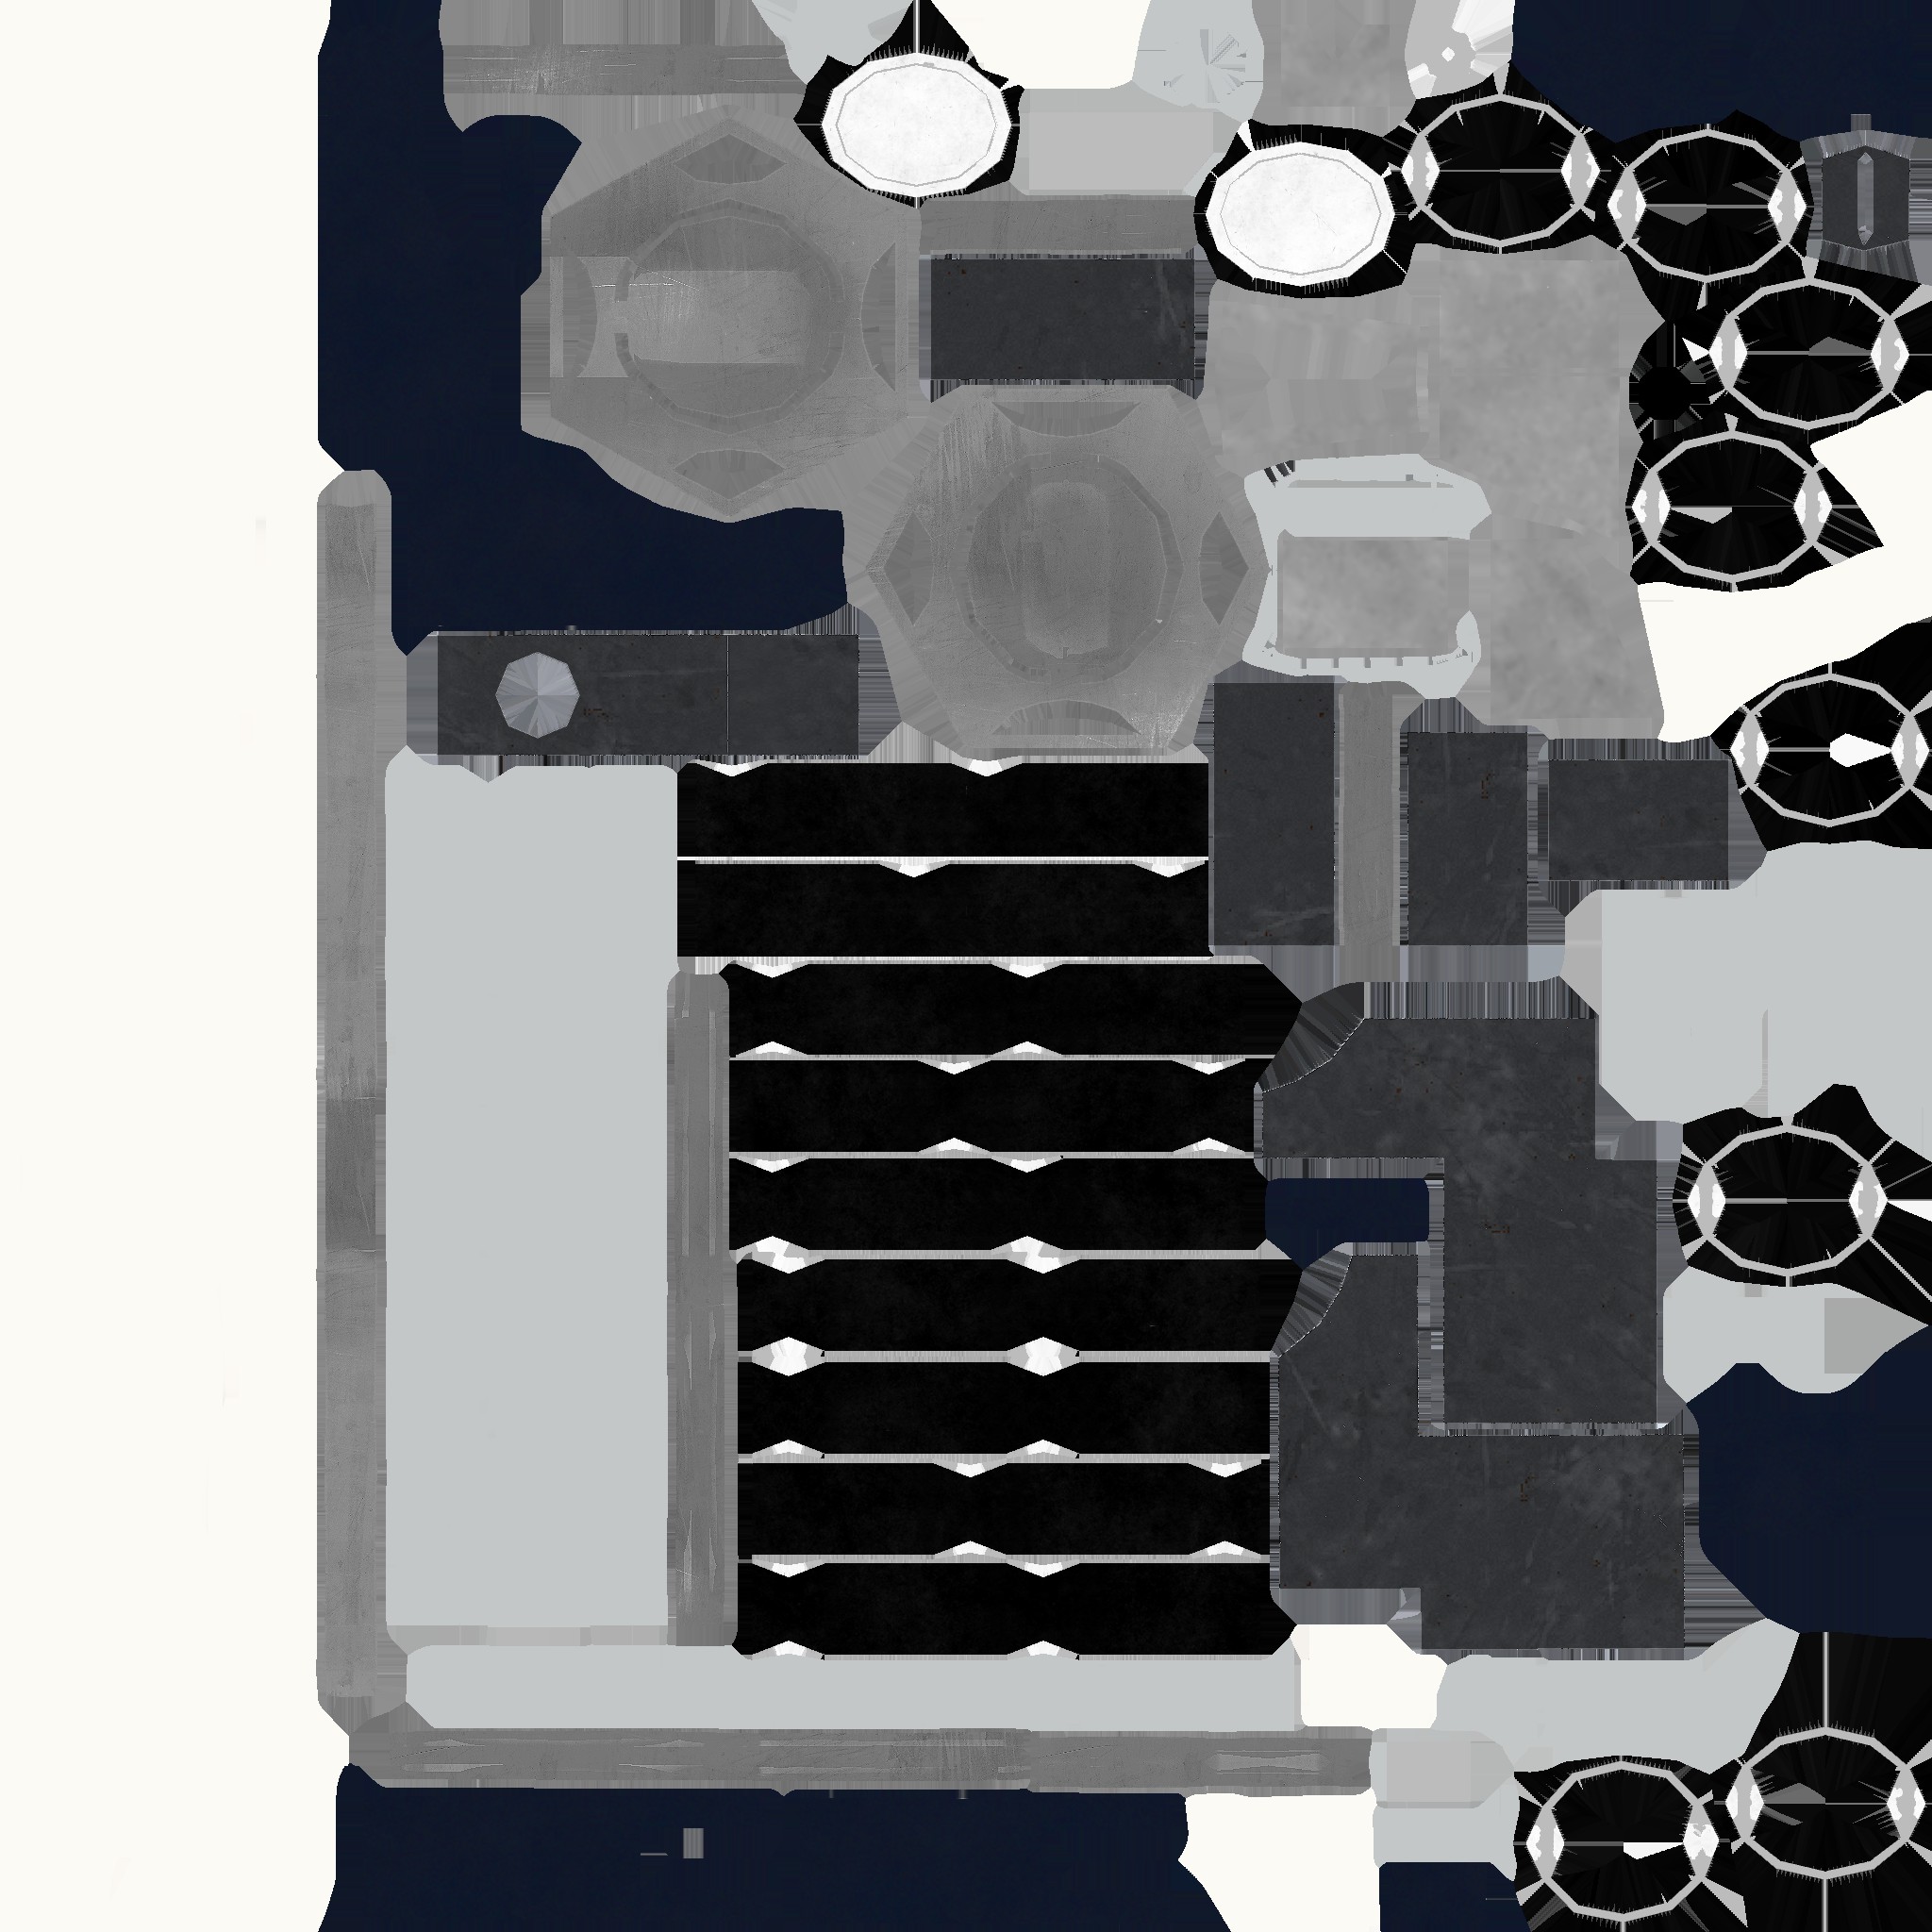
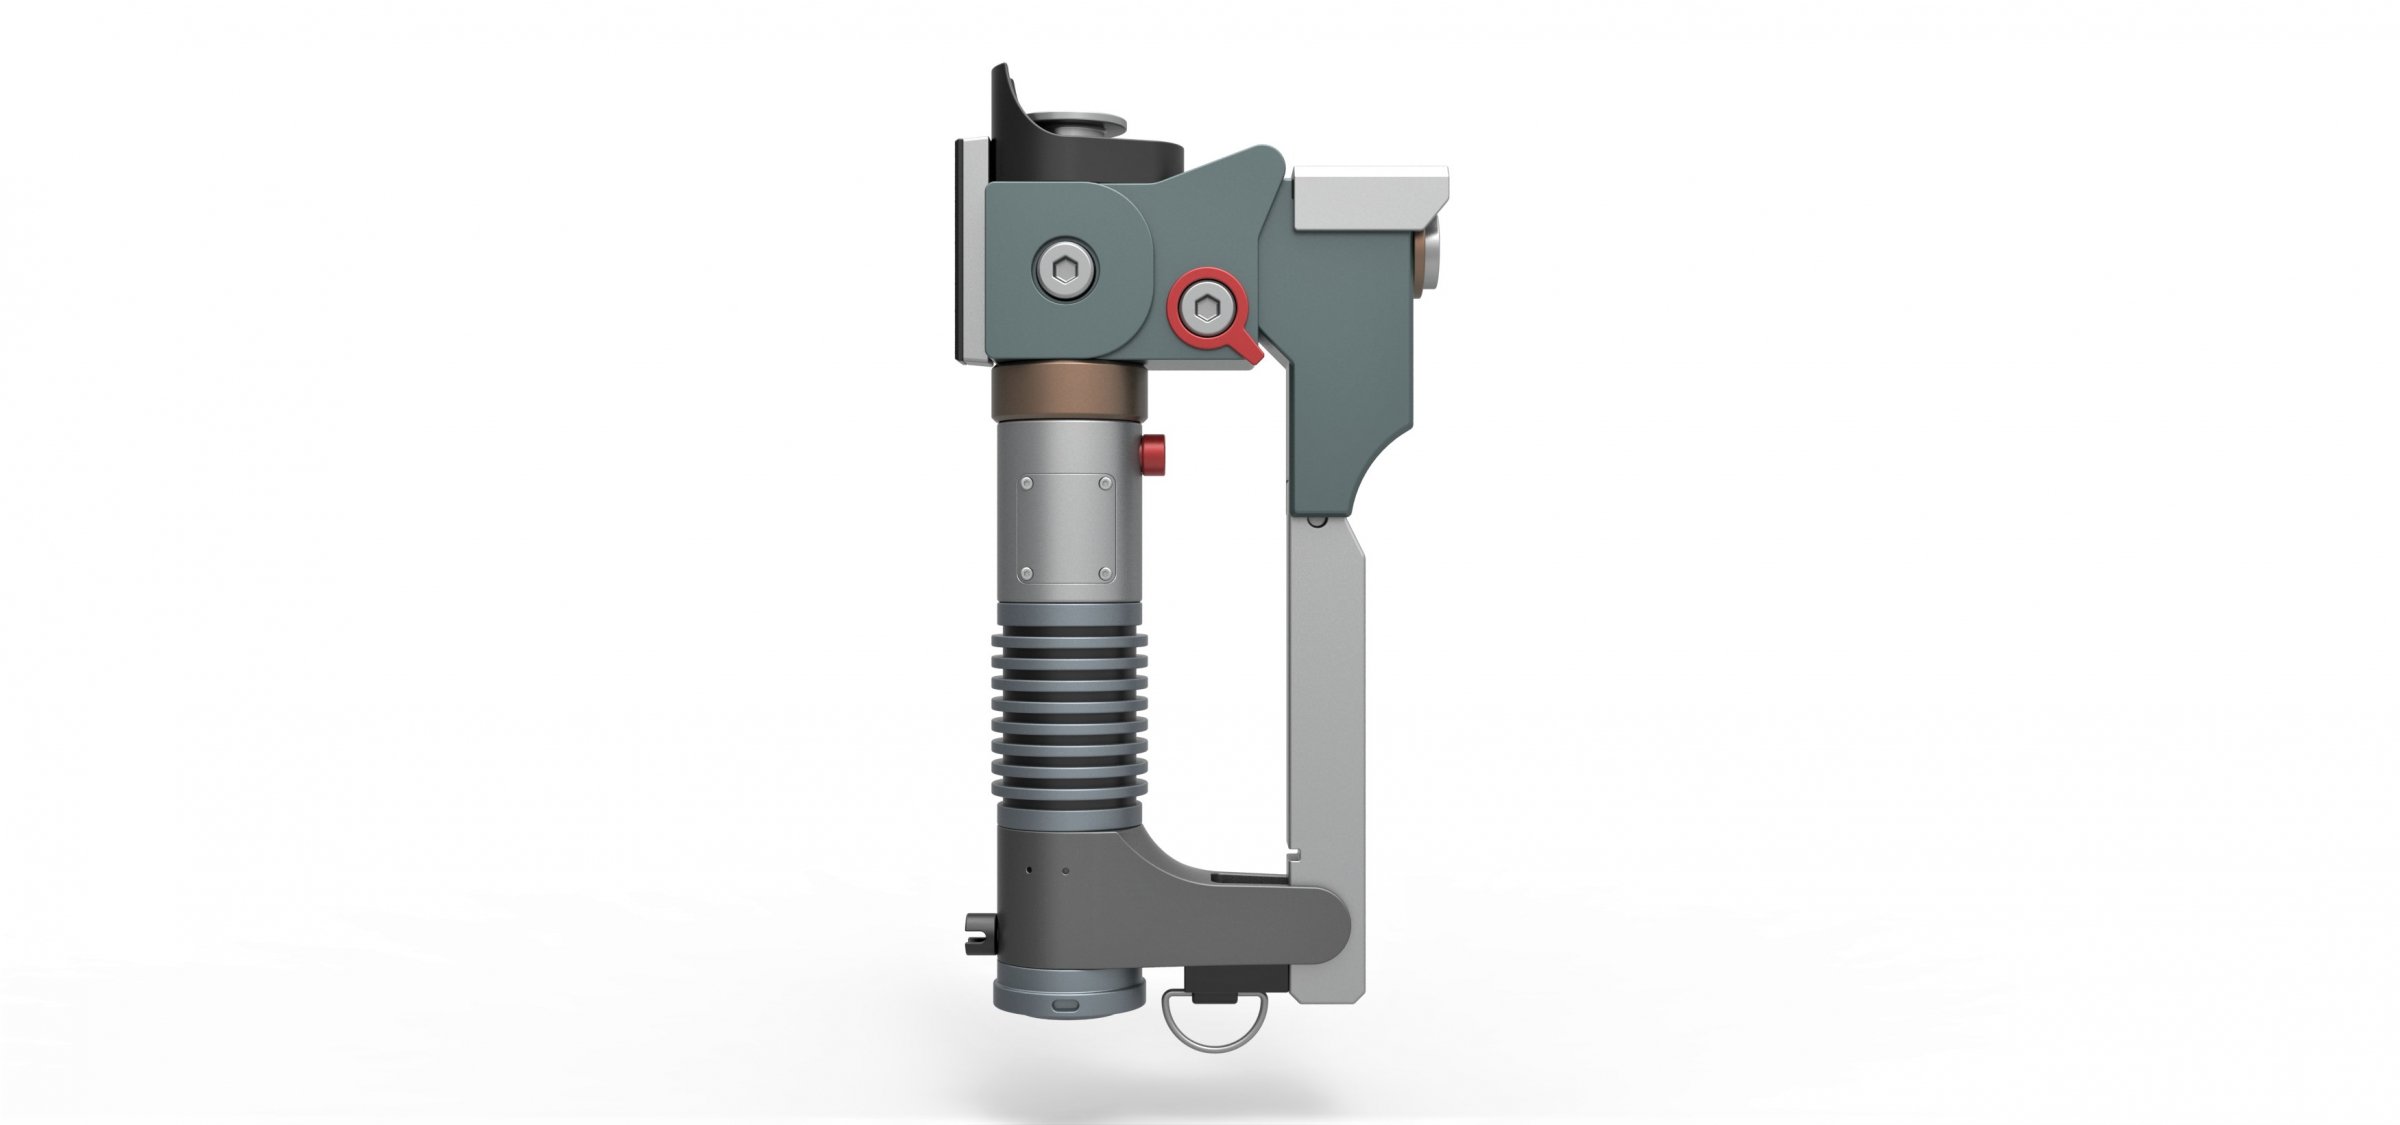
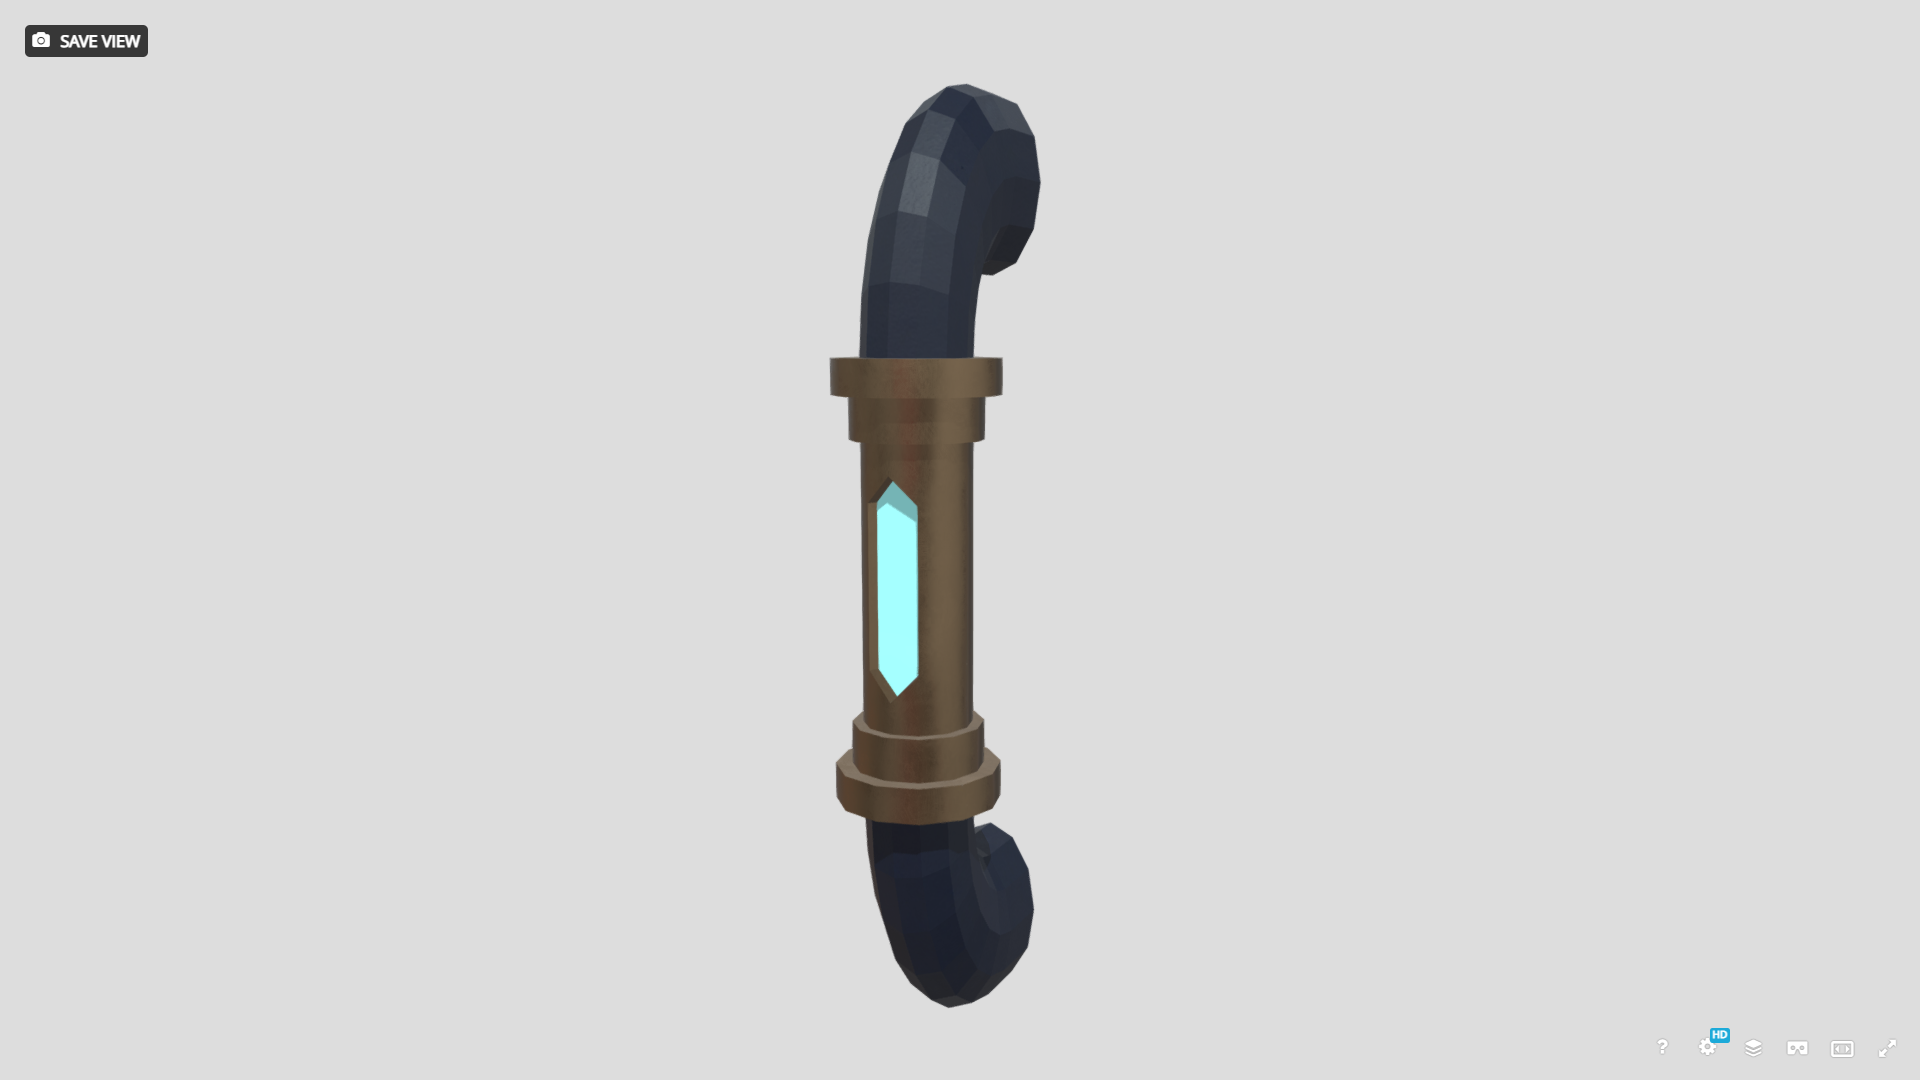
The player’s weapon is a katana with a handle that doubles as a high-tech pistol, inspired by Ezra Bridger’s weapon from Star Wars Rebels. I modeled it in 3ds Max, where I also created the UV map, before applying the appropriate metallic textures in Substance Painter. I followed a similar process for the weapons used by the enemies. One of the enemies does not carry a weapon at all; instead, he wears various objects that act as armor and a helmet for protection. That doesn’t stop him from attacking the player with his fists, however.
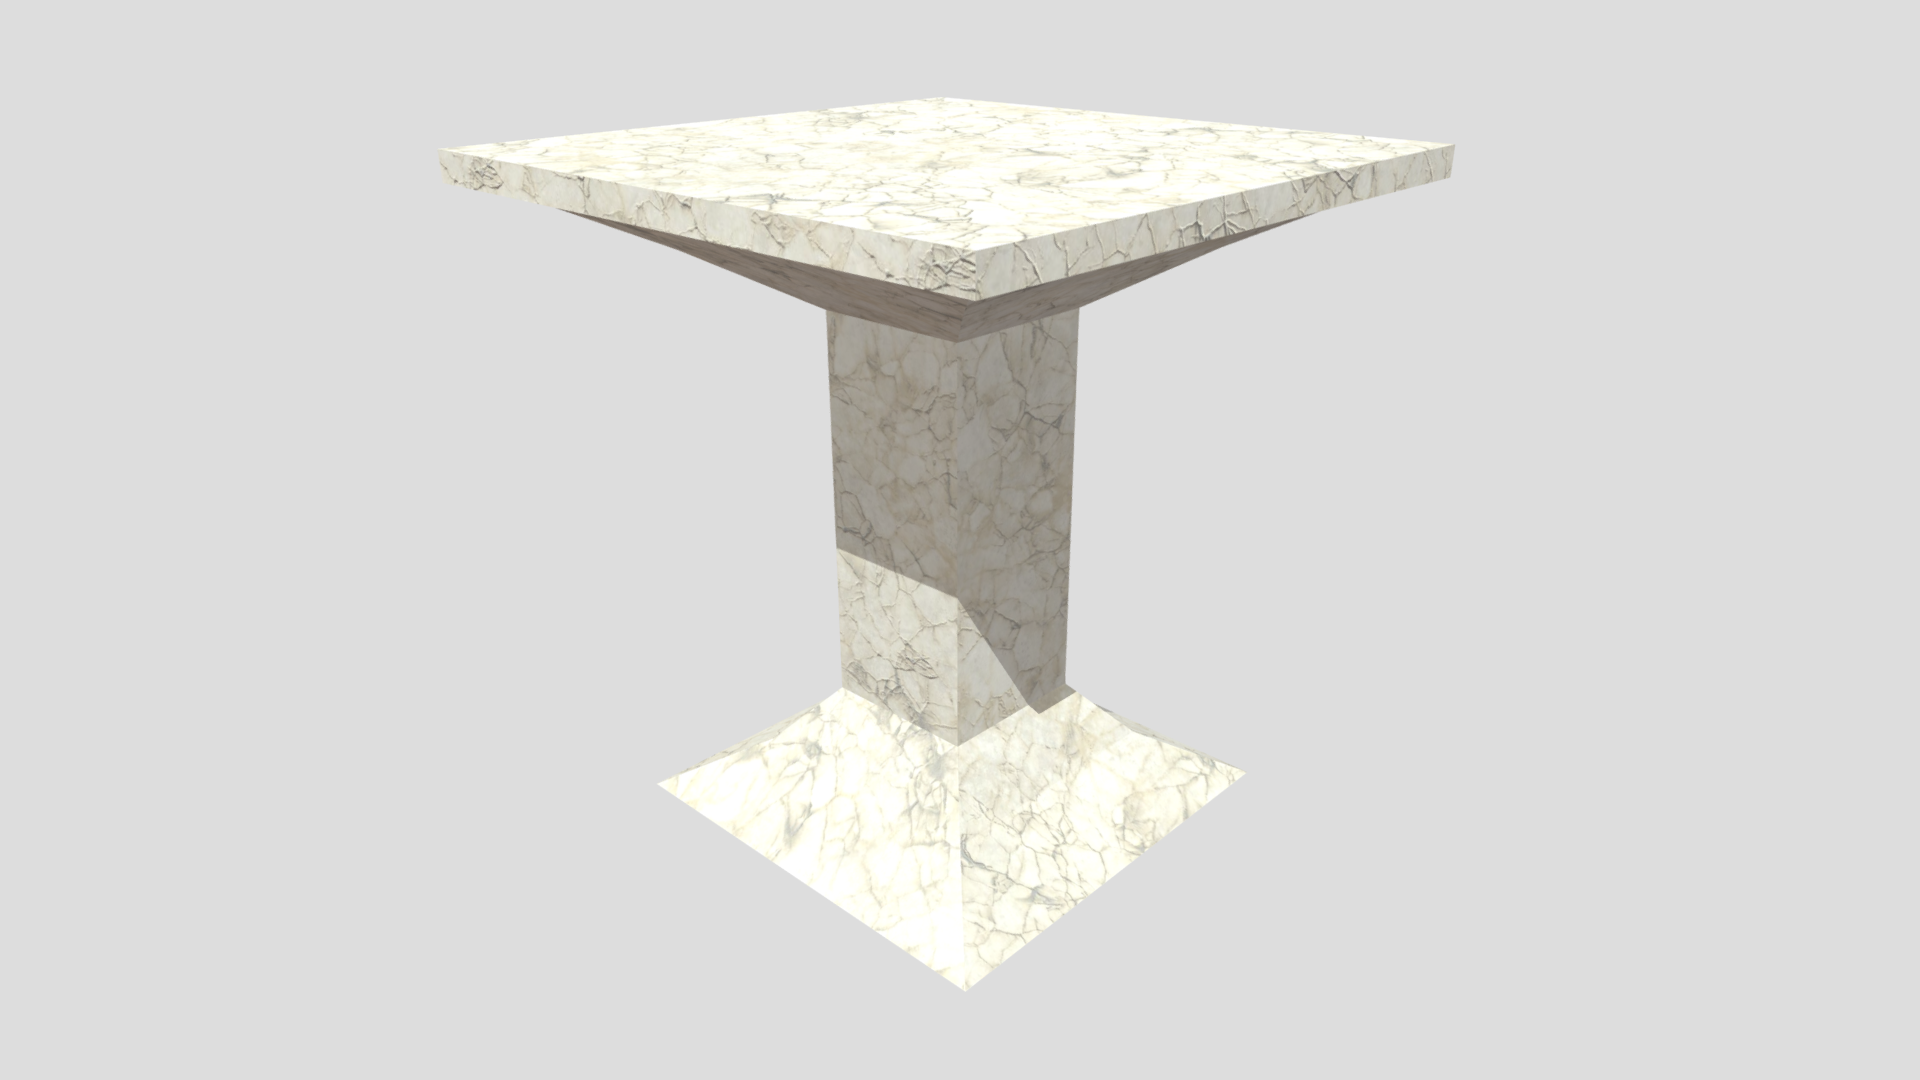
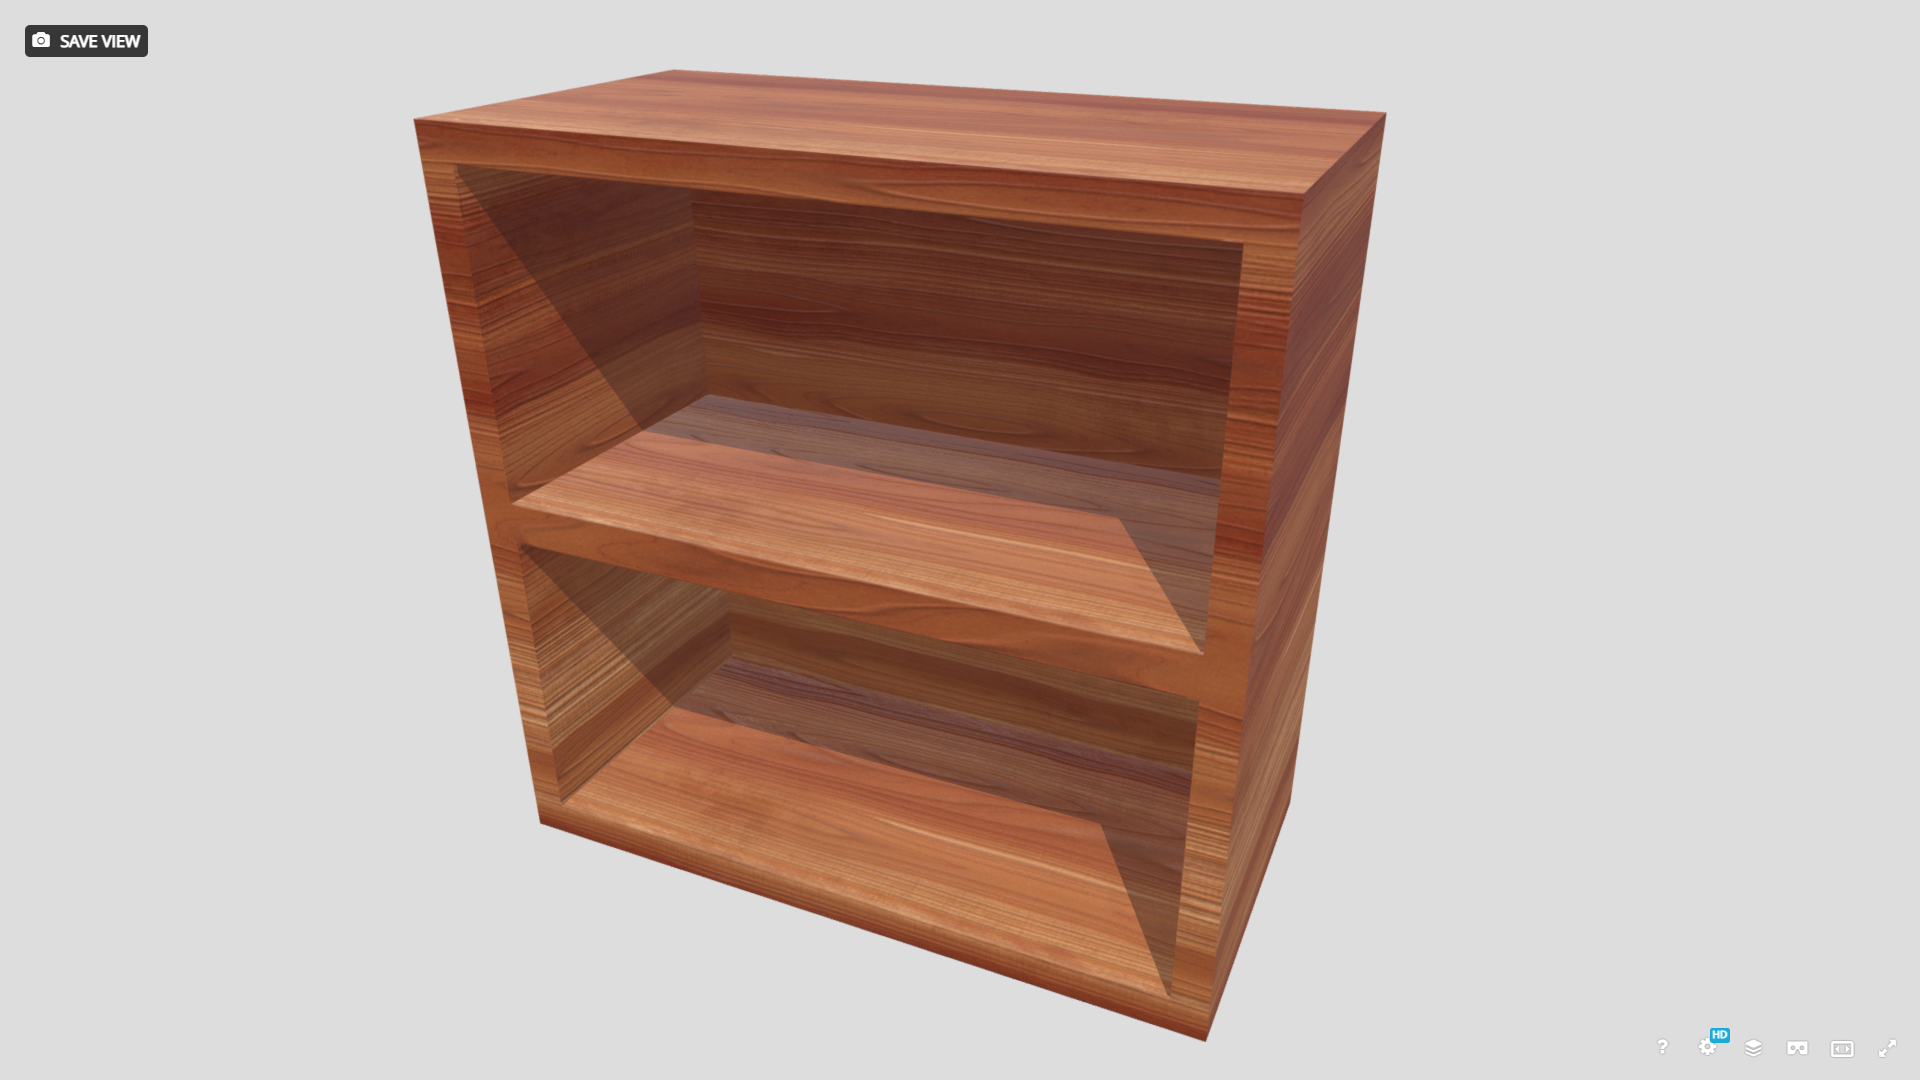
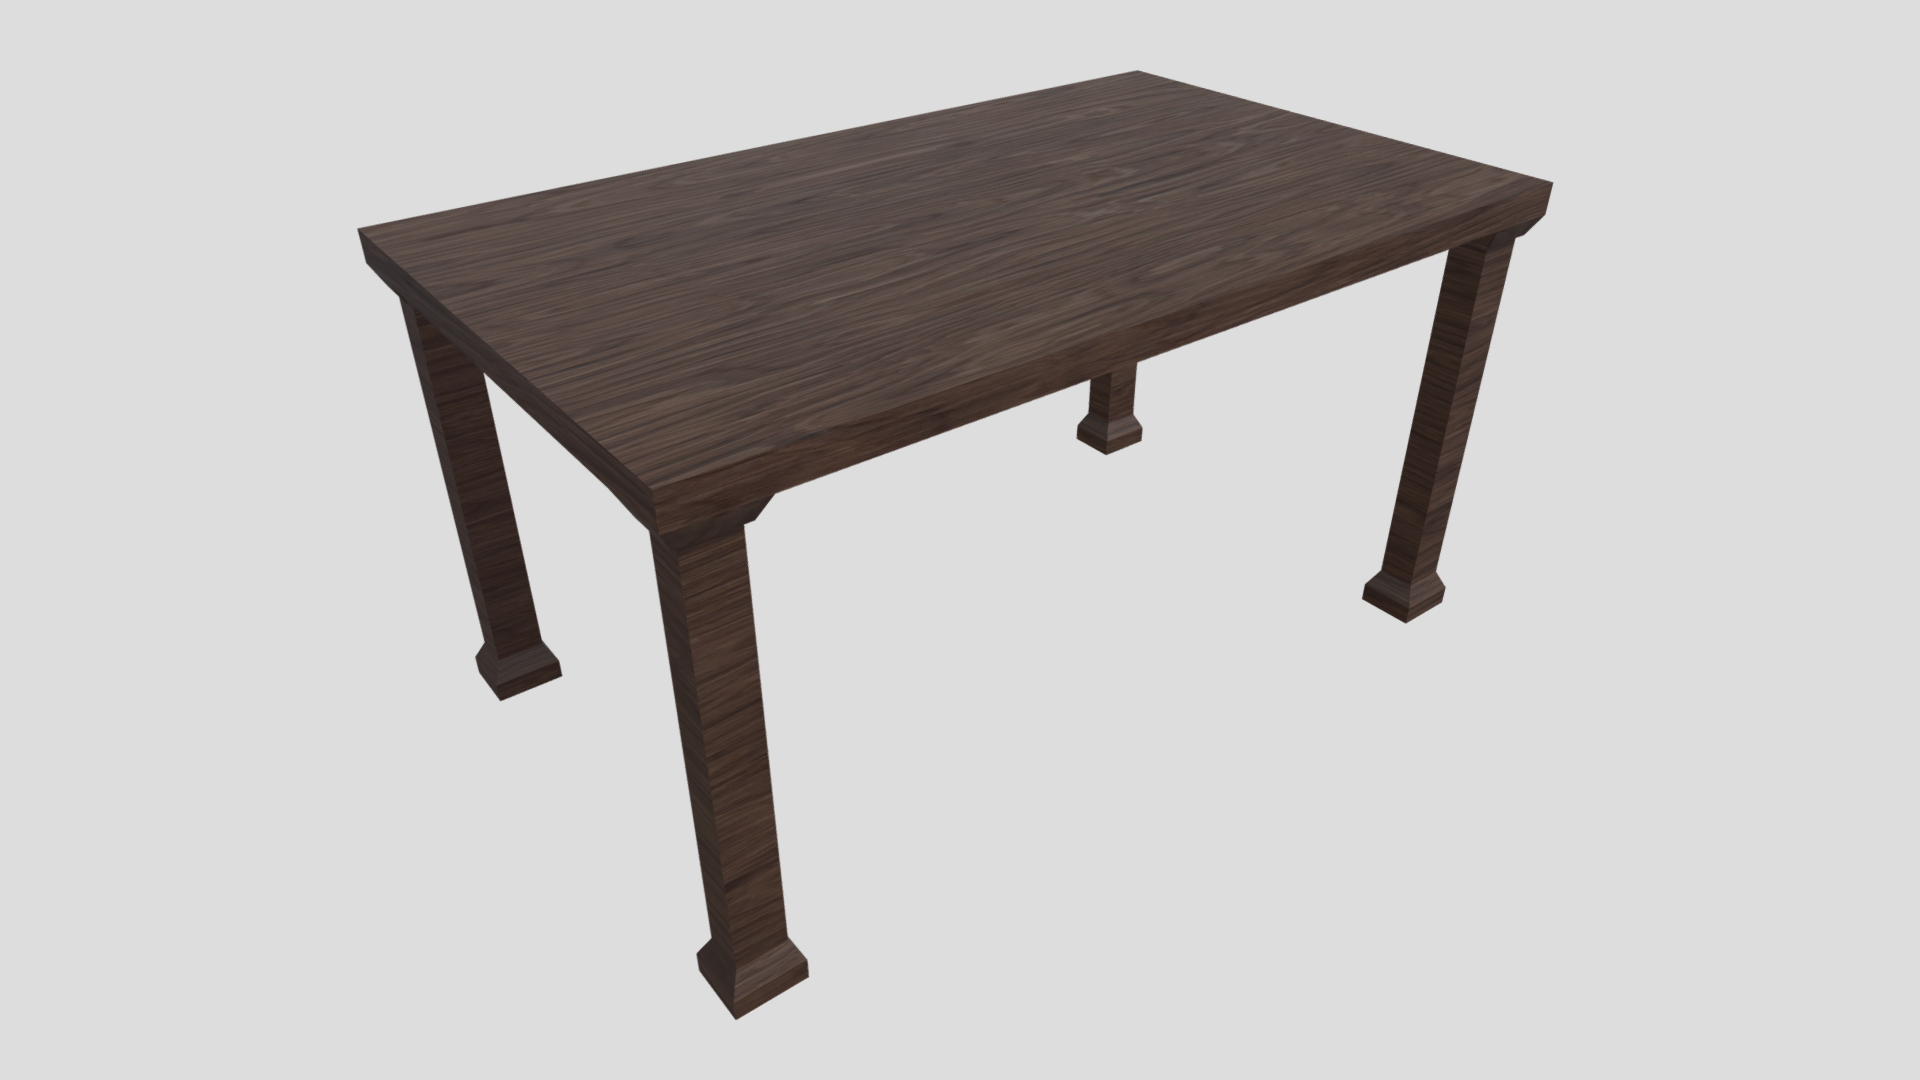
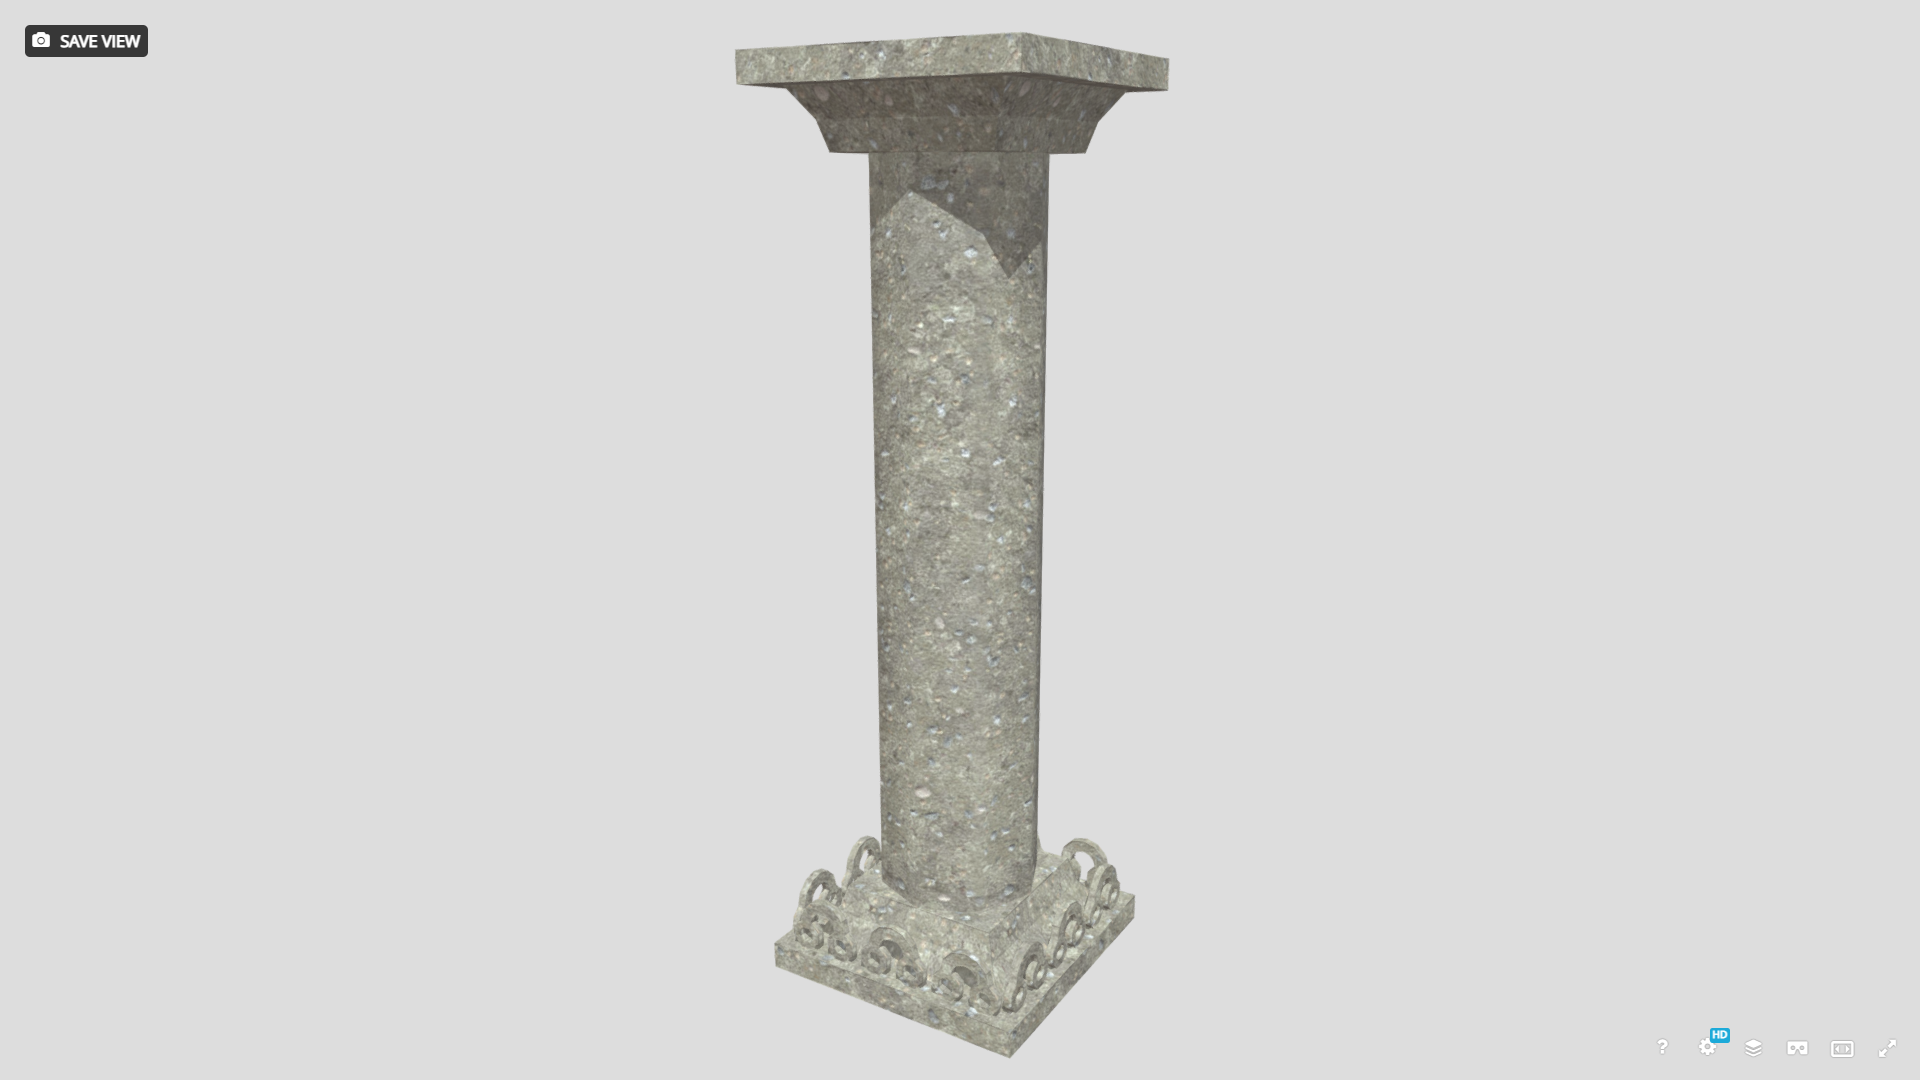
The rooms followed a similar workflow, with the main structures modeled in 3ds Max and textured in Substance Painter. I also created different furniture and decorative elements for each room, giving each area its own appearance while following the same modeling and texturing process.
The programming was one of the more challenging parts of the project, mainly due to several bugs that appeared during development. With some outside help, I was able to identify and fix these issues until I achieved the result I was looking for.
Finally, I created the different screens containing game information and gameplay options, along with the scoring system that keeps track of the player’s performance.
Result
Even though this was a CICE end-of-year project, I’m proud of what I managed to create, and I’d love the opportunity to release the game publicly one day so that others can enjoy it as well.

